
How to Create a Firebase Account
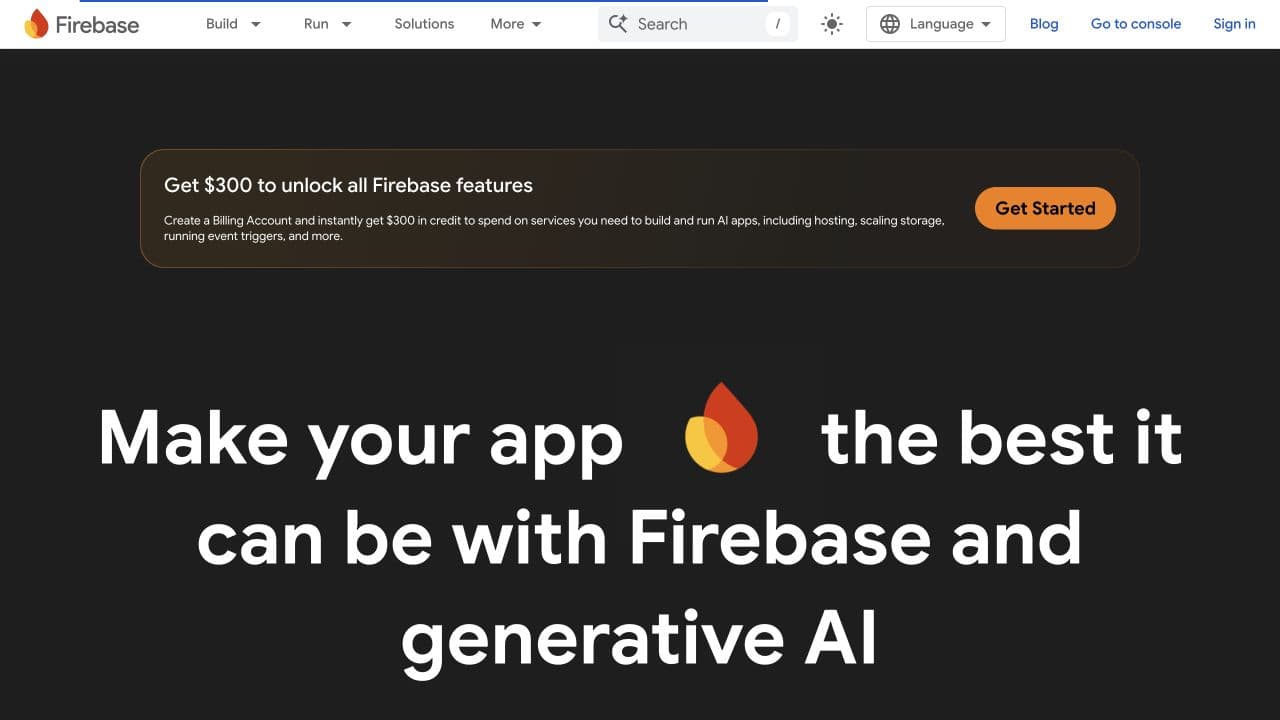
Firebase is Google's app development platform. It gives your app a database, user login system, file storage, push notifications, and more — all managed by Google so there's less for us to maintain. If we're building a mobile or web app for you, there's a good chance we'll use Firebase for the backend.
Behind the scenes, every Firebase project is also a Google Cloud project. That means we need to set up access in two places — Firebase itself and Google Cloud. This guide walks you through both. You'll own the project and control billing the whole time; Dev3 Studio just needs enough access to build and deploy your app.
Before You Begin
- A Google Account you control — use a company email address if you have one, and make sure 2-Step Verification is turned on (this keeps the account secure).
- A Google Cloud billing account — if your app will use paid Firebase features, you'll need billing set up first. Follow our How to Create a Google Cloud Account guide if you haven't done that yet.
Expected Costs and Timing
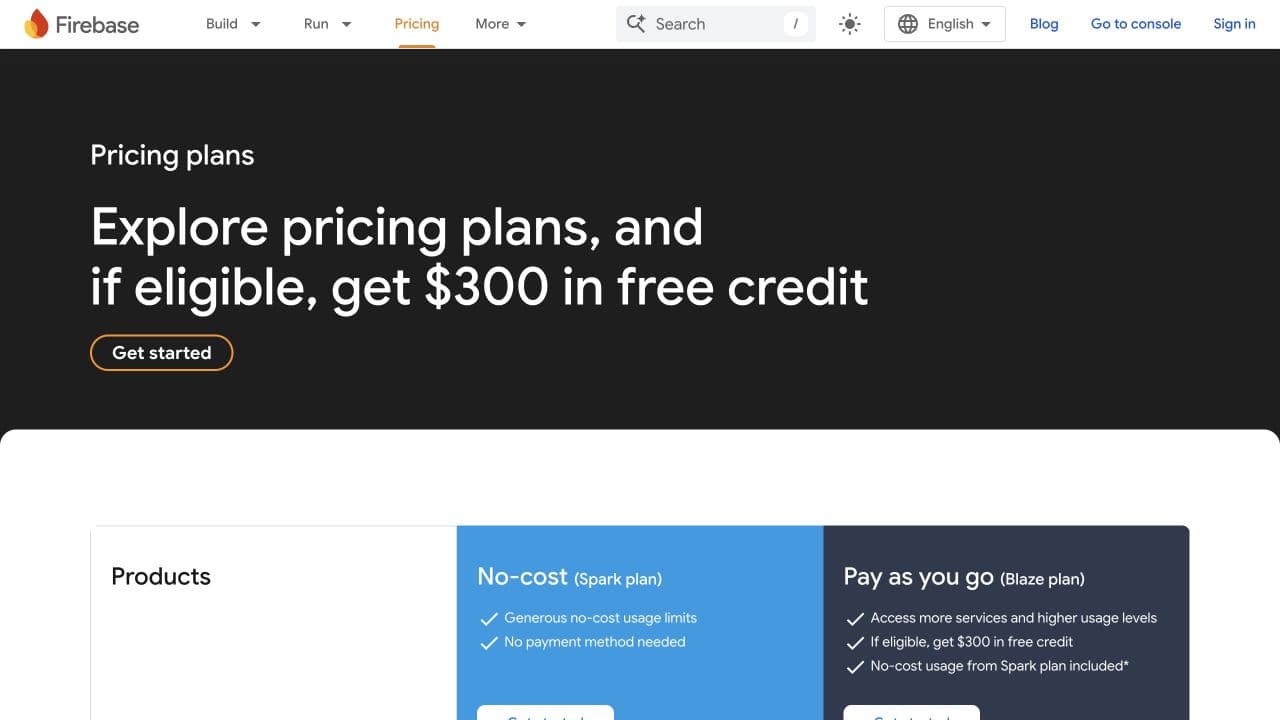
Creating a Firebase project is free. Firebase's Spark plan (the free tier) includes generous limits for getting started. If your app grows beyond those limits, you can upgrade to the Blaze plan, which charges based on what you actually use and bills through your Google Cloud billing account. We'll always discuss costs with you before recommending an upgrade.
The whole setup takes about 10-15 minutes. After you grant access, it can take a few minutes for the permissions to fully kick in — that's normal.
Step 1: Open Firebase and Create a Project
Go to the Firebase console and sign in with your Google Account. If you're not already signed in, Google will ask you to log in first.
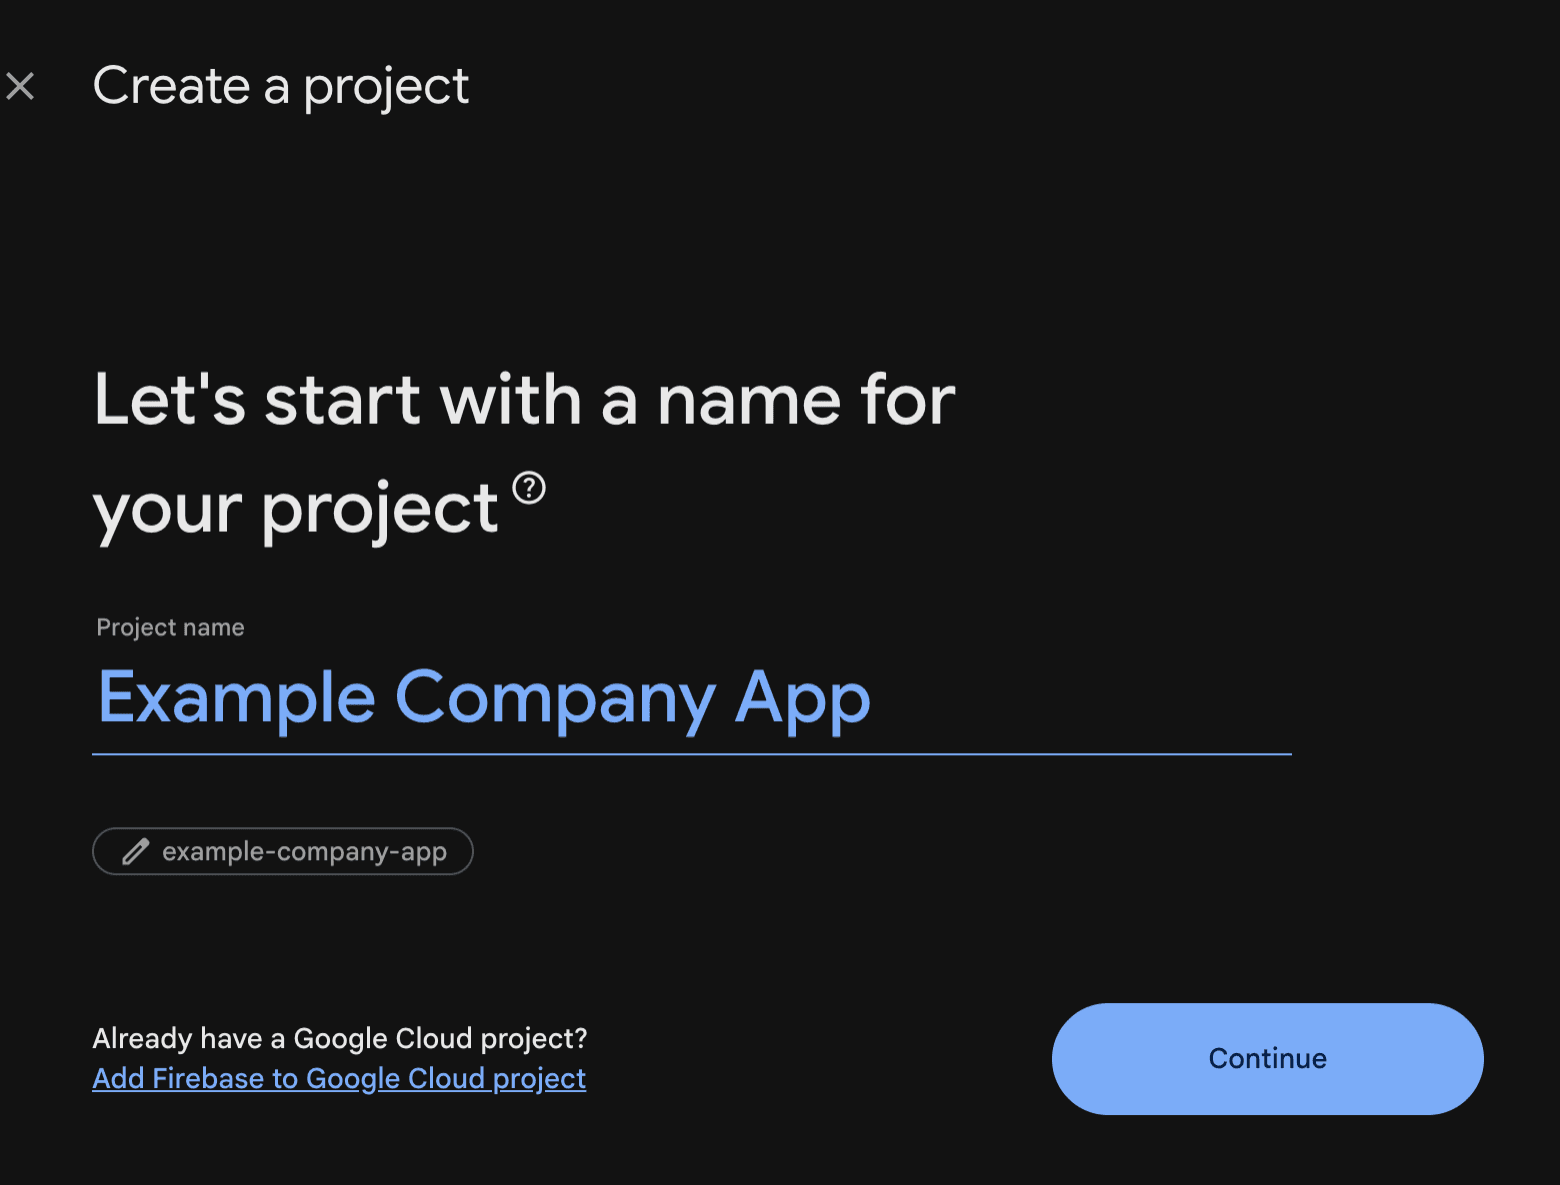
Once you're in, click Create a project and type in a name that makes sense for your business — something like "Example Company App" works well.
Step 2: Choose the Analytics Setting
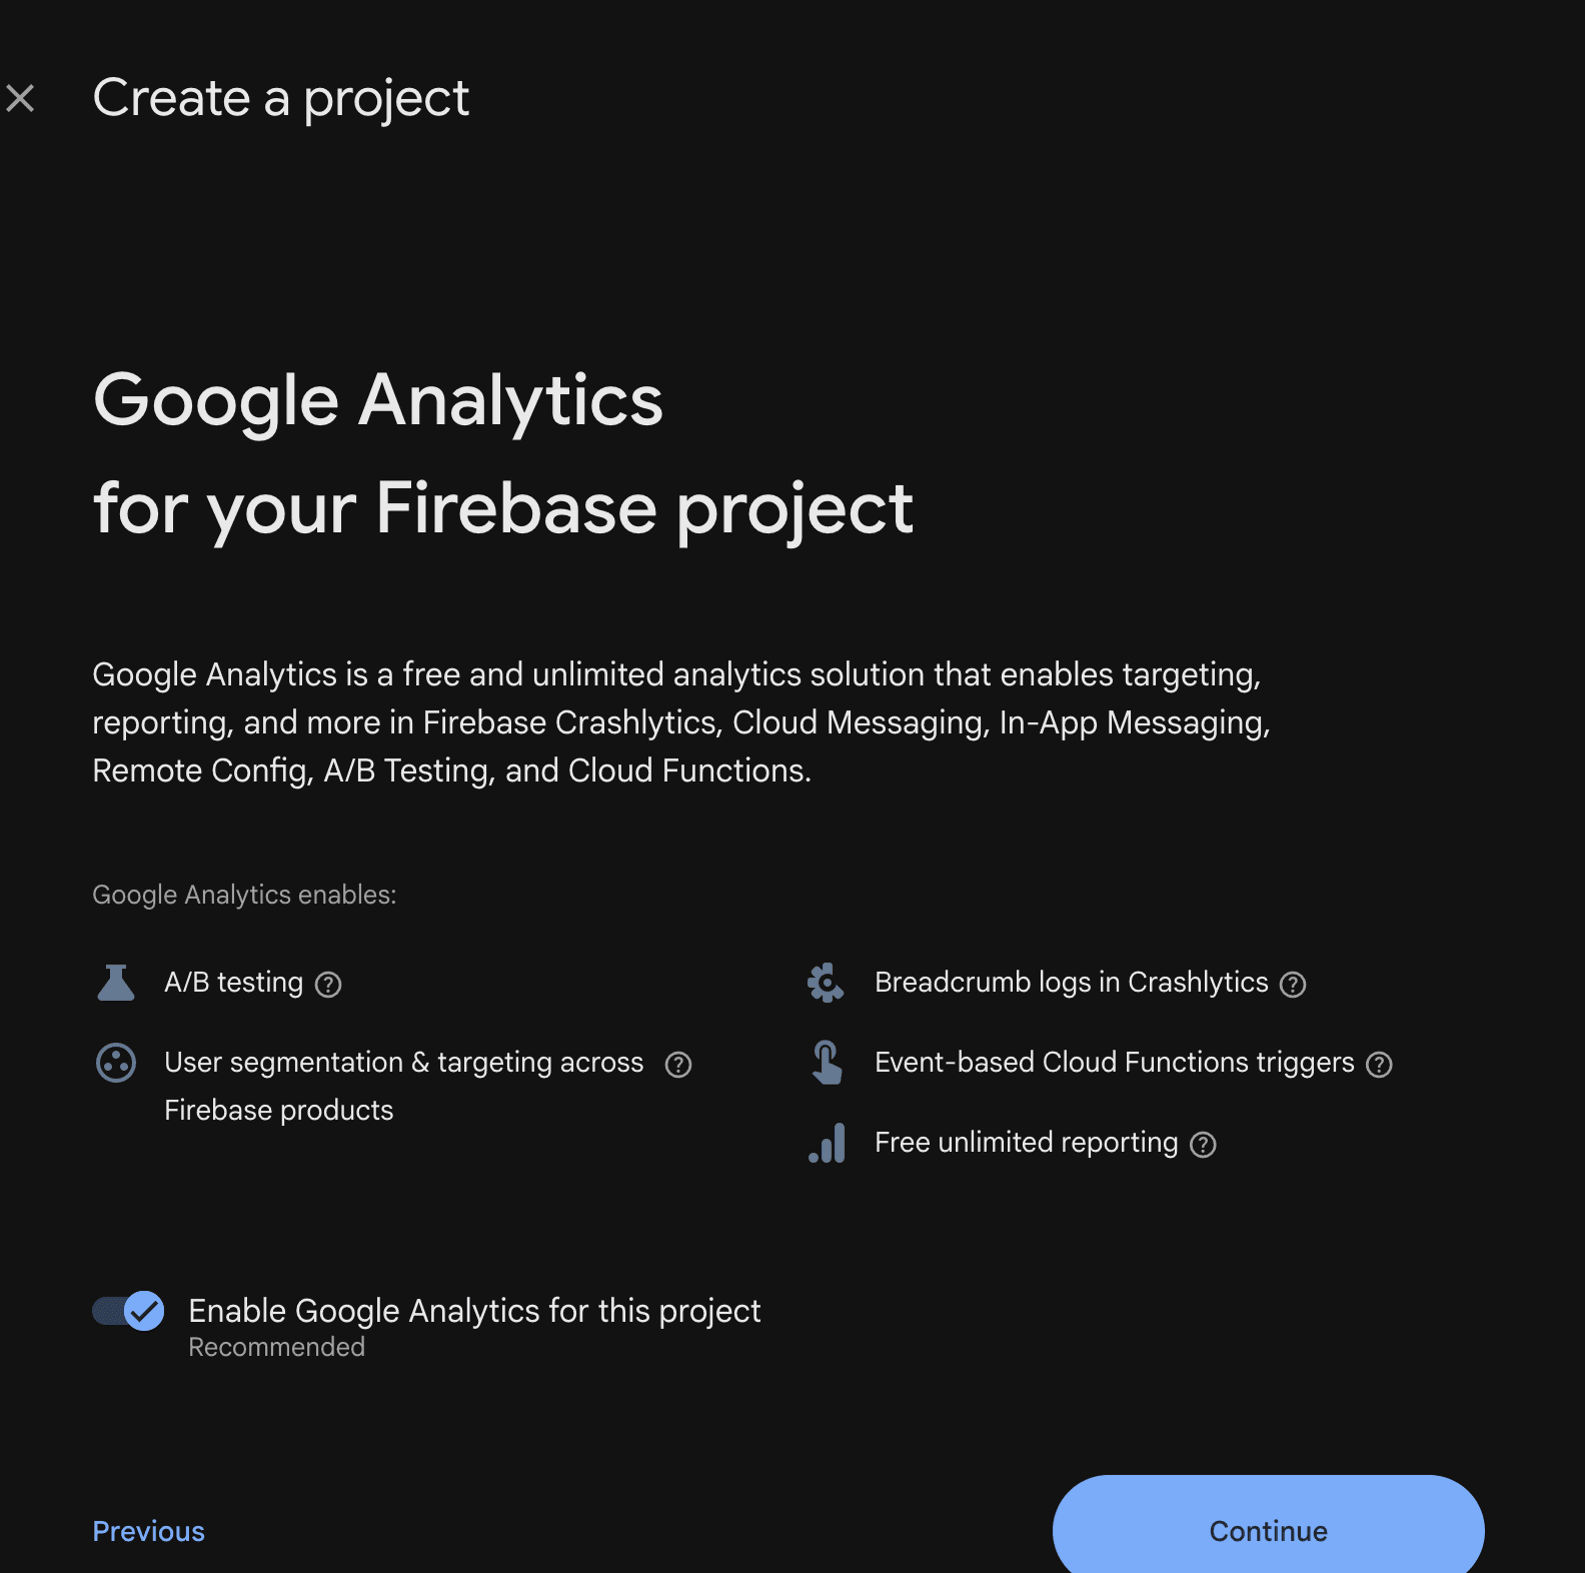
Firebase will ask whether you'd like to enable Google Analytics. Analytics tracks how people use your app — things like which screens they visit and how long they stay. It's useful but optional. Choose whichever setting you're comfortable with. If you enable it, you'll be asked to select or create an Analytics property on the next screen.
If you're not sure, it's fine to enable it — you can always turn it off later.
Step 3: Finish Project Creation
Review the project name and settings, then click the button to create your project. Firebase will take a moment to set everything up — wait for the confirmation screen before moving on.

Step 4: Add the First Dev3 Studio Team Member as Firebase Admin
Now you'll give Dev3 Studio access to work on your project. This doesn't hand over ownership — you stay in control.
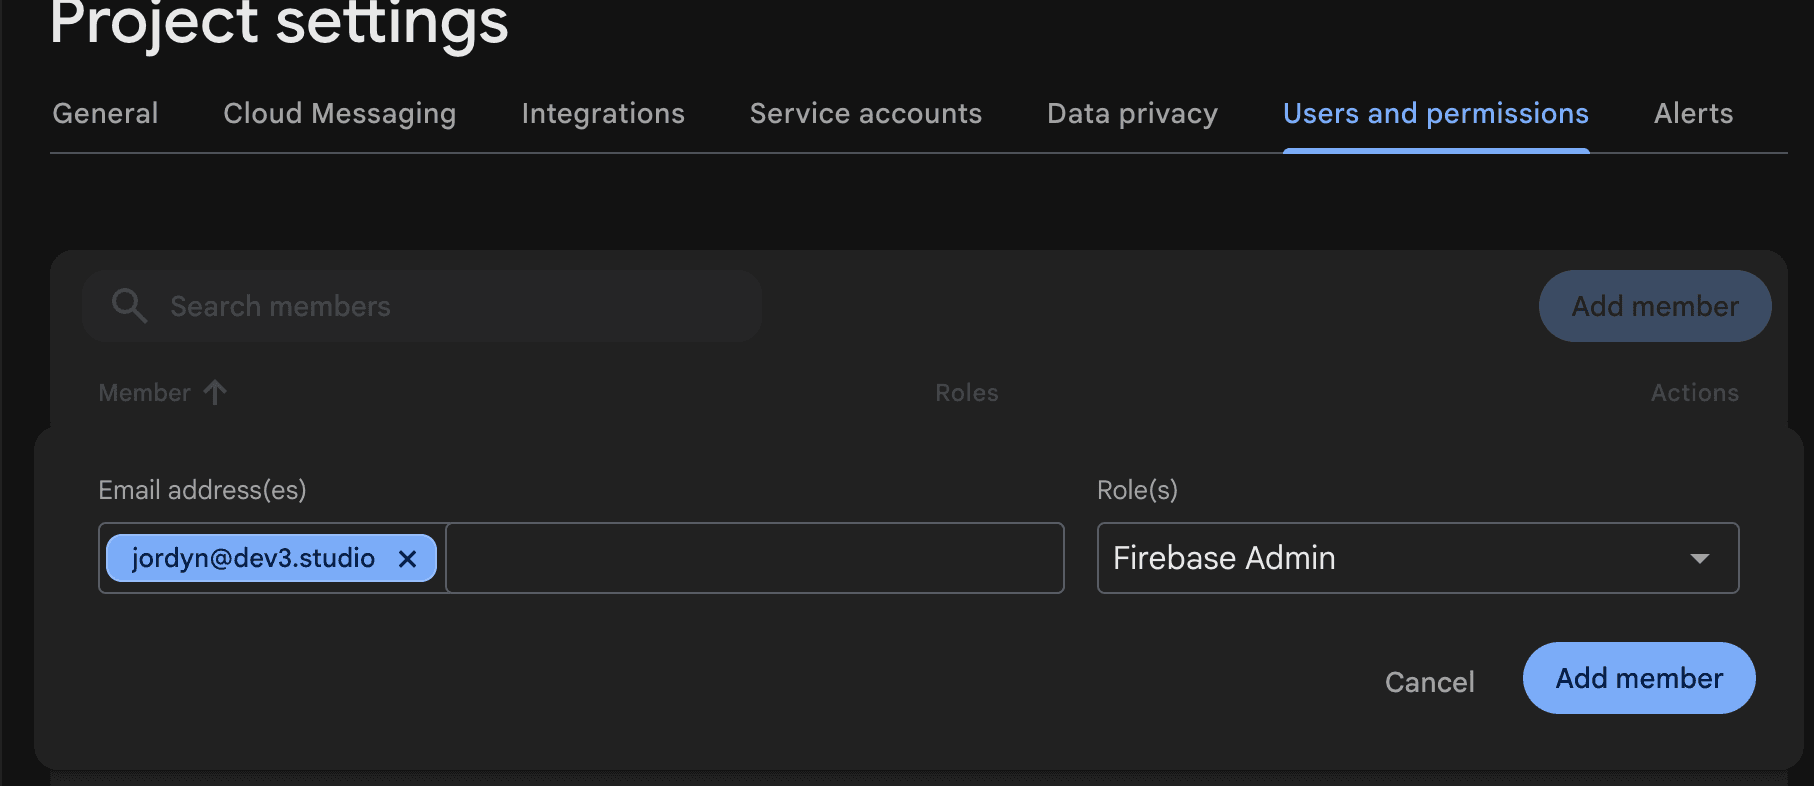
Go to Project settings (the gear icon near the top left), then select Users and permissions. Click Add member, type in the first of the two Dev3 Studio email addresses we've given you, and assign the Firebase Admin role. This lets us configure the Firebase services your app needs. If you don't have our team's email addresses to hand, just ask and we'll send them through.
Step 5: Add the Second Dev3 Studio Team Member as Firebase Admin
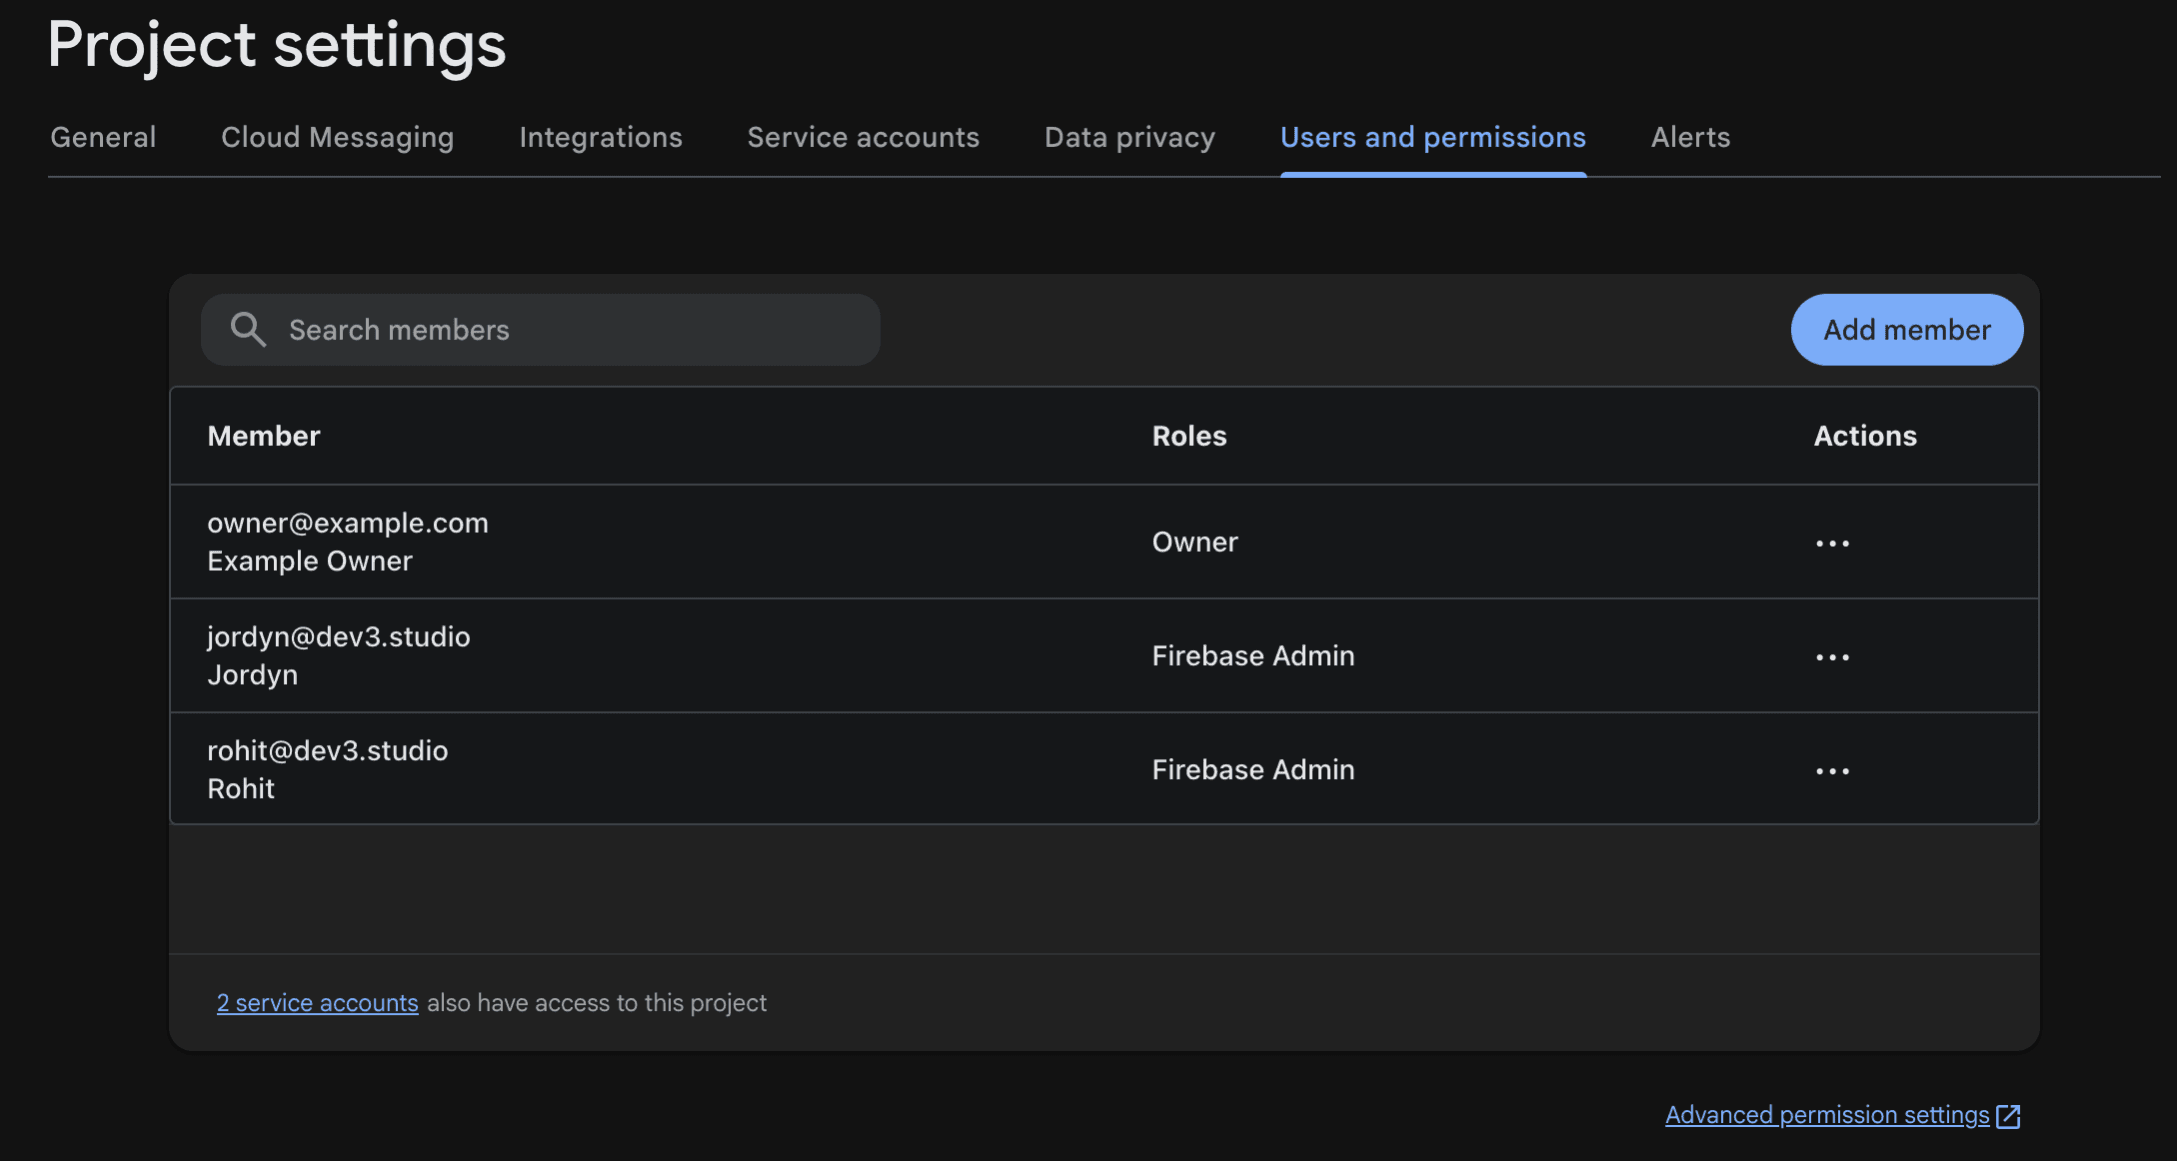
Repeat what you just did, but this time for the second address. When you're done, both Dev3 Studio team members should appear in the Users and permissions list.
Step 6: Open the Project in Google Cloud IAM
Remember how we mentioned that every Firebase project is also a Google Cloud project? Now you need to grant a couple of extra permissions on the Google Cloud side so Dev3 Studio can deploy code for your app.
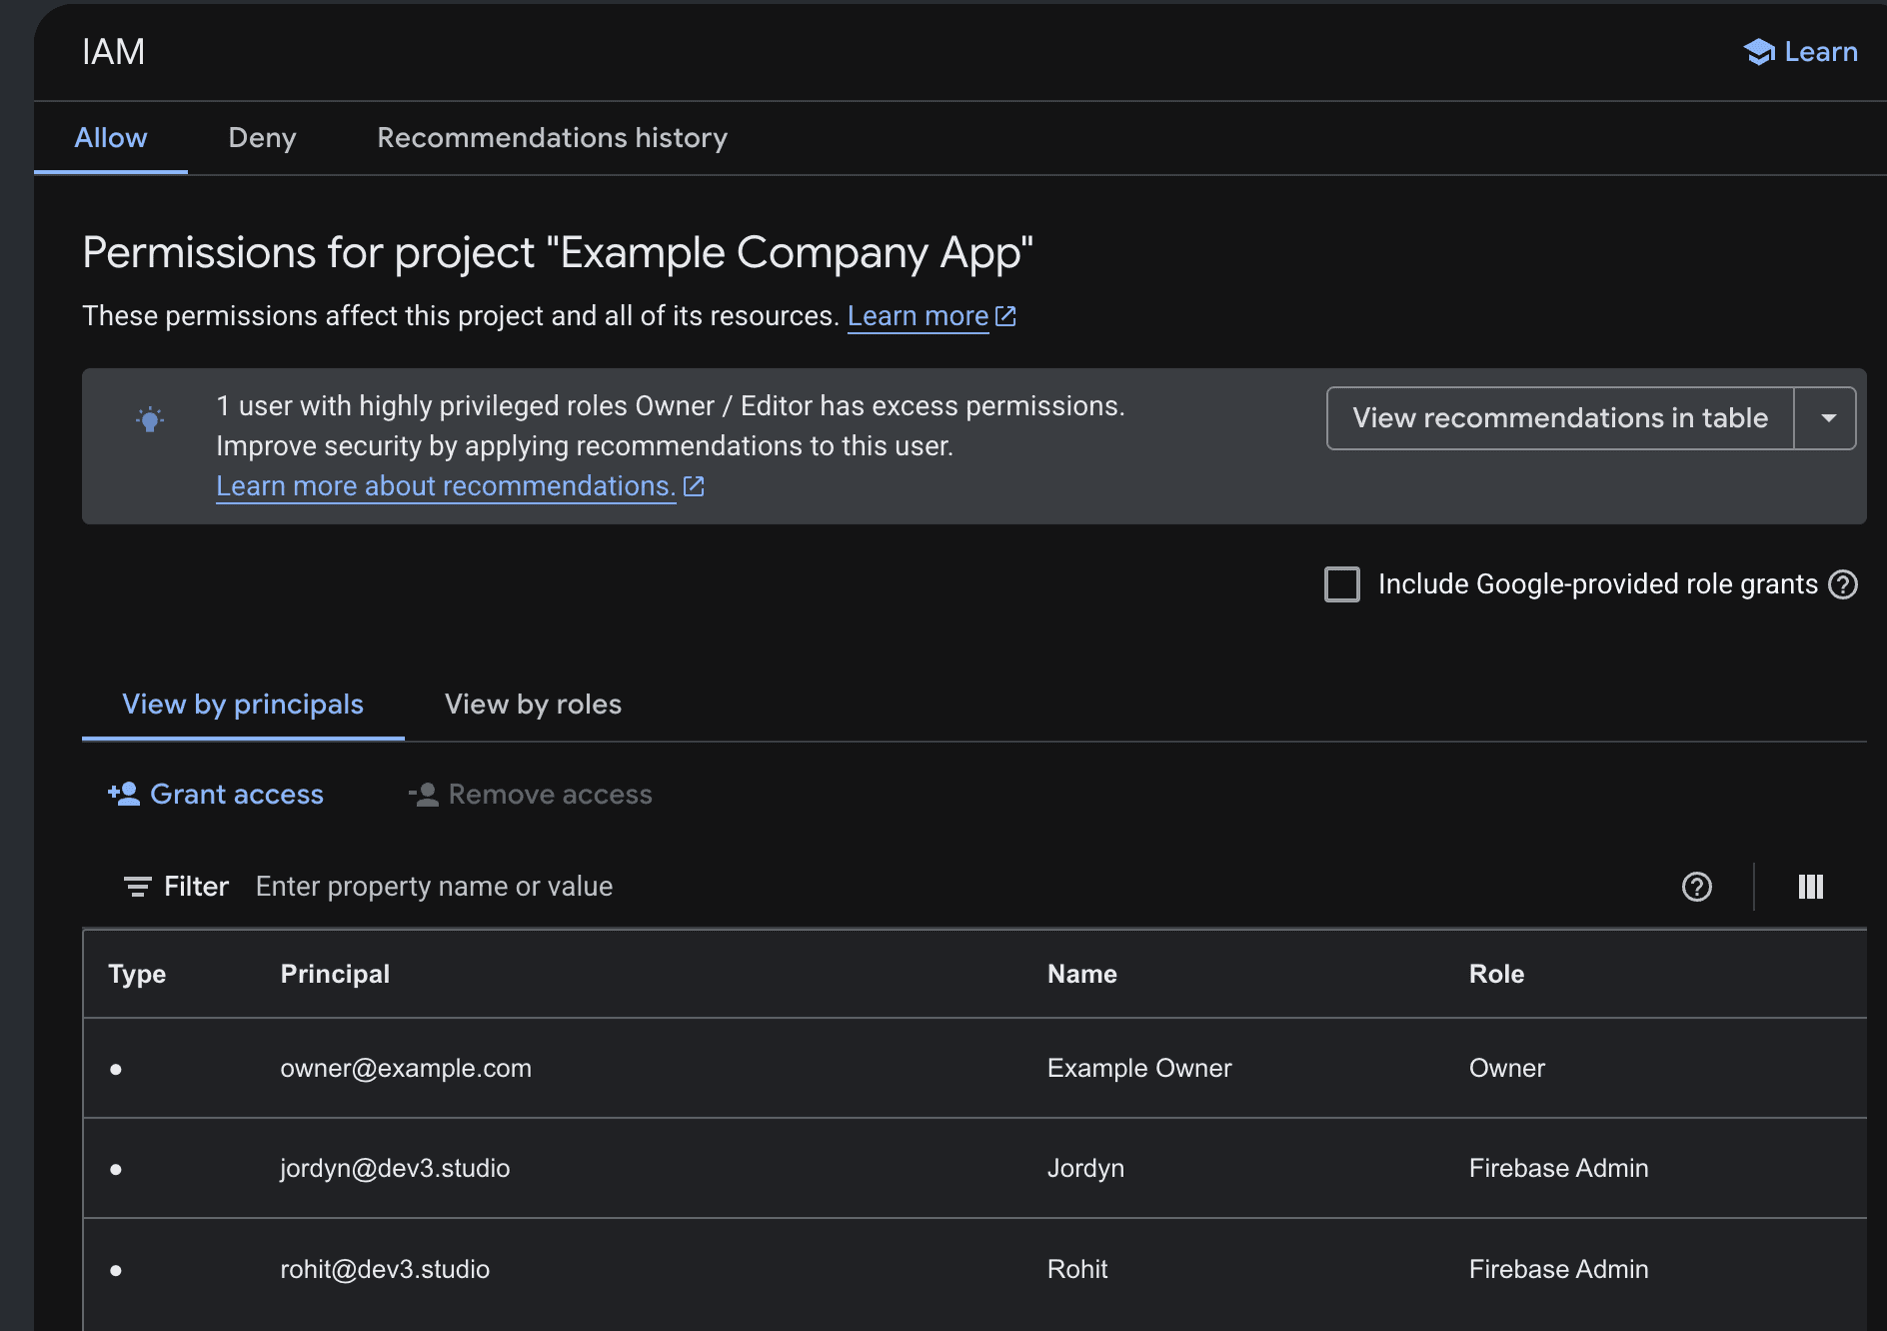
Open the Google Cloud IAM page. Make sure your Firebase project is selected at the top of the page — you should see both Dev3 Studio team members listed from the Firebase Admin role you just granted.
Step 7: Add the Function Deployment Roles
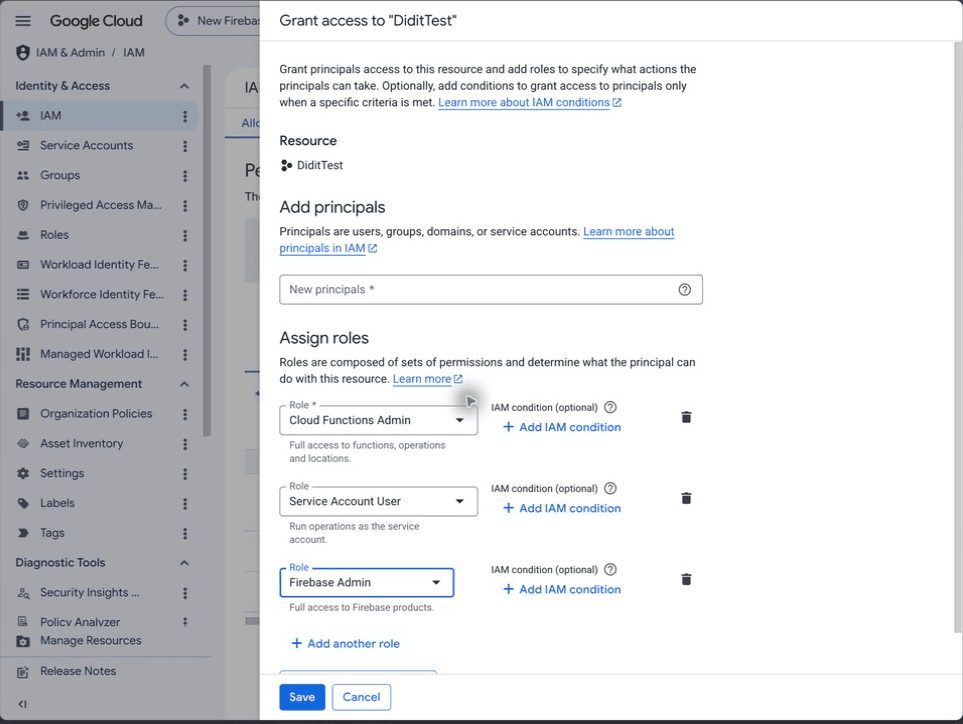
Click the edit (pencil) icon next to each Dev3 Studio team member and add two more roles: Cloud Functions Admin and Service Account User. These are needed so Dev3 Studio can deploy backend code (called "Cloud Functions") that powers your app.
Save the changes and give it a few minutes for the new permissions to take effect.
Completion Checklist
Troubleshooting
- A Dev3 Studio team member doesn't appear in Firebase: Firebase only shows Firebase-specific roles in its own console. Double-check that you granted Firebase Admin (not just a basic Google Cloud role) and give it a few minutes to update.
- Cloud Functions deployment fails: Make sure both Cloud Functions Admin and Service Account User were added in Google Cloud IAM (not in the Firebase console). Both roles are needed.
- You're looking at the wrong project: Before making any changes, check the project name and ID at the top of the page to make sure you're working in the right place.
Security Reminder
You're in control. You own the project and the billing account, and Dev3 Studio doesn't have access to change that. The Service Account User role lets Dev3 Studio deploy code that runs on your behalf, which is why we only ask for it on the specific project we're working on together. If you ever want to review or remove access, you can do so anytime from the Firebase console or Google Cloud IAM page. And never share downloaded service-account key files — if anyone asks for one, check with us first.