How to Create a Cloudflare Account
Cloudflare is a service that protects and speeds up your website. It sits between your visitors and your web server, blocking attacks and making pages load faster. We use it on most of the projects we build, so you'll need your own Cloudflare account. You own the account — Dev3 Studio just needs access to do the technical work on your behalf.
Before You Begin
- A permanent company email address (not a personal one) to use as the account owner.
- Access to that email inbox so you can verify the account.
- A phone or authenticator app (like Google Authenticator or Microsoft Authenticator) for two-factor authentication.
Expected Costs and Timing
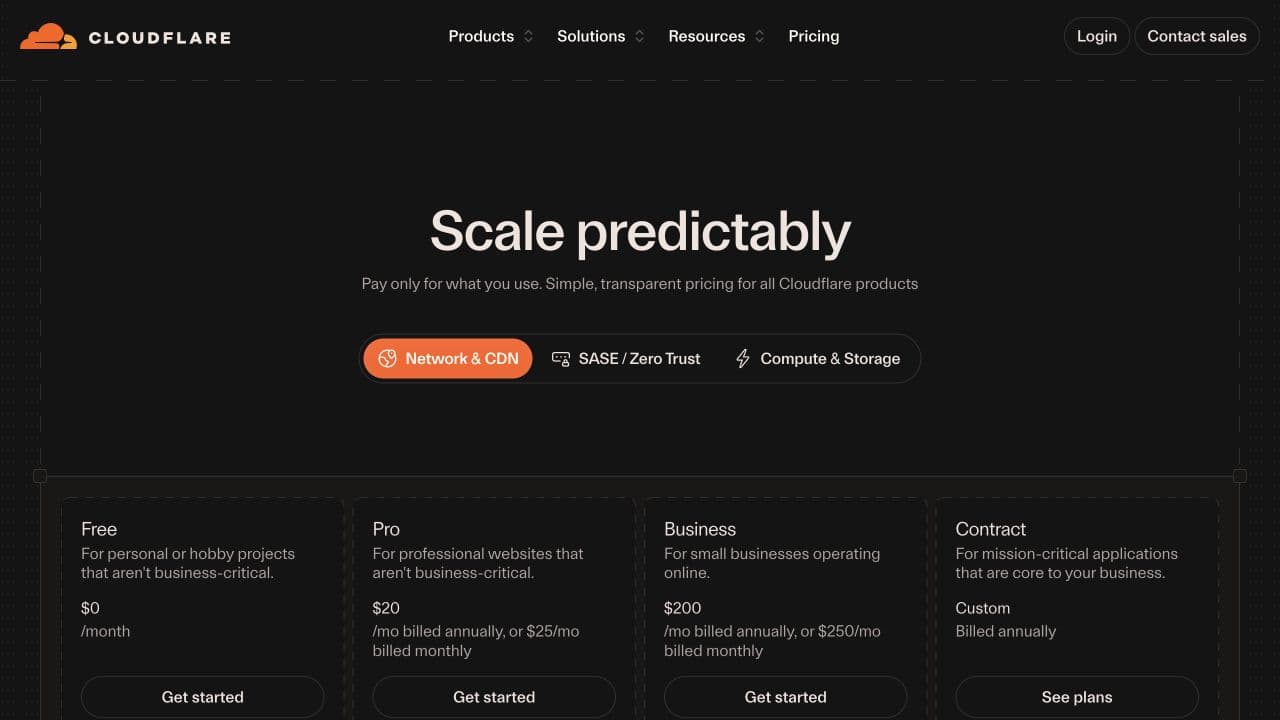
Creating a Cloudflare account is free, and so is inviting team members. Cloudflare has a Free plan that works well for many websites, along with paid plans if you need more features. Don't enable anything paid without checking the current pricing first.
Setting up the account only takes a few minutes. You might need to wait a short while for the verification email to come through.
Step 1: Create the Account
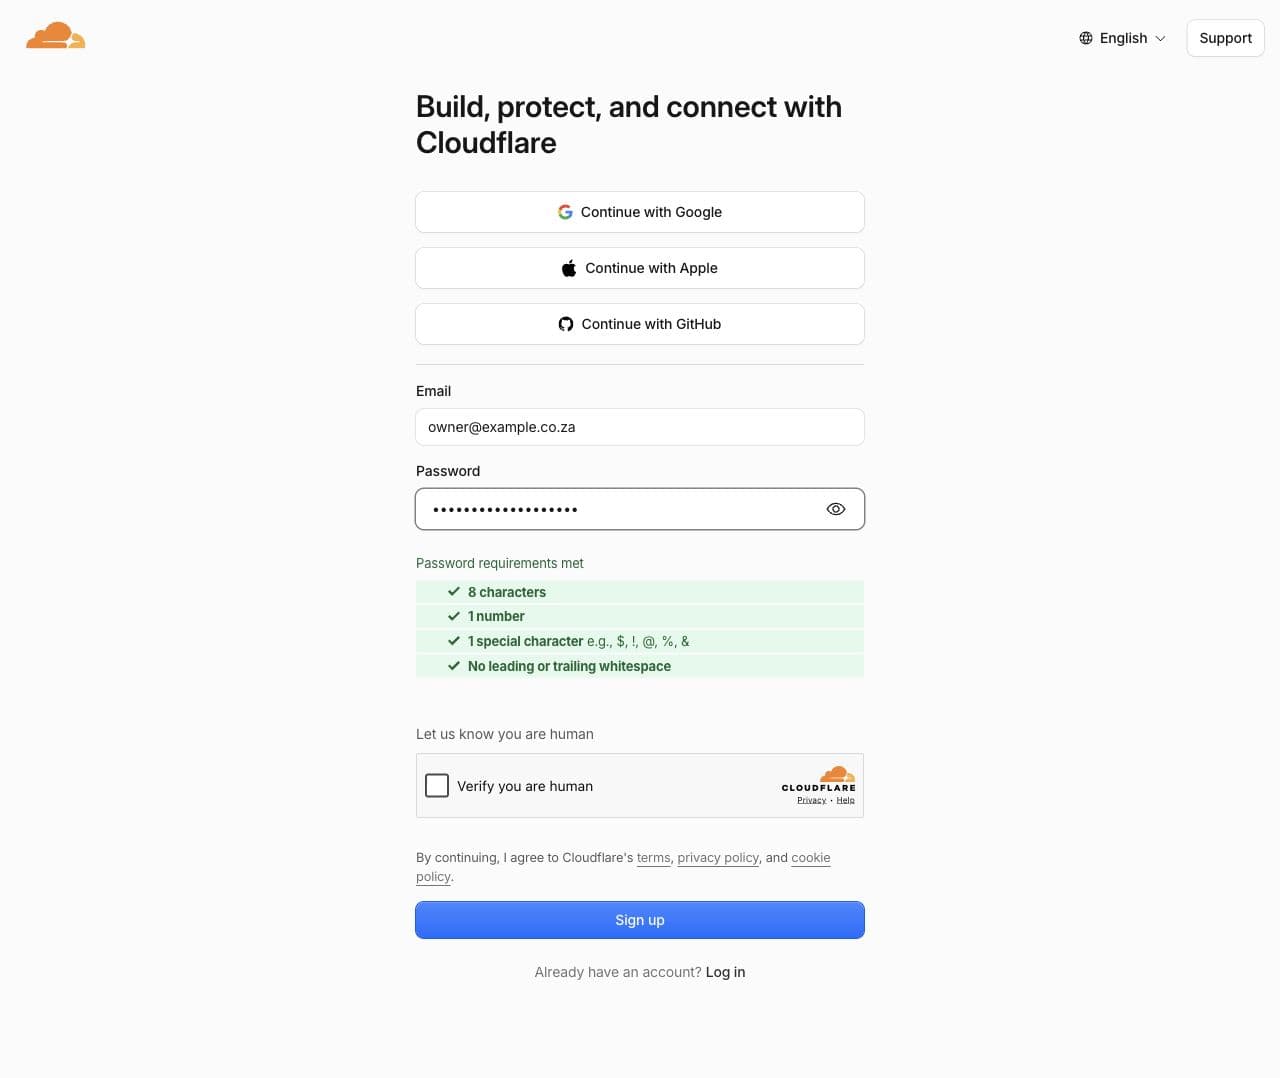
Go to the Cloudflare sign-up page. Enter your company email address, create a strong password, and click the button to create your account.
Use your own company email here — not a Dev3 Studio email address. This is your account, and it should stay under your control. Never share the password with us (we don't need it).
Step 2: Verify Your Email Address
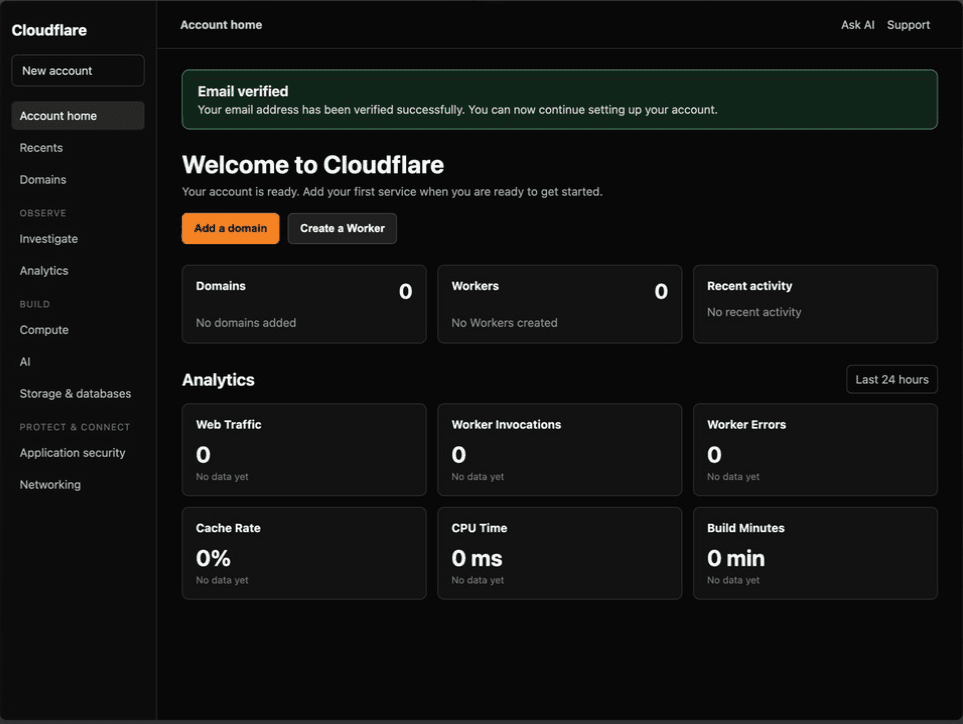
Check your inbox for a verification email from Cloudflare and click the link inside it. Once you've done that, head back to the Cloudflare dashboard and make sure the verification warning has disappeared.
If you don't see the email within a few minutes, check your spam or junk folder.
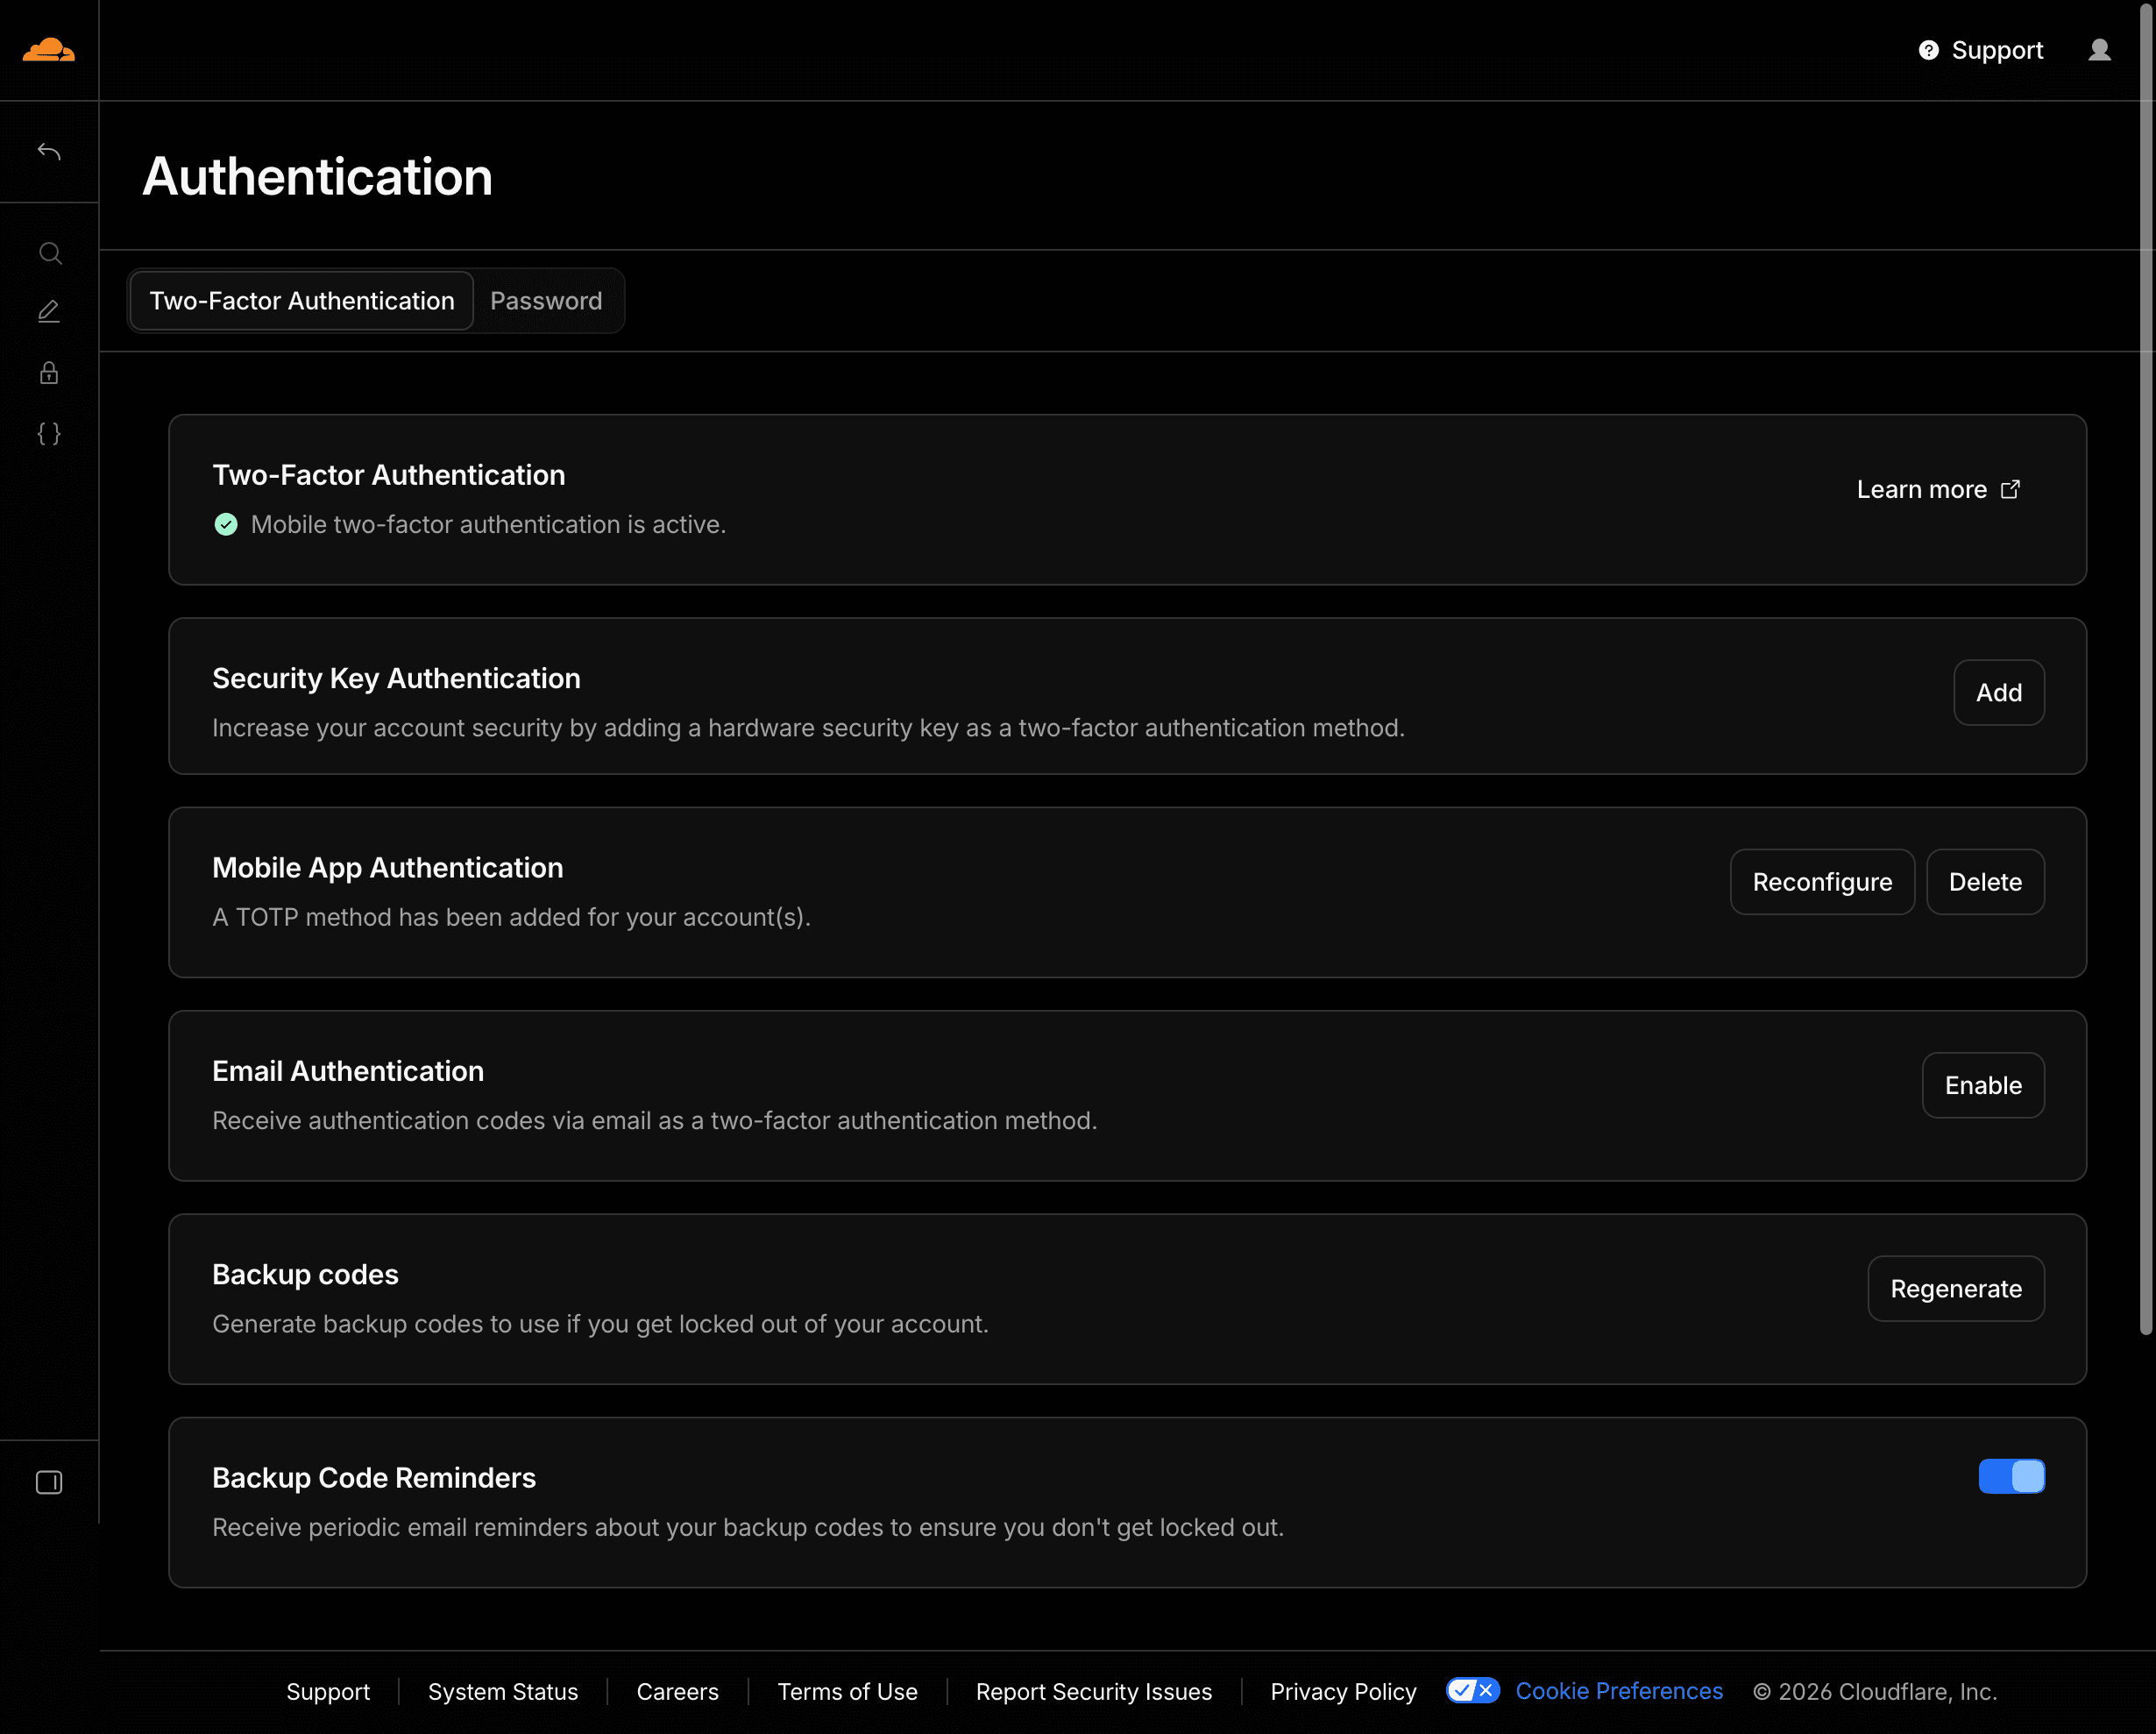
Step 3: Turn On Two-Factor Authentication
Two-factor authentication (often called 2FA) adds an extra layer of security. It means that even if someone gets hold of your password, they still can't get into your account without your phone.
Click on your profile icon, go to Authentication, and set up an authenticator app or security key. Cloudflare will give you a set of recovery codes — save these somewhere safe and separate from your password. If you ever lose access to your phone, these codes are your backup way in.
Step 4: Open the Members Page
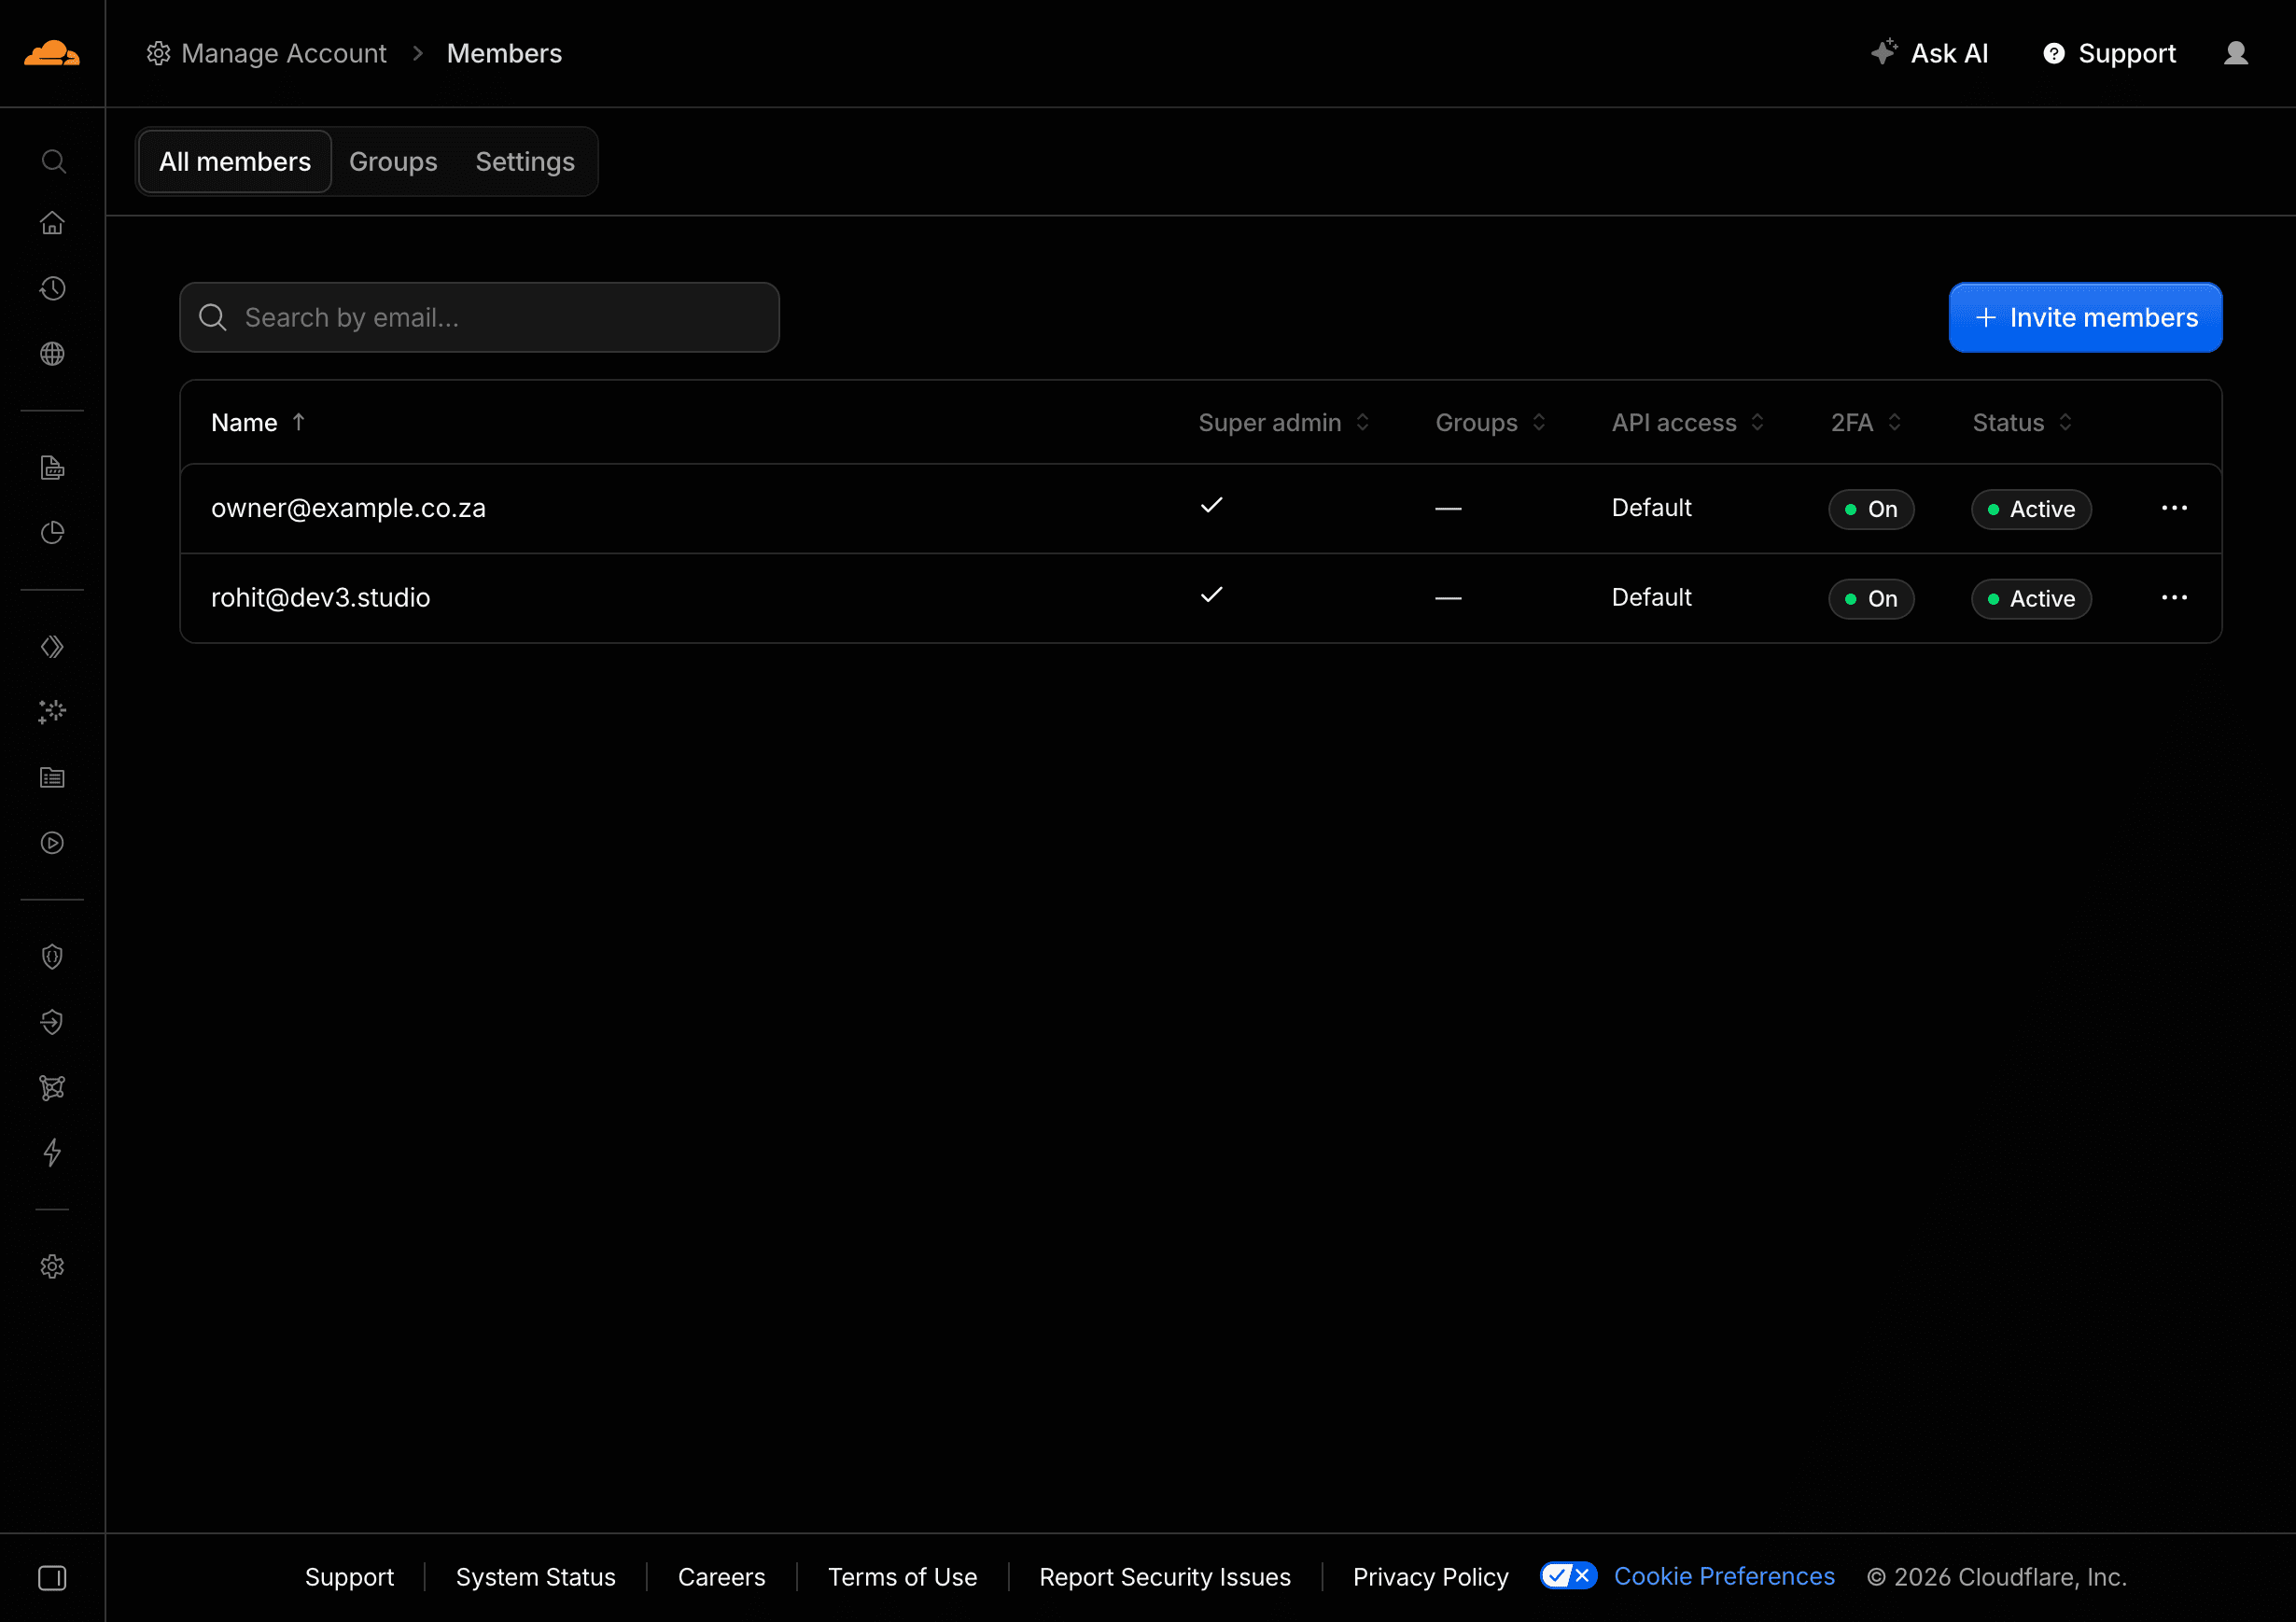
Now you'll invite Dev3 Studio to work on your account. In the Cloudflare dashboard, click Manage Account, select your account, and then go to Members. You'll see an option to invite new members.
Step 5: Invite Dev3 Studio as Administrators
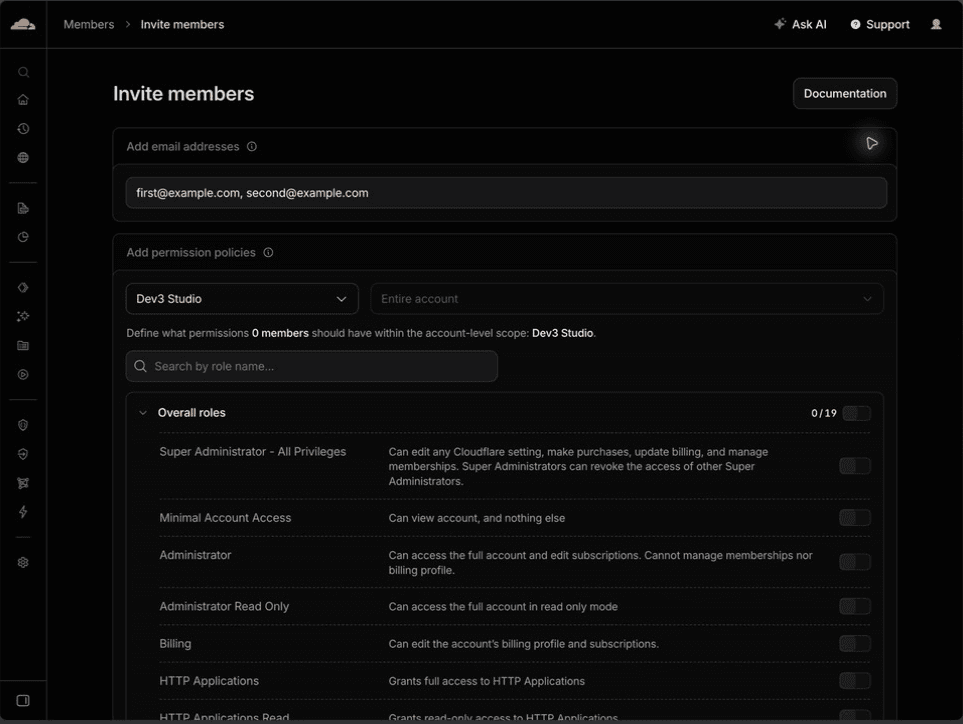
Enter the two Dev3 Studio email addresses we've given you — if you don't have them to hand, just ask and we'll send them through.
Set the role to Administrator and send the invitations. This gives us the access we need to set up domains and configure Cloudflare features for your project.
Make sure you pick Administrator, not Super Administrator — that top-level role should stay with you so you always have full control over billing and who else can access the account.
Step 6: Check That the Invitations Were Sent
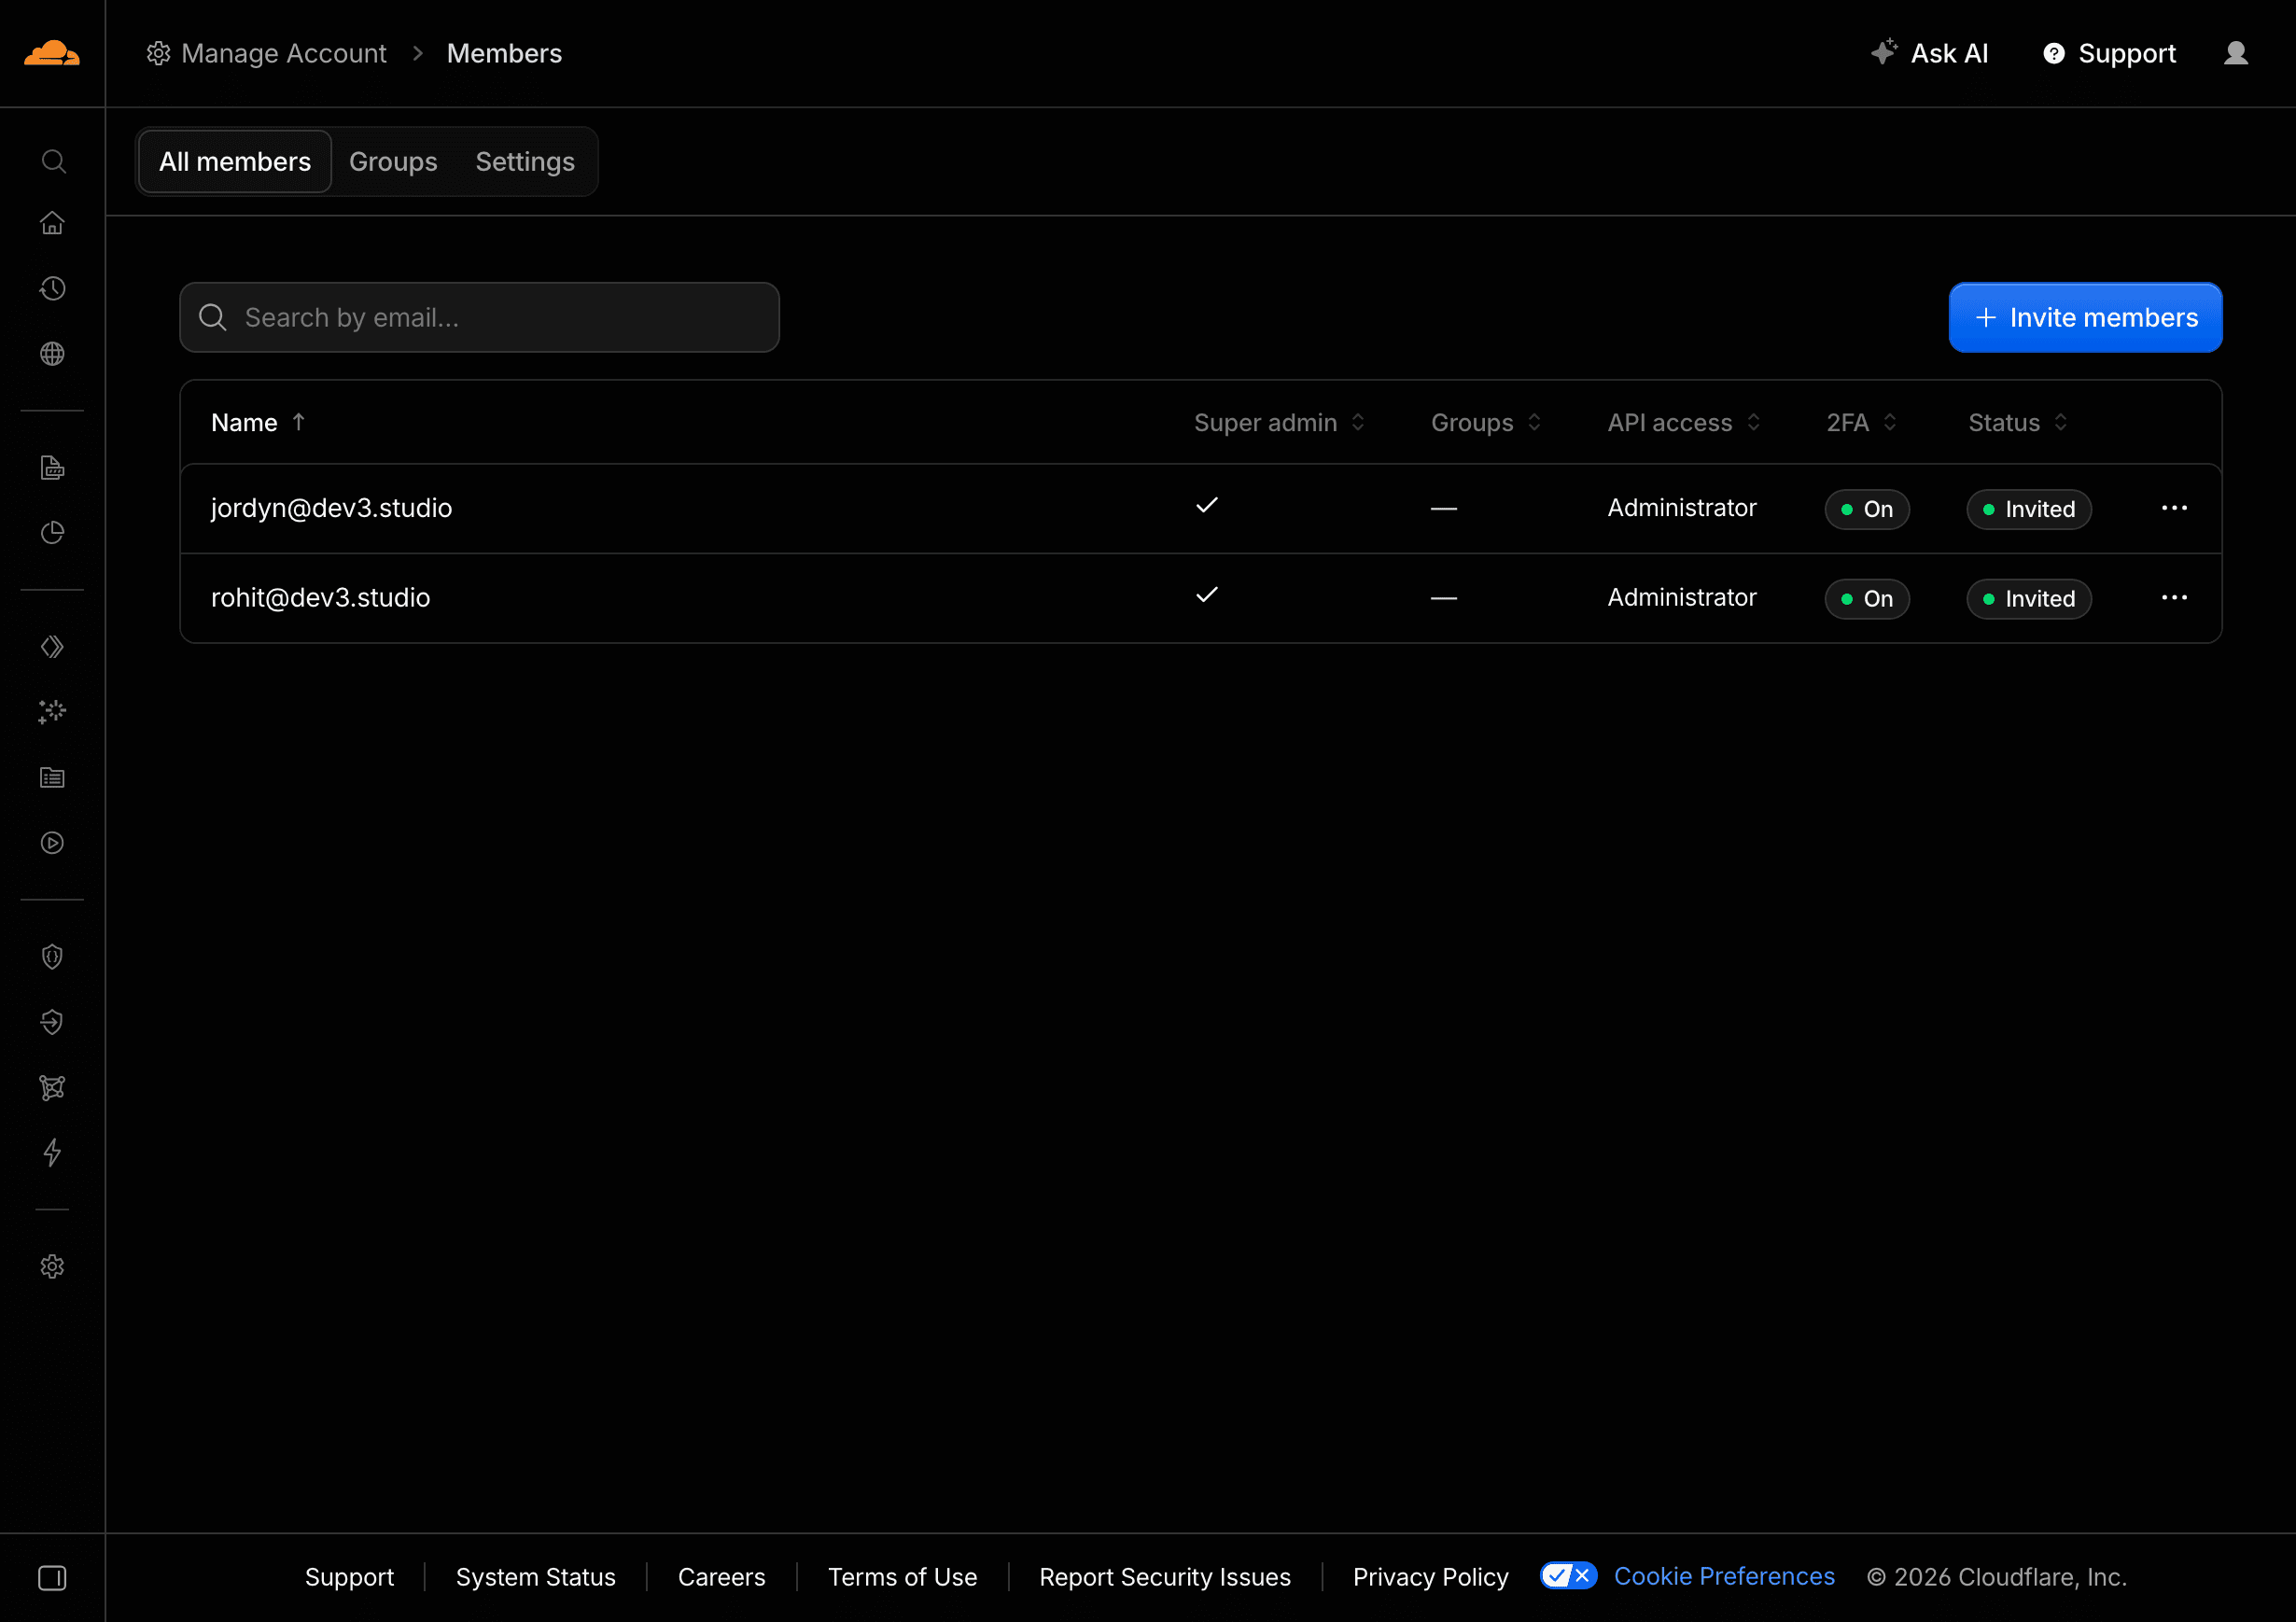
Go back to the Members page and confirm that both Dev3 Studio email addresses appear as either "Invited" or "Active" with the Administrator role.
If an invitation expires before we accept it, you can resend it from this same screen — no need to start over.
Completion Checklist
Next, follow How to Connect a Domains.co.za Domain to Cloudflare.
Troubleshooting
- The verification email didn't arrive: Check your spam folder, double-check that you typed the email address correctly, and try Cloudflare's "resend" option.
- You can't find the Members option: Make sure you've selected your account from the dashboard first, rather than just opening a specific domain.
- An invitation expired: No problem — just revoke the old one and resend a fresh invitation from the Members screen.
Security Reminder
Your Cloudflare account is yours, and you stay in control. As the Super Administrator, you manage who has access, what billing details are on file, and how the account is secured. Dev3 Studio only needs Administrator access — we never need your password, your authentication codes, or your recovery codes. If you ever want to review or change who has access, you can do that anytime from the Members page.