How to Connect a Domains.co.za Domain to Cloudflare
This guide walks you through pointing your domain from Domains.co.za to Cloudflare. Your domain stays registered (and billed) at Domains.co.za — nothing changes there. What changes is where the domain's traffic gets directed, which is what lets Cloudflare protect and speed up your website. Once this is done, Dev3 Studio can handle the rest of the web configuration for you.
Before you start: Do not cancel anything at Domains.co.za. Changing nameservers (the settings that control where your domain points) incorrectly can take your website or email offline. That's why the very first step is to save a copy of everything that's already set up.
What You Will Need
- Access to the Domains.co.za account that owns the domain.
- A Cloudflare account you own. If you don't have one yet, follow How to Create a Cloudflare Account first.
- A saved copy of the domain's current DNS records (you'll make this in Step 1).
- A way to test your website and email after the change — just a browser and an email account on the domain.
Expected Costs and Timing
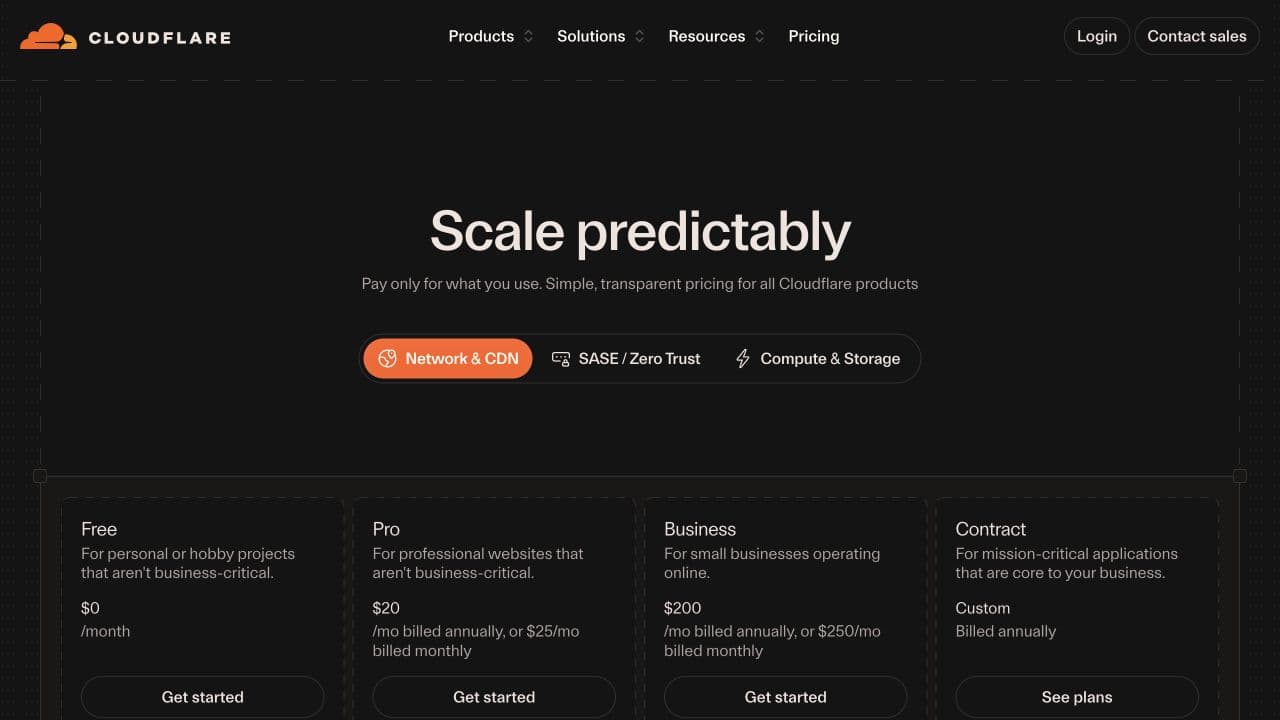
Domains.co.za keeps charging its normal renewal fee for the domain — that doesn't change. On the Cloudflare side, the Free plan works well for many websites. Paid plans are available if you need extra features, but check the pricing before upgrading.
The actual setup takes about 15-30 minutes of your time. After you make the nameserver change, it can take up to 24 hours for the update to spread across the internet, though it usually happens much faster than that.
Step 1: Save Your Current DNS Settings
DNS records are the instructions that tell the internet where to find your website, where to deliver your email, and how to verify your domain. Before changing anything, you need a backup of what's already there.
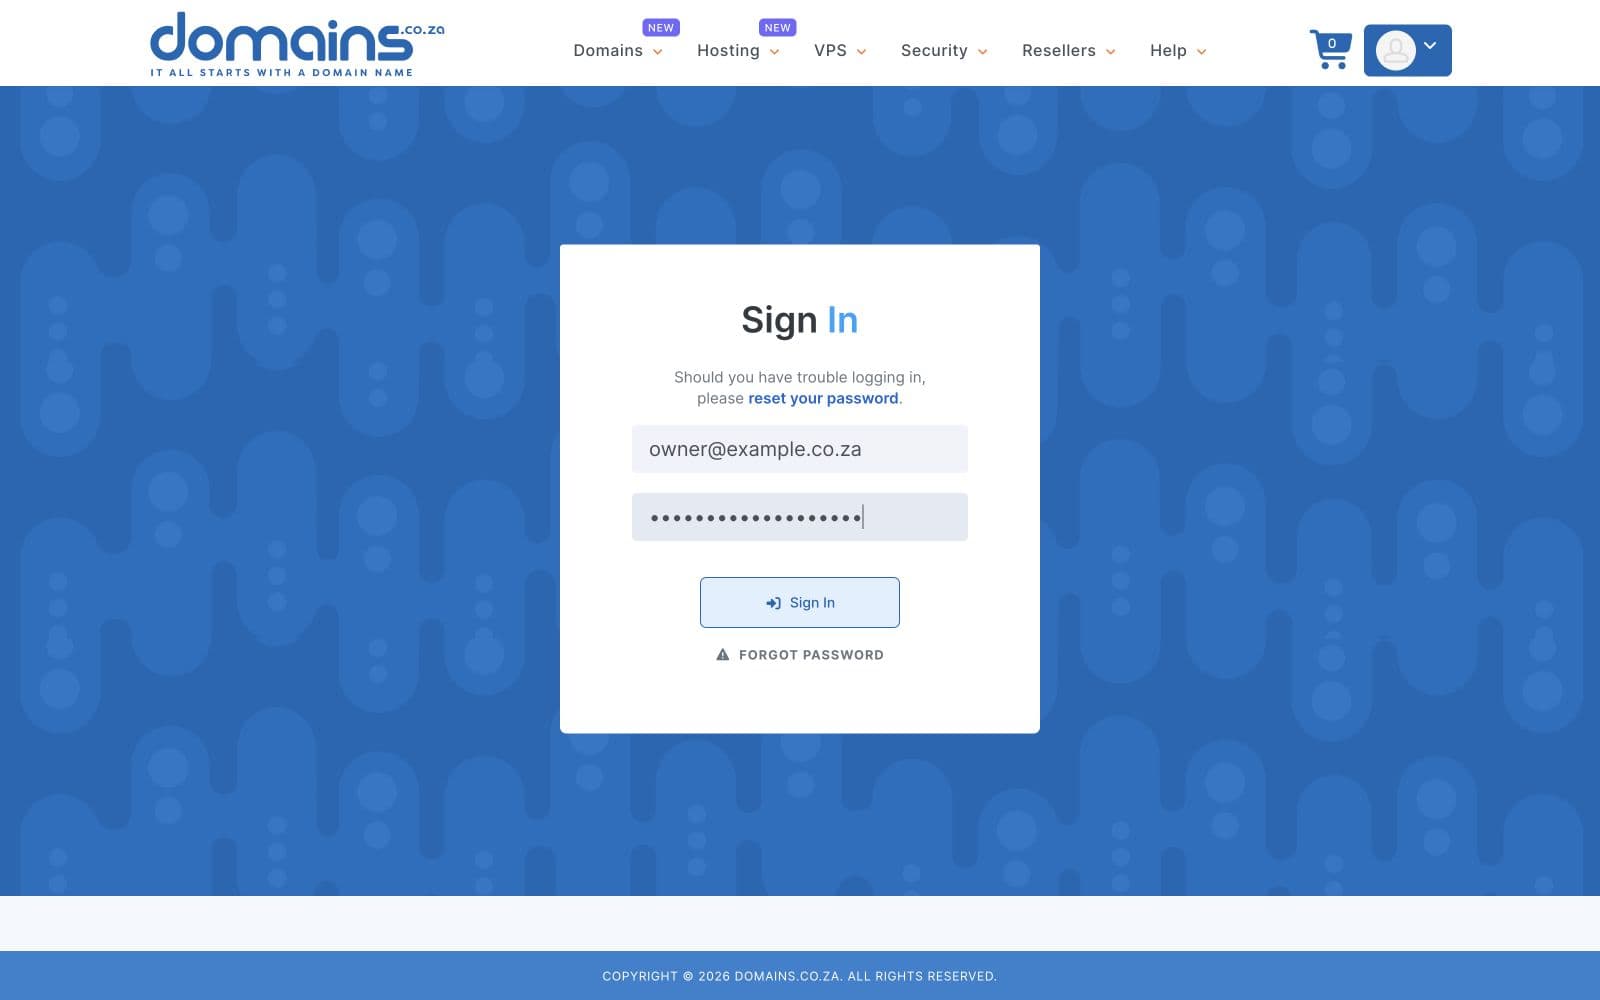
Sign in to the Domains.co.za Client Area, open the domain you're connecting, and find the DNS management screen. Take a screenshot or copy every record you see — the type, name, value, priority, and TTL for each one.
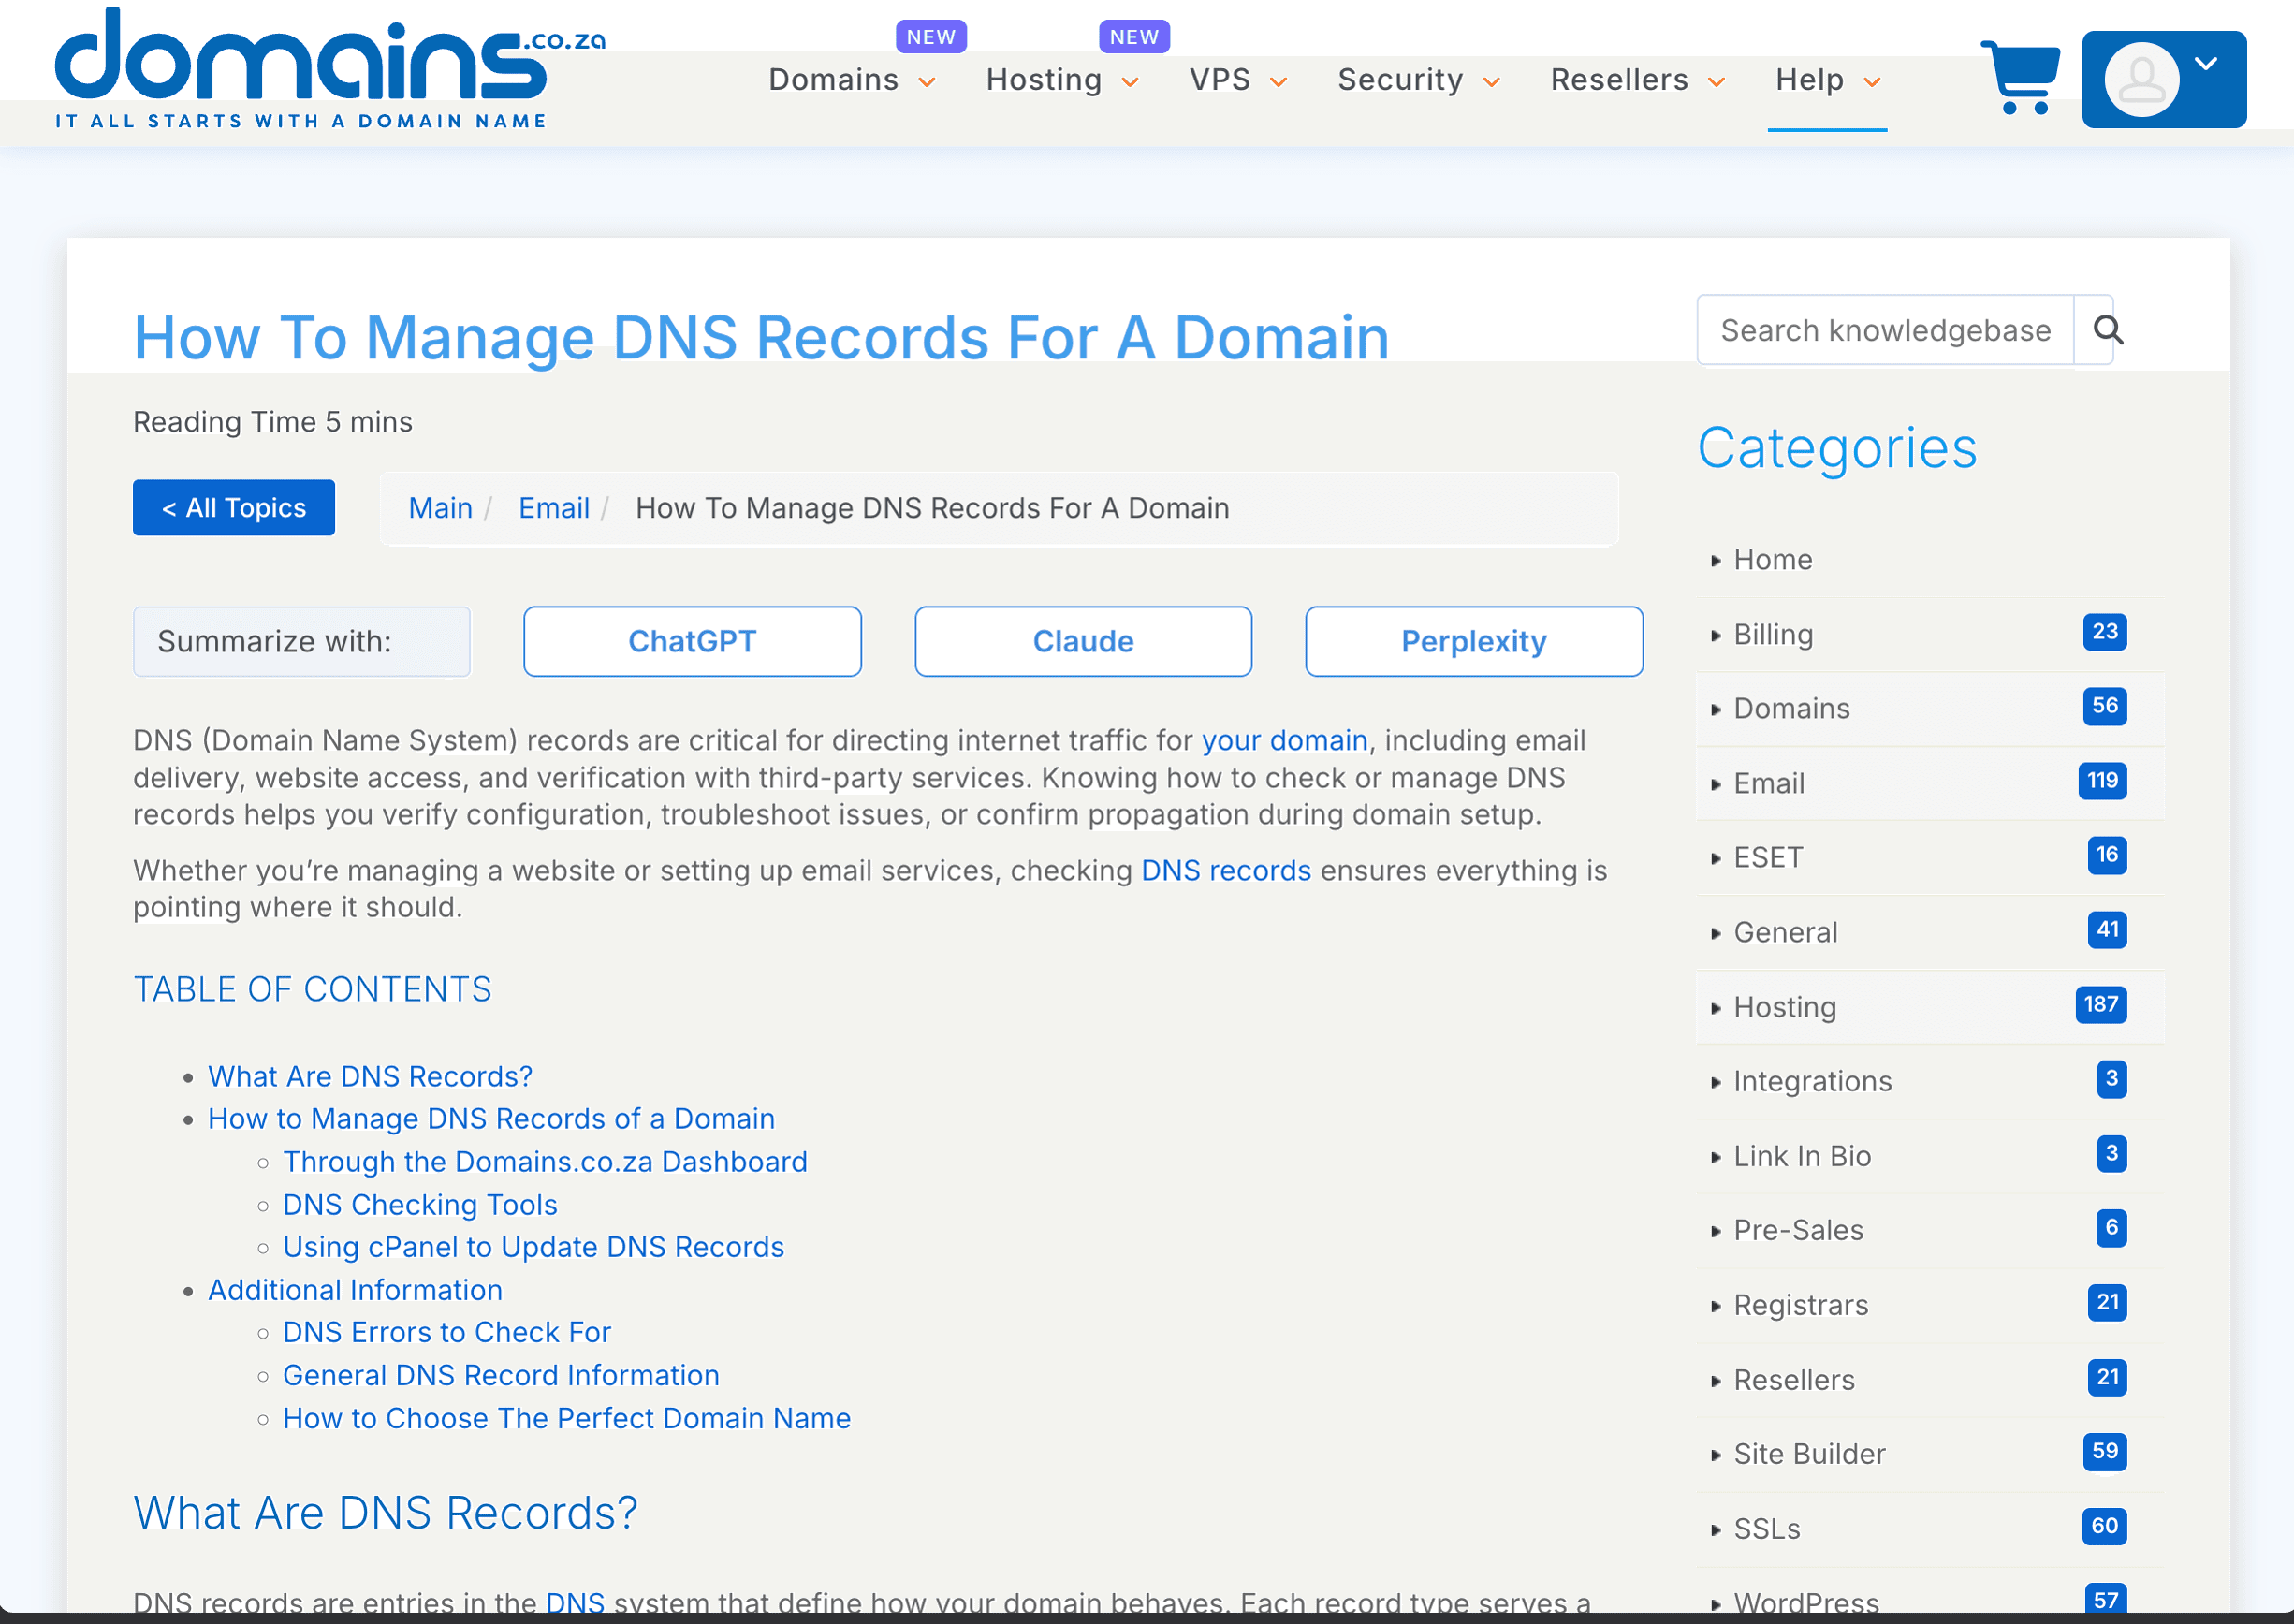
Pay special attention to any MX records (these control your email delivery) and TXT records (these handle things like spam protection and email verification for services like Microsoft 365 or Google Workspace). Don't move on until you've saved these.
Step 2: Add the Domain to Cloudflare
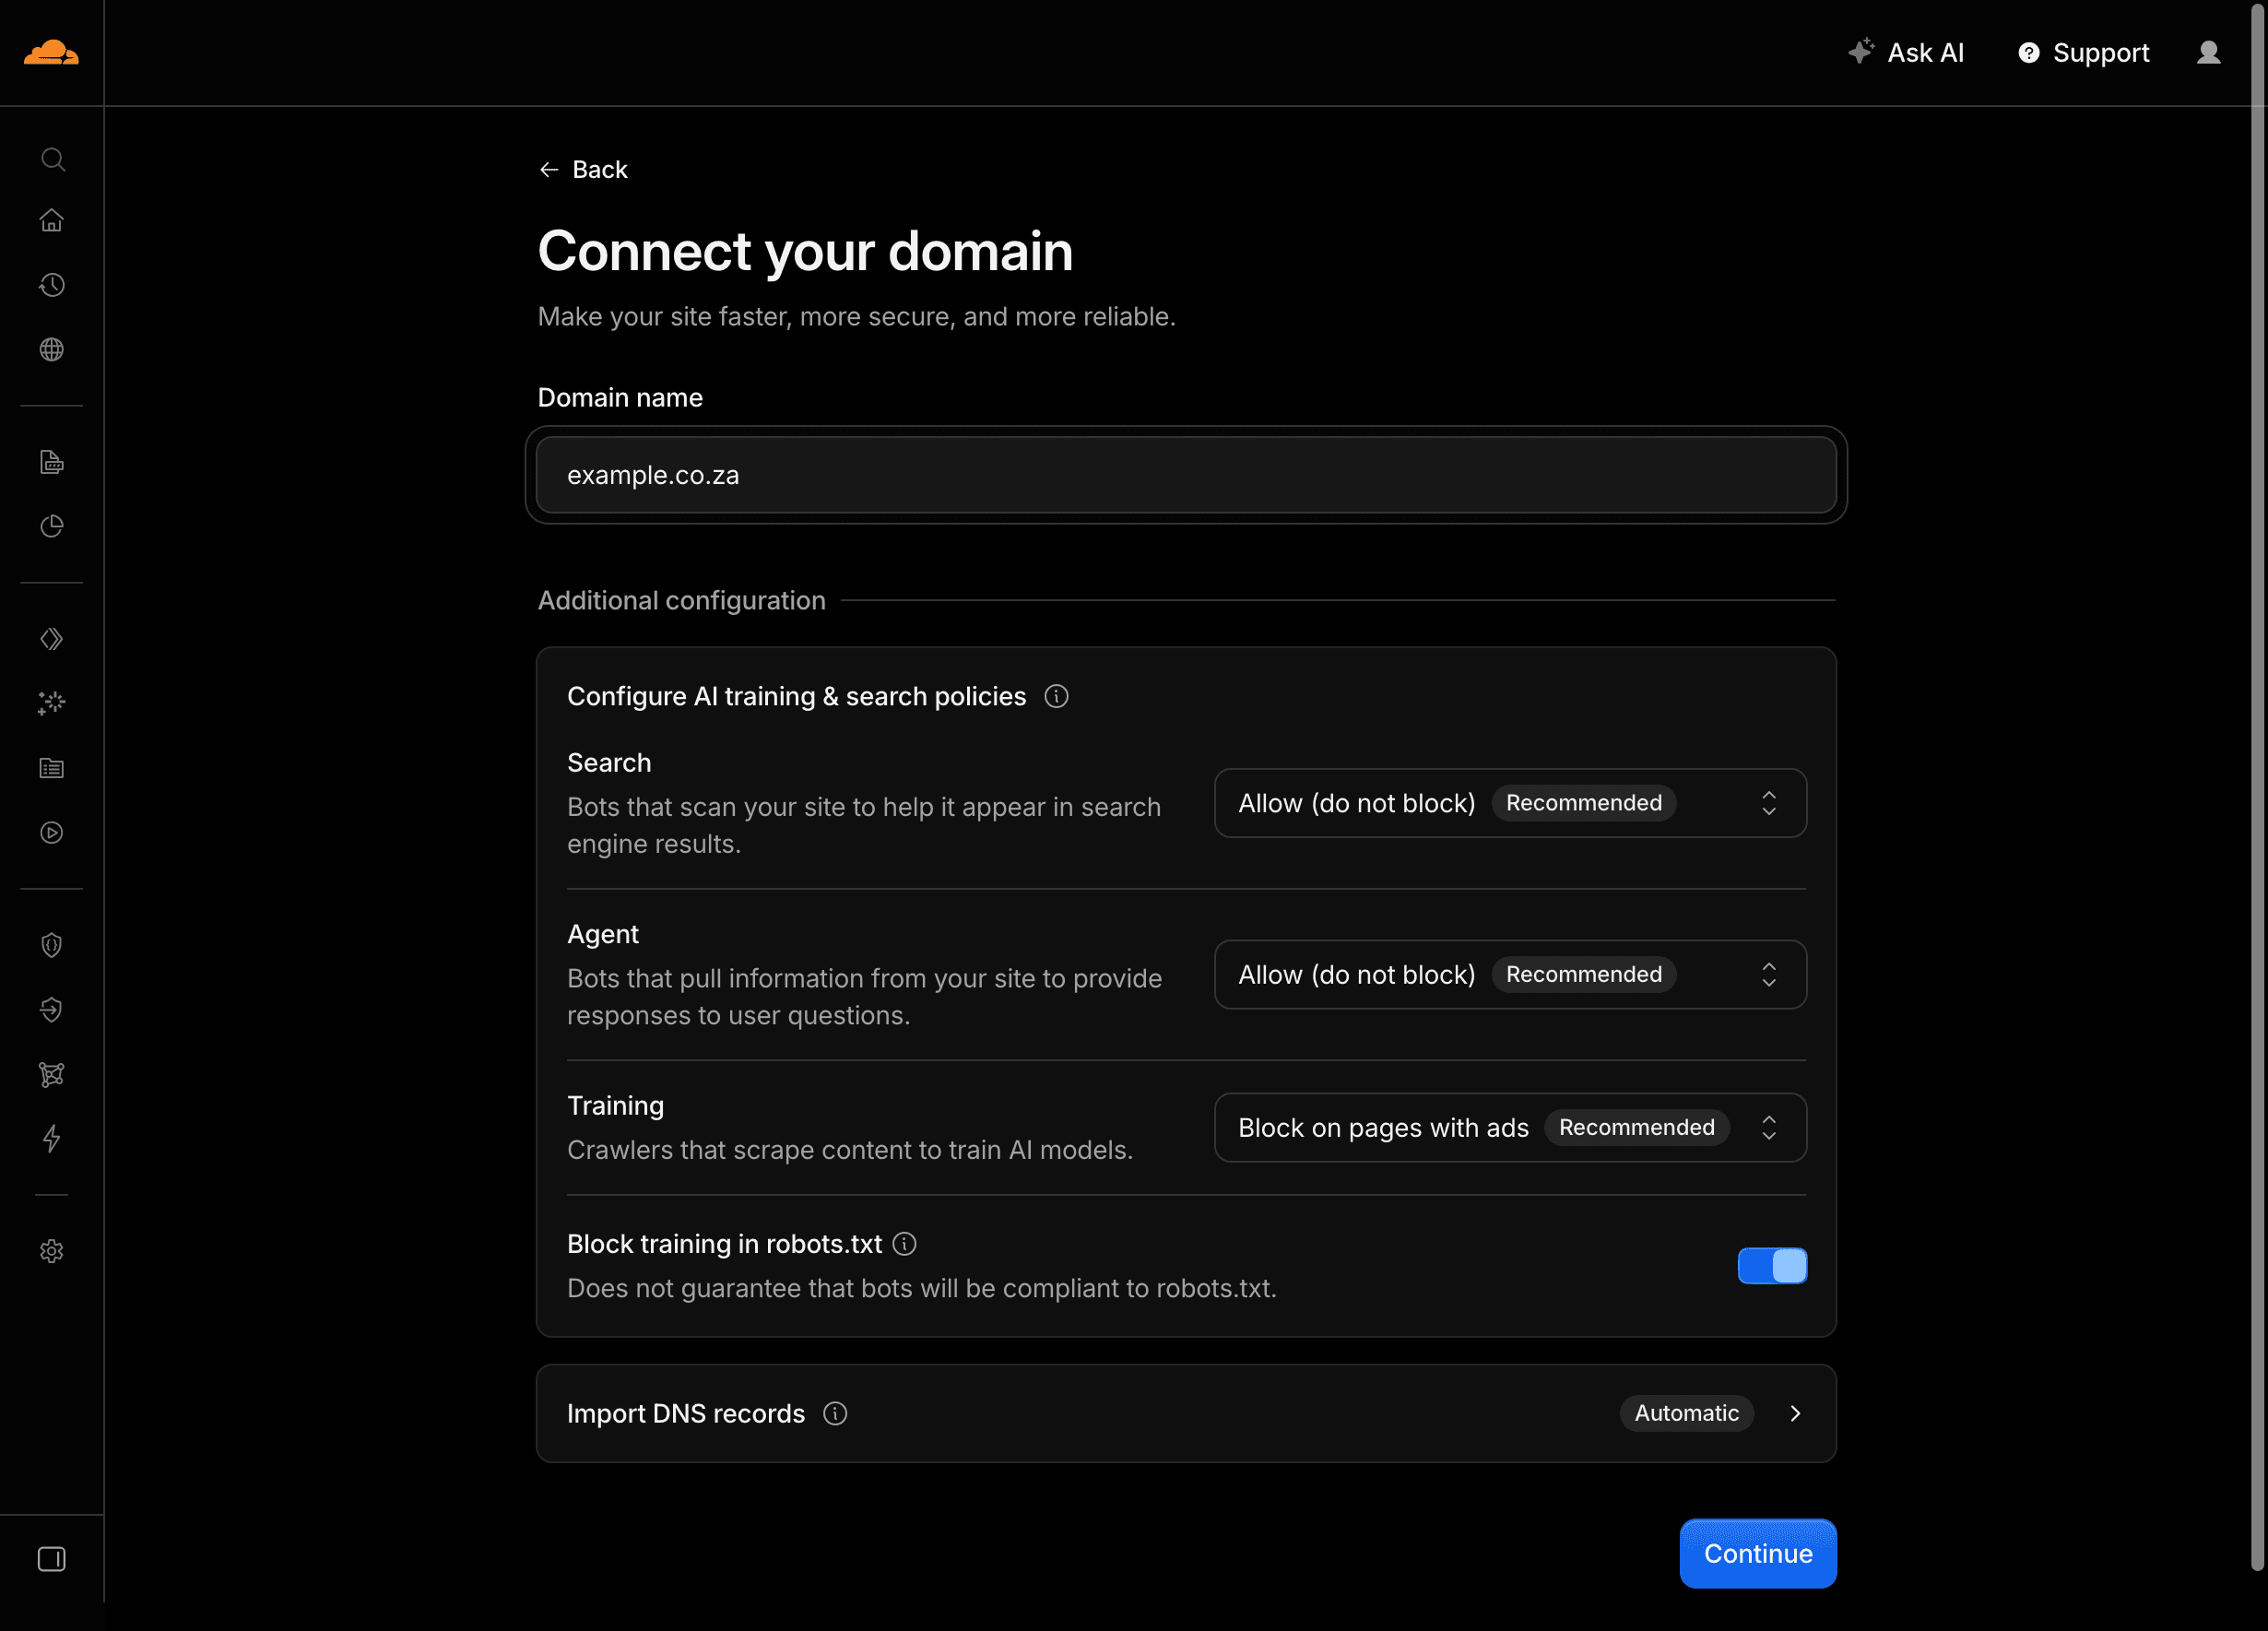
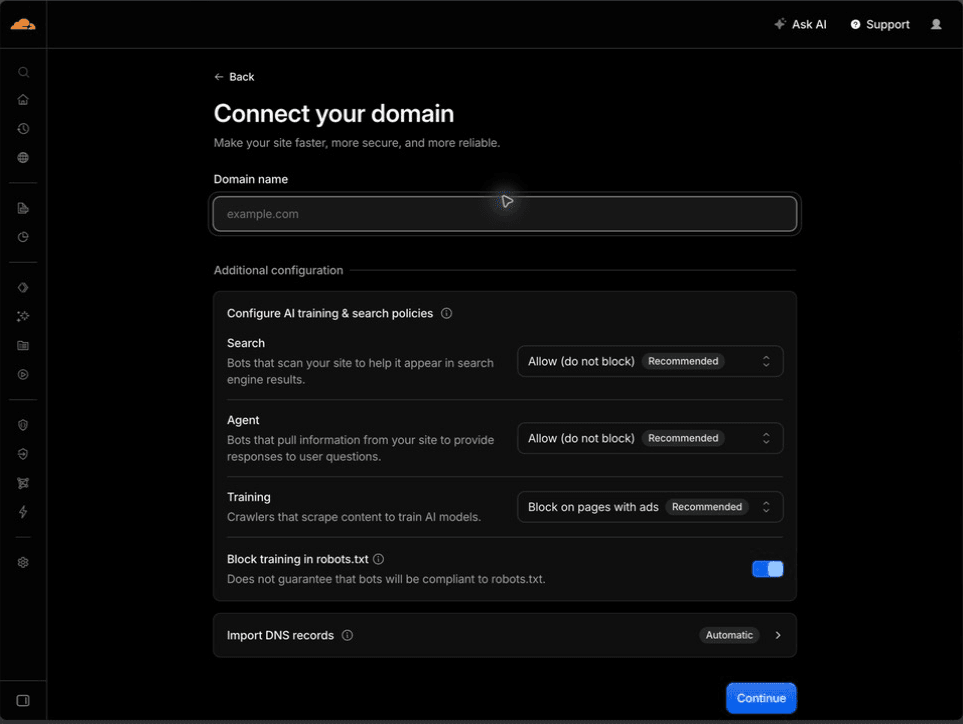
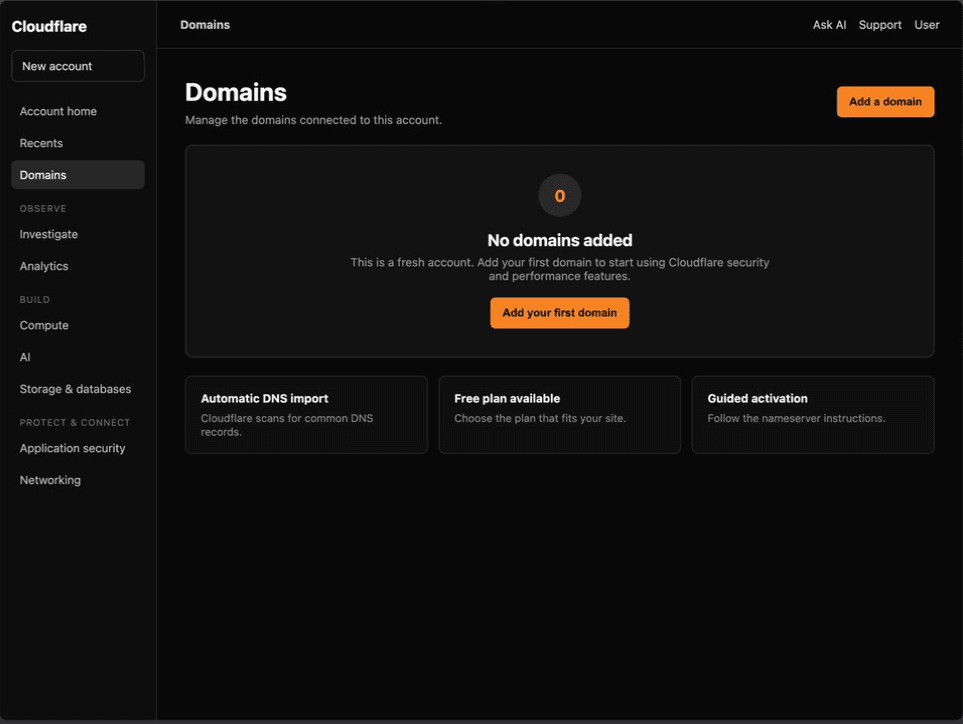
Sign in to the Cloudflare dashboard, click Add a domain, and type in your domain name. Use just the root domain (like example.co.za) — don't include www or https:// at the start.
Step 3: Choose a Cloudflare Plan
Pick the plan that suits your needs. The Free plan works well for most standard websites, and you can always upgrade later if you need to. Take a moment to check the current pricing and features before you confirm.
Step 4: Check the Imported DNS Records
Cloudflare will try to scan and import your existing DNS records automatically, but it doesn't always catch everything. Compare what Cloudflare found with the backup you saved in Step 1. If anything is missing, add it now.
This is the most important step to get right — missing records can mean your website or email stops working after the switch.
One thing to watch for: email-related records (like MX records) should be set to DNS only (shown as a grey cloud icon), not the orange "Proxied" cloud. The orange cloud is for web traffic and will break email if applied to mail records.
Step 5: Copy the Cloudflare Nameservers
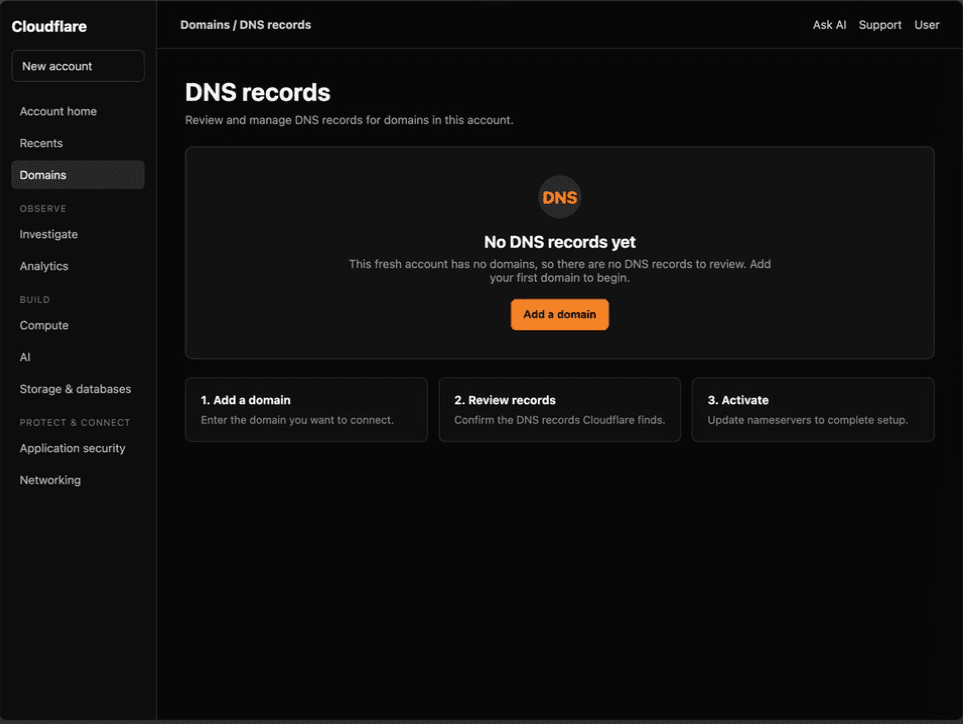
Cloudflare will show you two nameservers — these are the addresses you'll enter at Domains.co.za in the next steps. Keep this page open, or copy both nameserver addresses exactly as shown. Your nameservers will be different from anyone else's, so make sure you use the ones Cloudflare gives you.
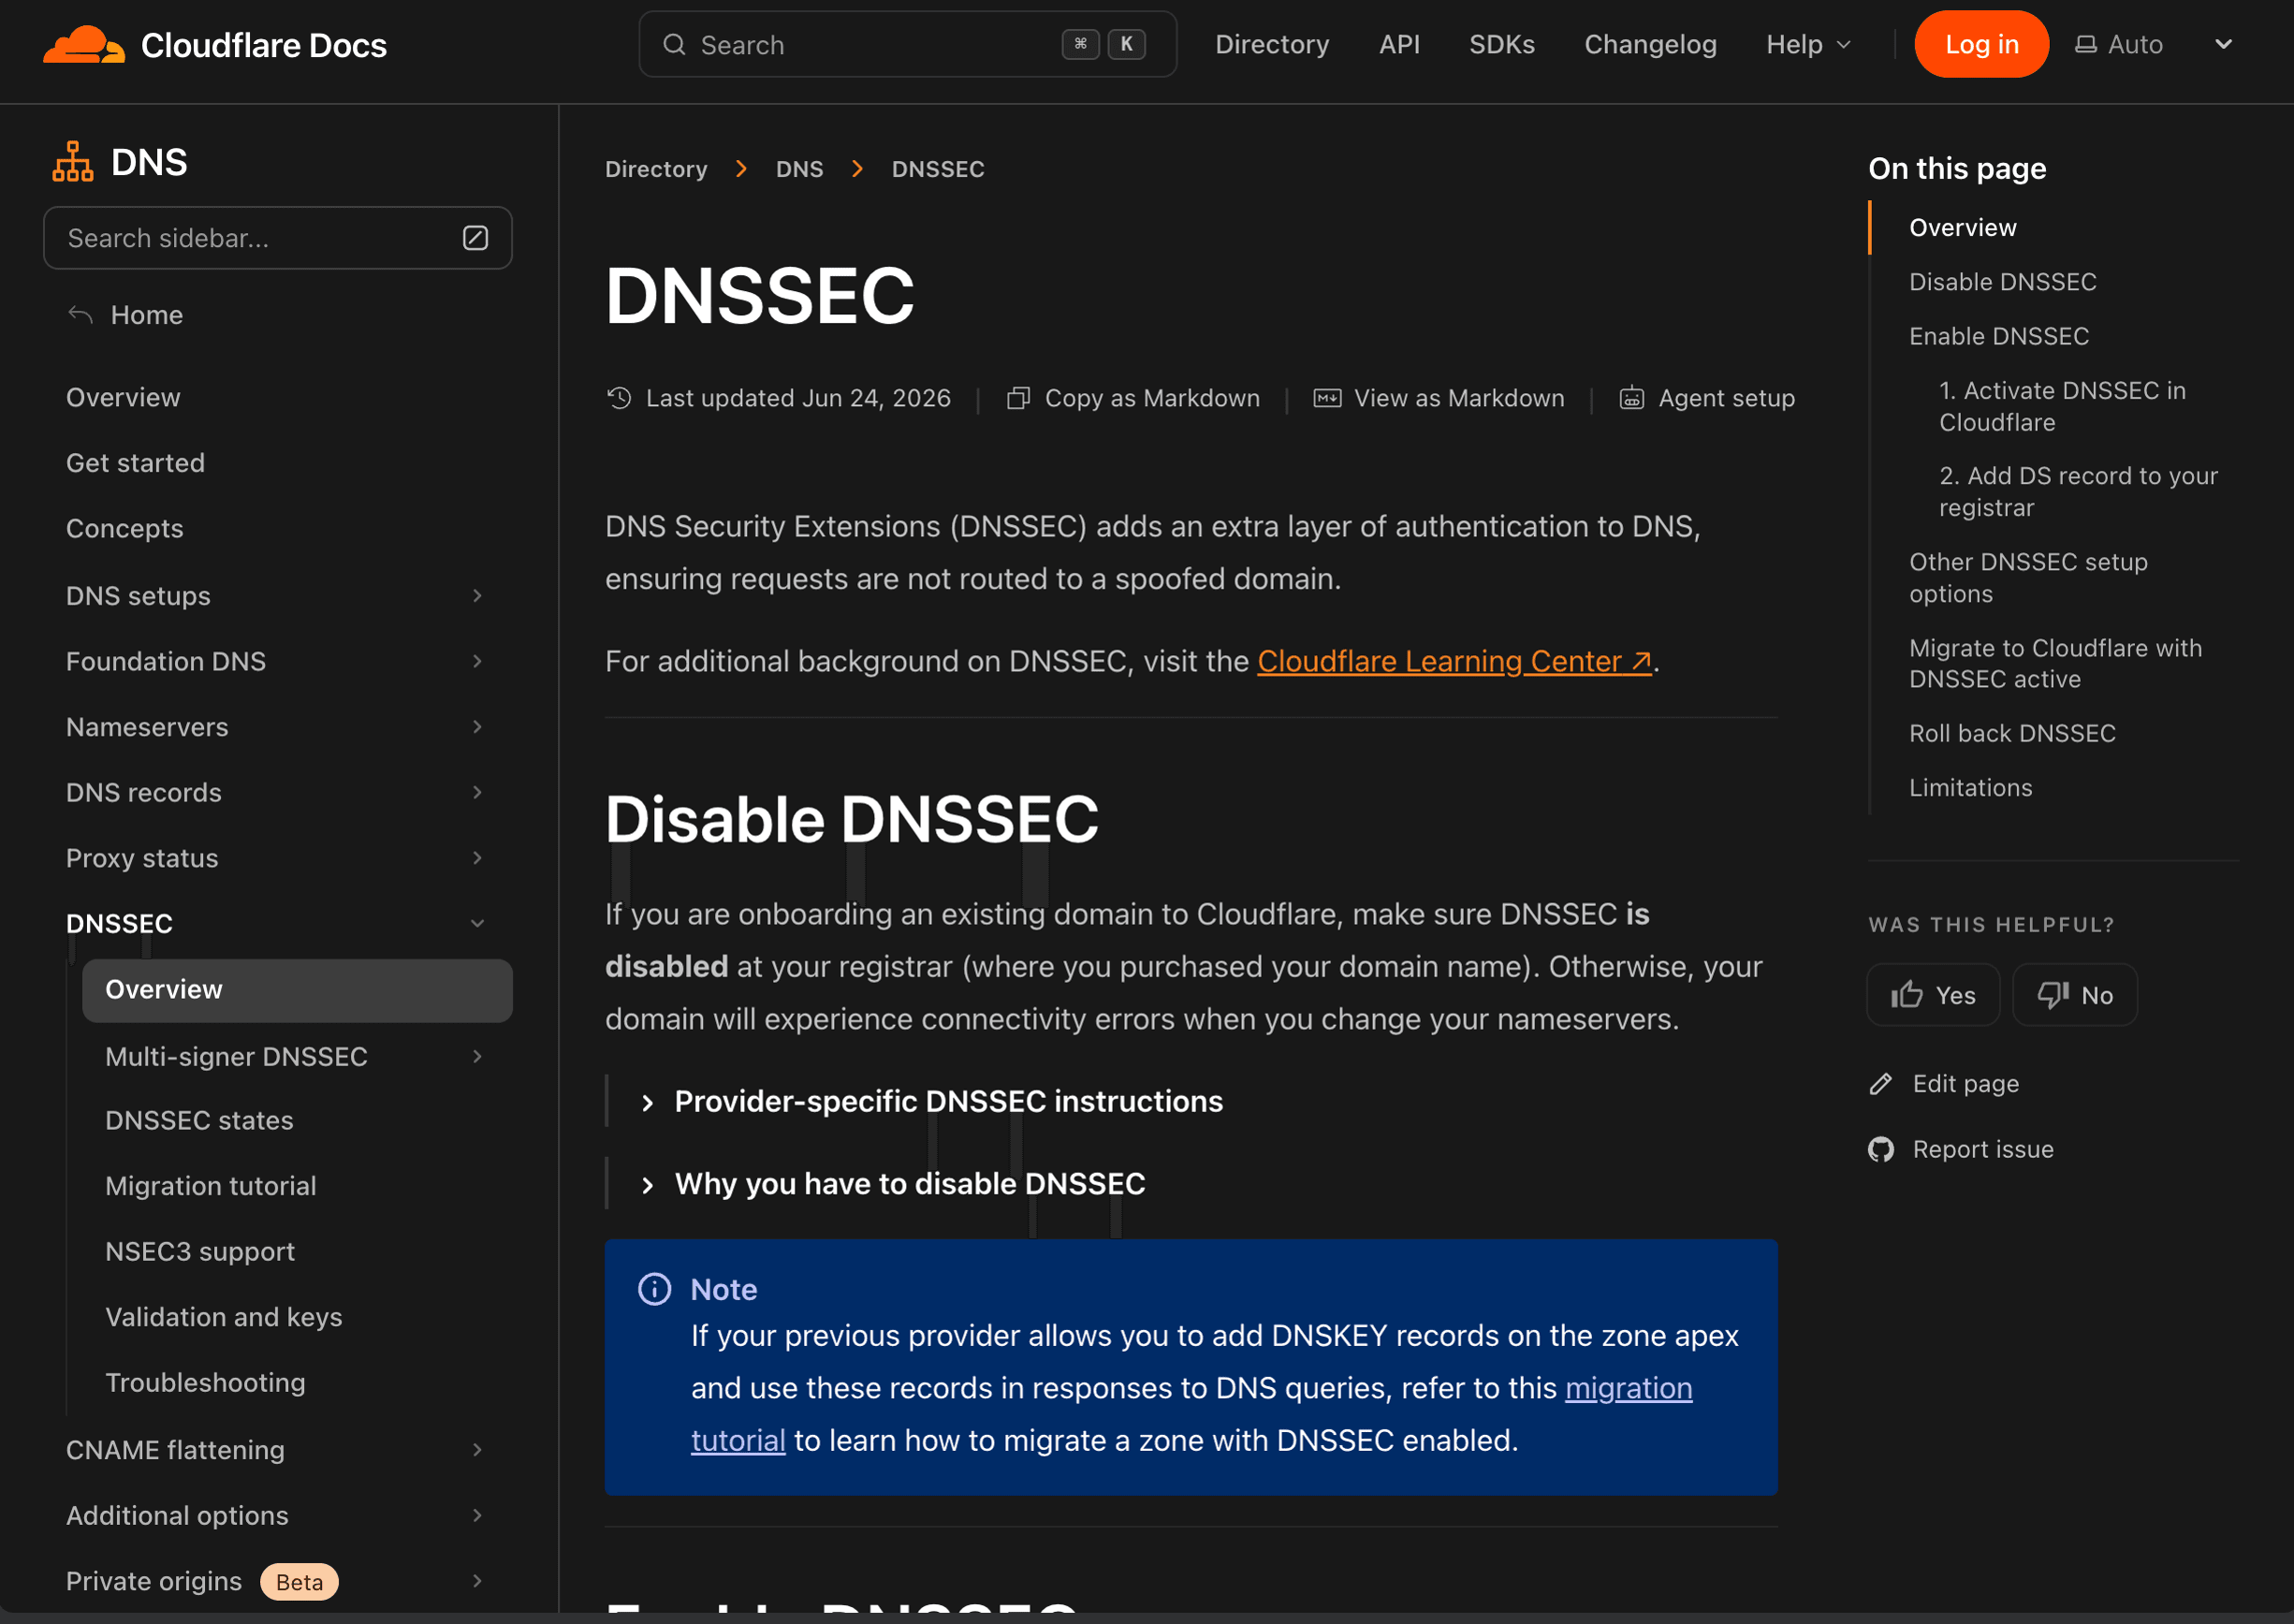
Step 6: Turn Off DNSSEC at Domains.co.za (If It's On)
DNSSEC is a security feature that some domains have enabled. Before you change the nameservers, you need to check whether it's turned on at Domains.co.za. If it is, disable it first.
This matters because old DNSSEC settings can conflict with new nameservers and make your domain completely unreachable. You'll turn DNSSEC back on through Cloudflare later (in Step 9), so nothing is lost.
Step 7: Update the Nameservers at Domains.co.za
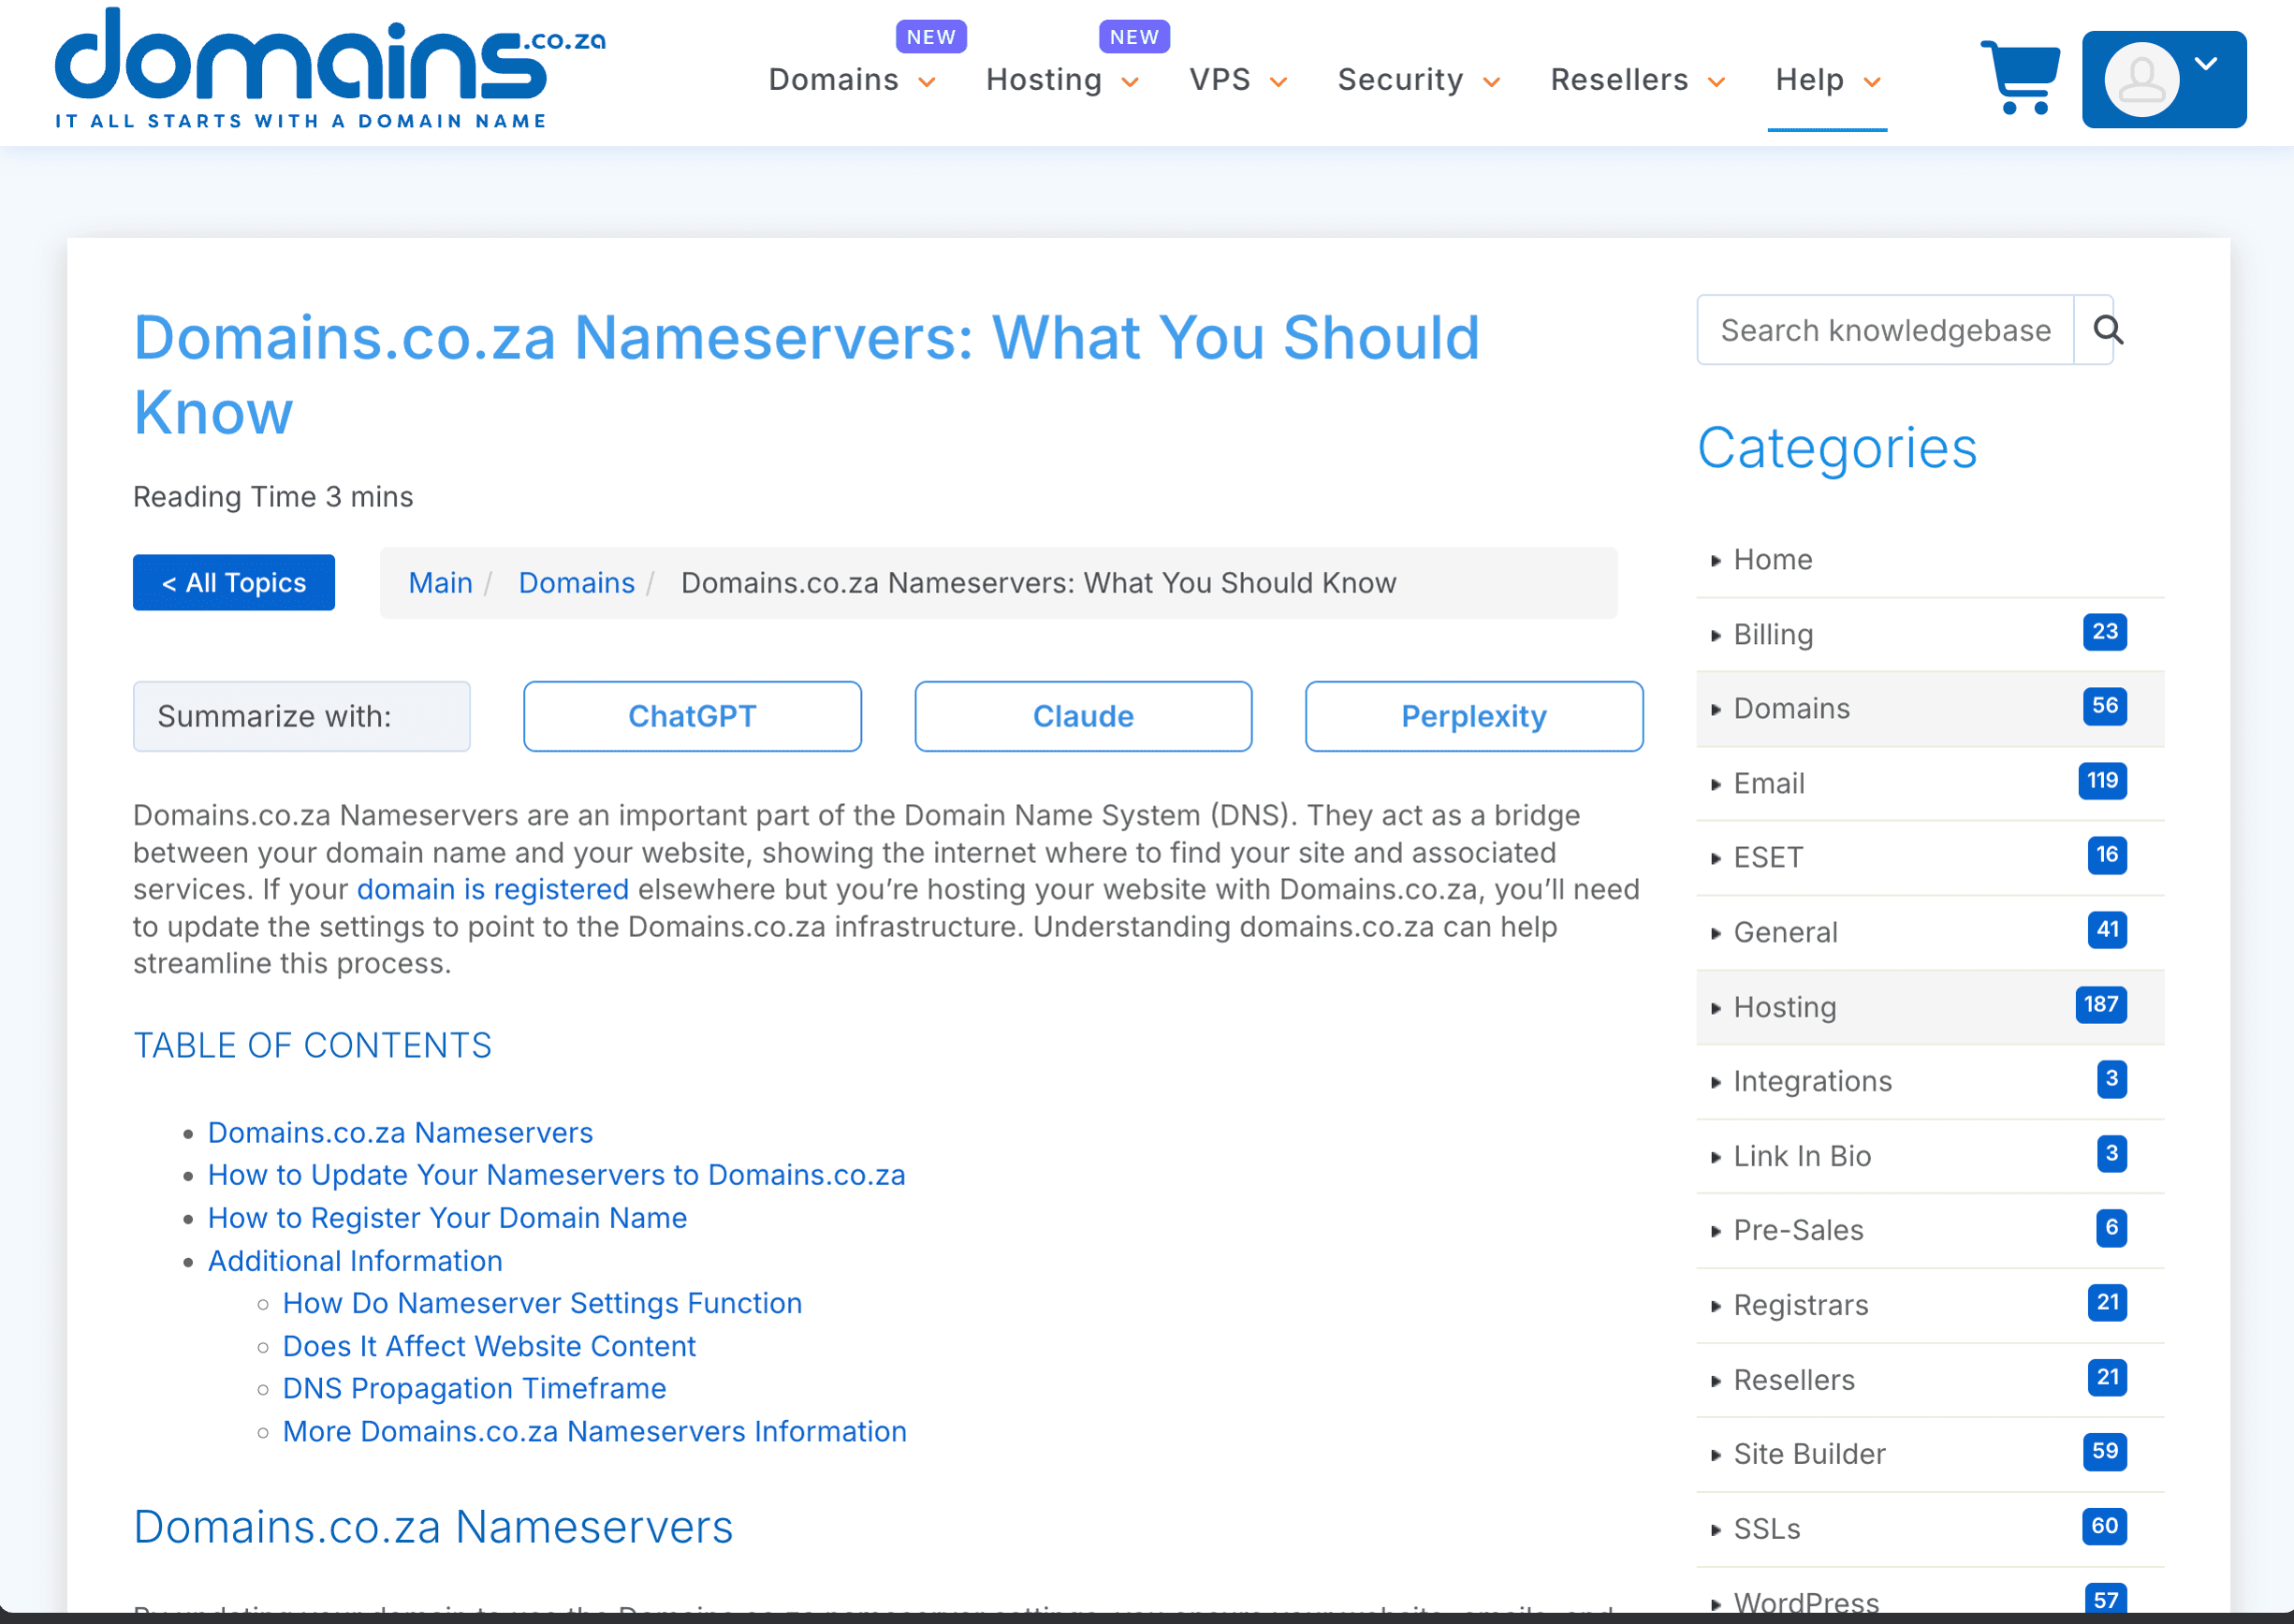
Now for the big moment. Go back to your domain in Domains.co.za, find the nameserver settings, and replace the existing nameservers with the two Cloudflare nameservers you copied in Step 5. Double-check for typos or extra spaces, then save.
Only do this step after you're confident that all your DNS records are correctly set up in Cloudflare (Step 4). Once you save, the internet will start looking to Cloudflare for your domain's settings instead of Domains.co.za.
Step 8: Wait for Cloudflare to Activate
Head back to Cloudflare and click Check nameservers if the button is available. The switch usually happens fairly quickly, but it can take up to 24 hours for the change to fully spread across the internet. Cloudflare will send you an email once your domain is active.
In the meantime, there's nothing else you need to do — just keep an eye on your inbox.
Step 9: Turn DNSSEC Back On Through Cloudflare
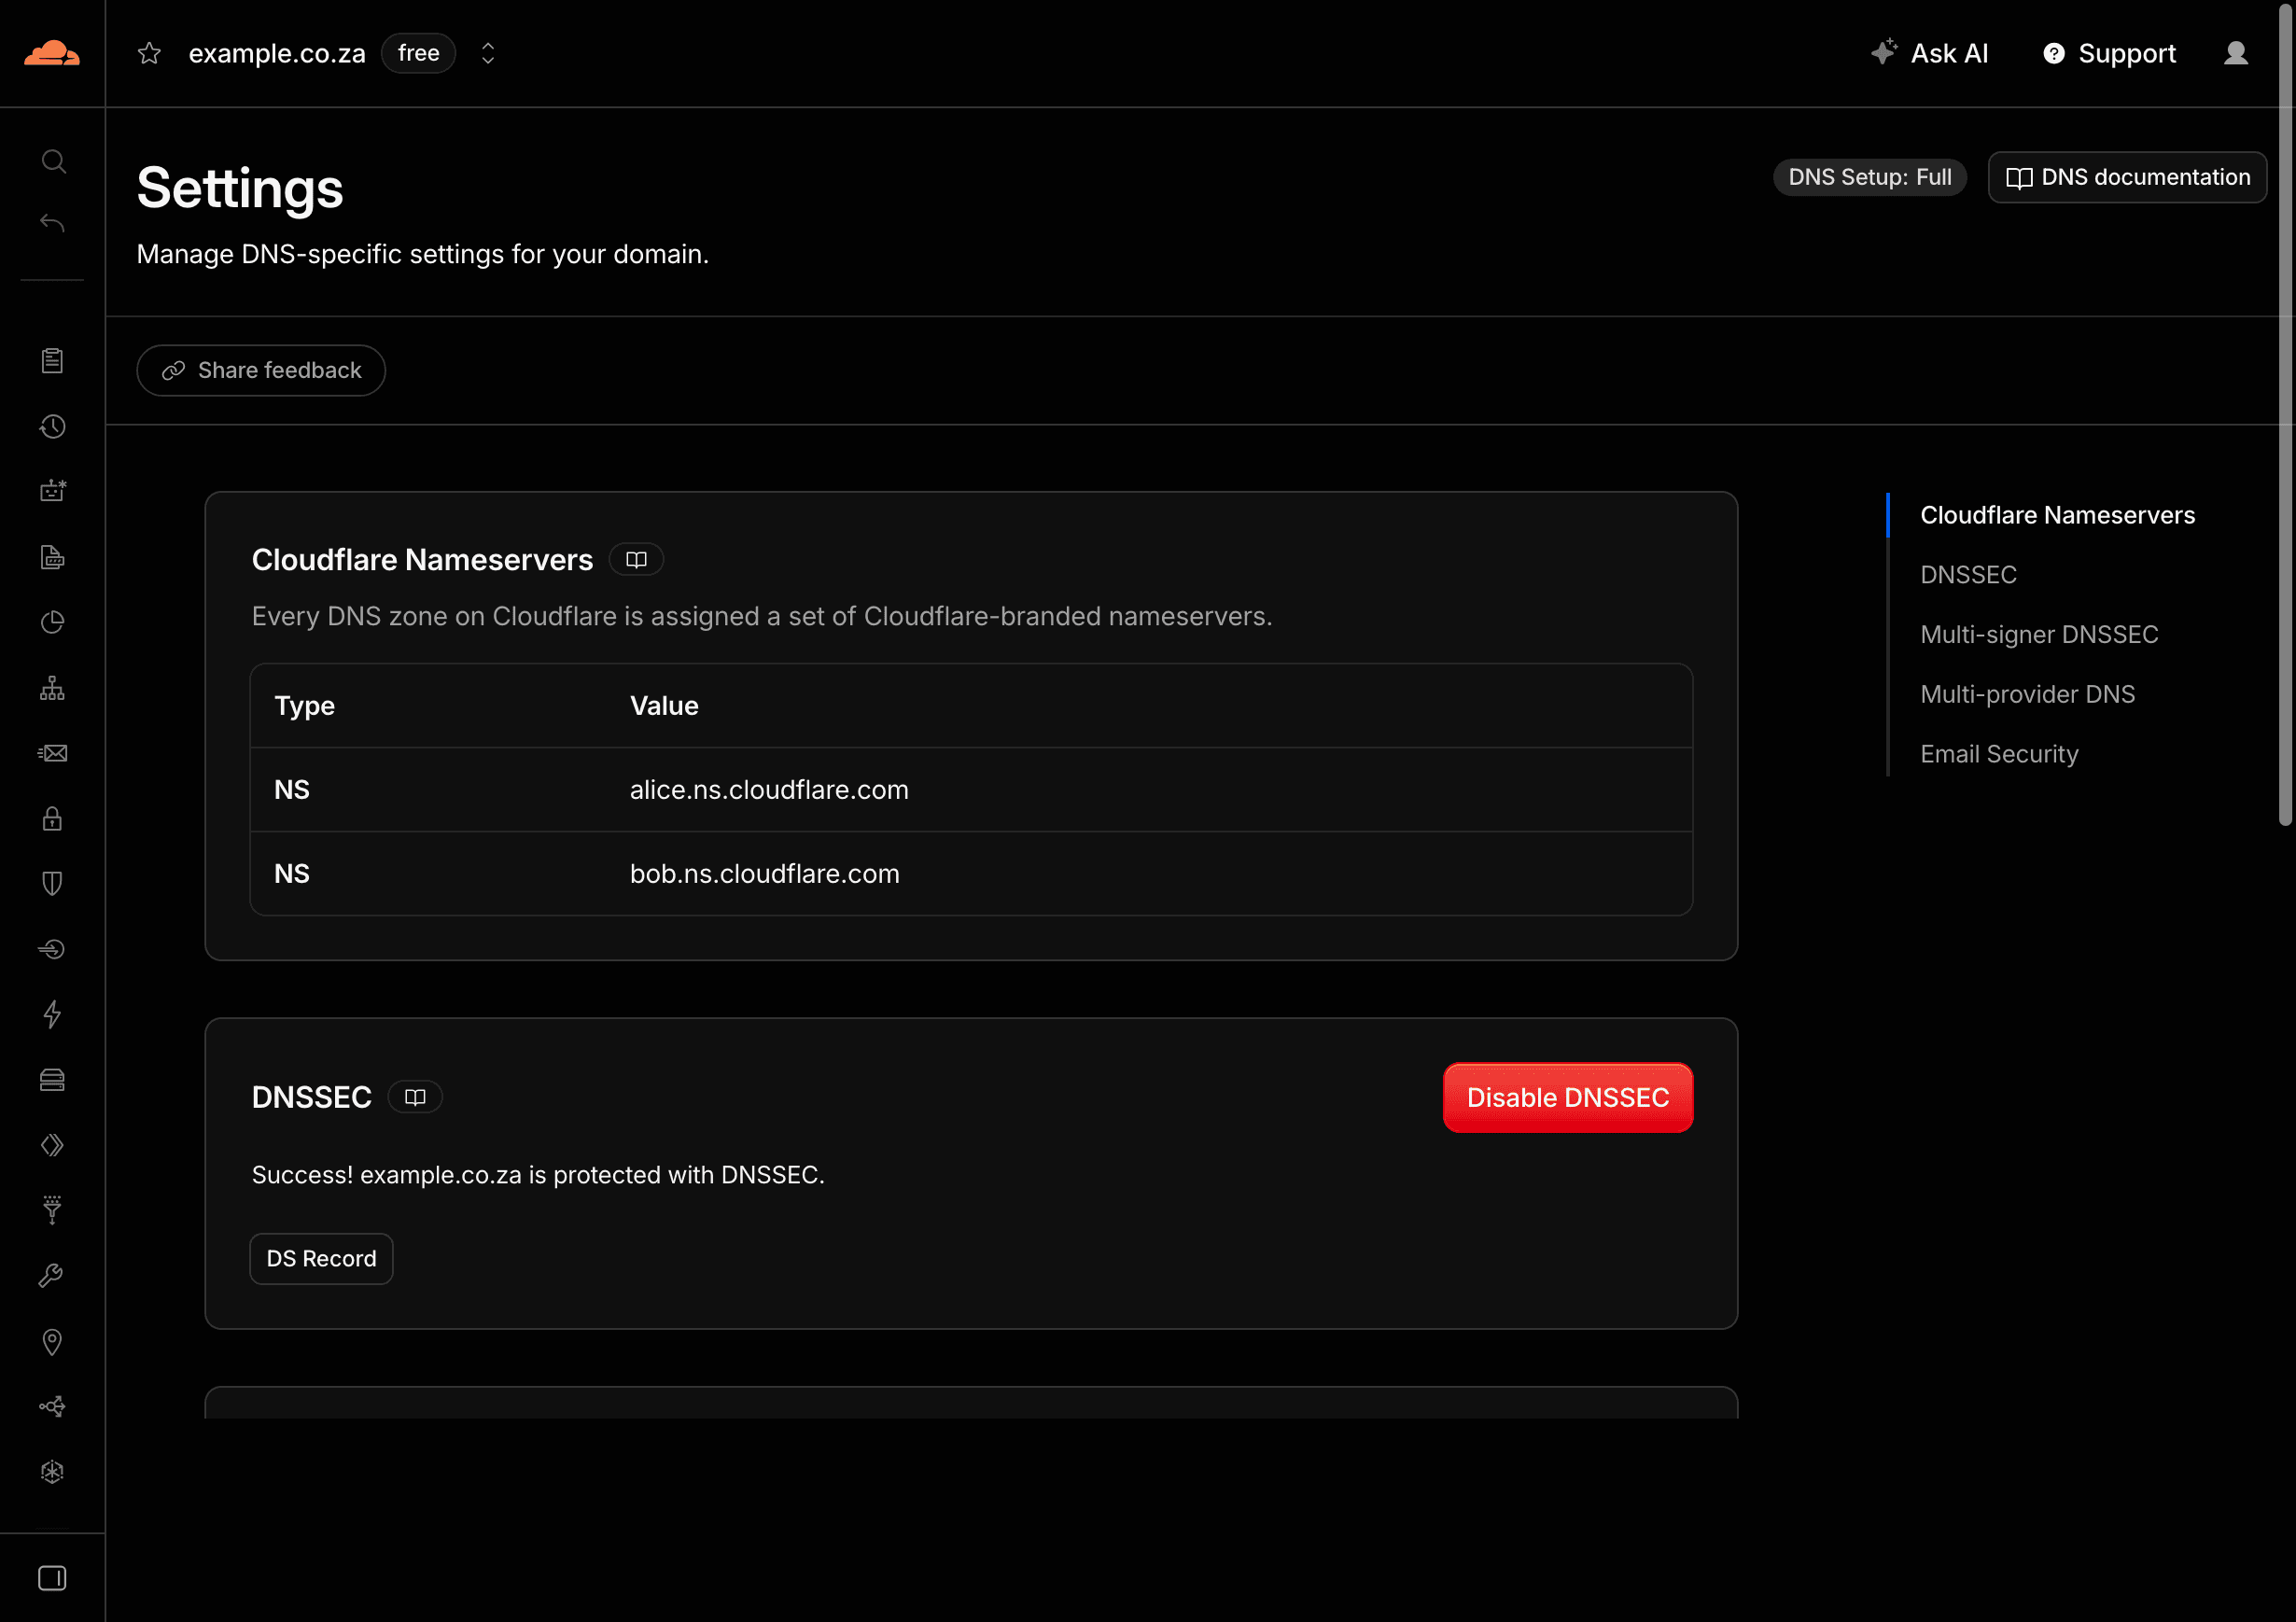
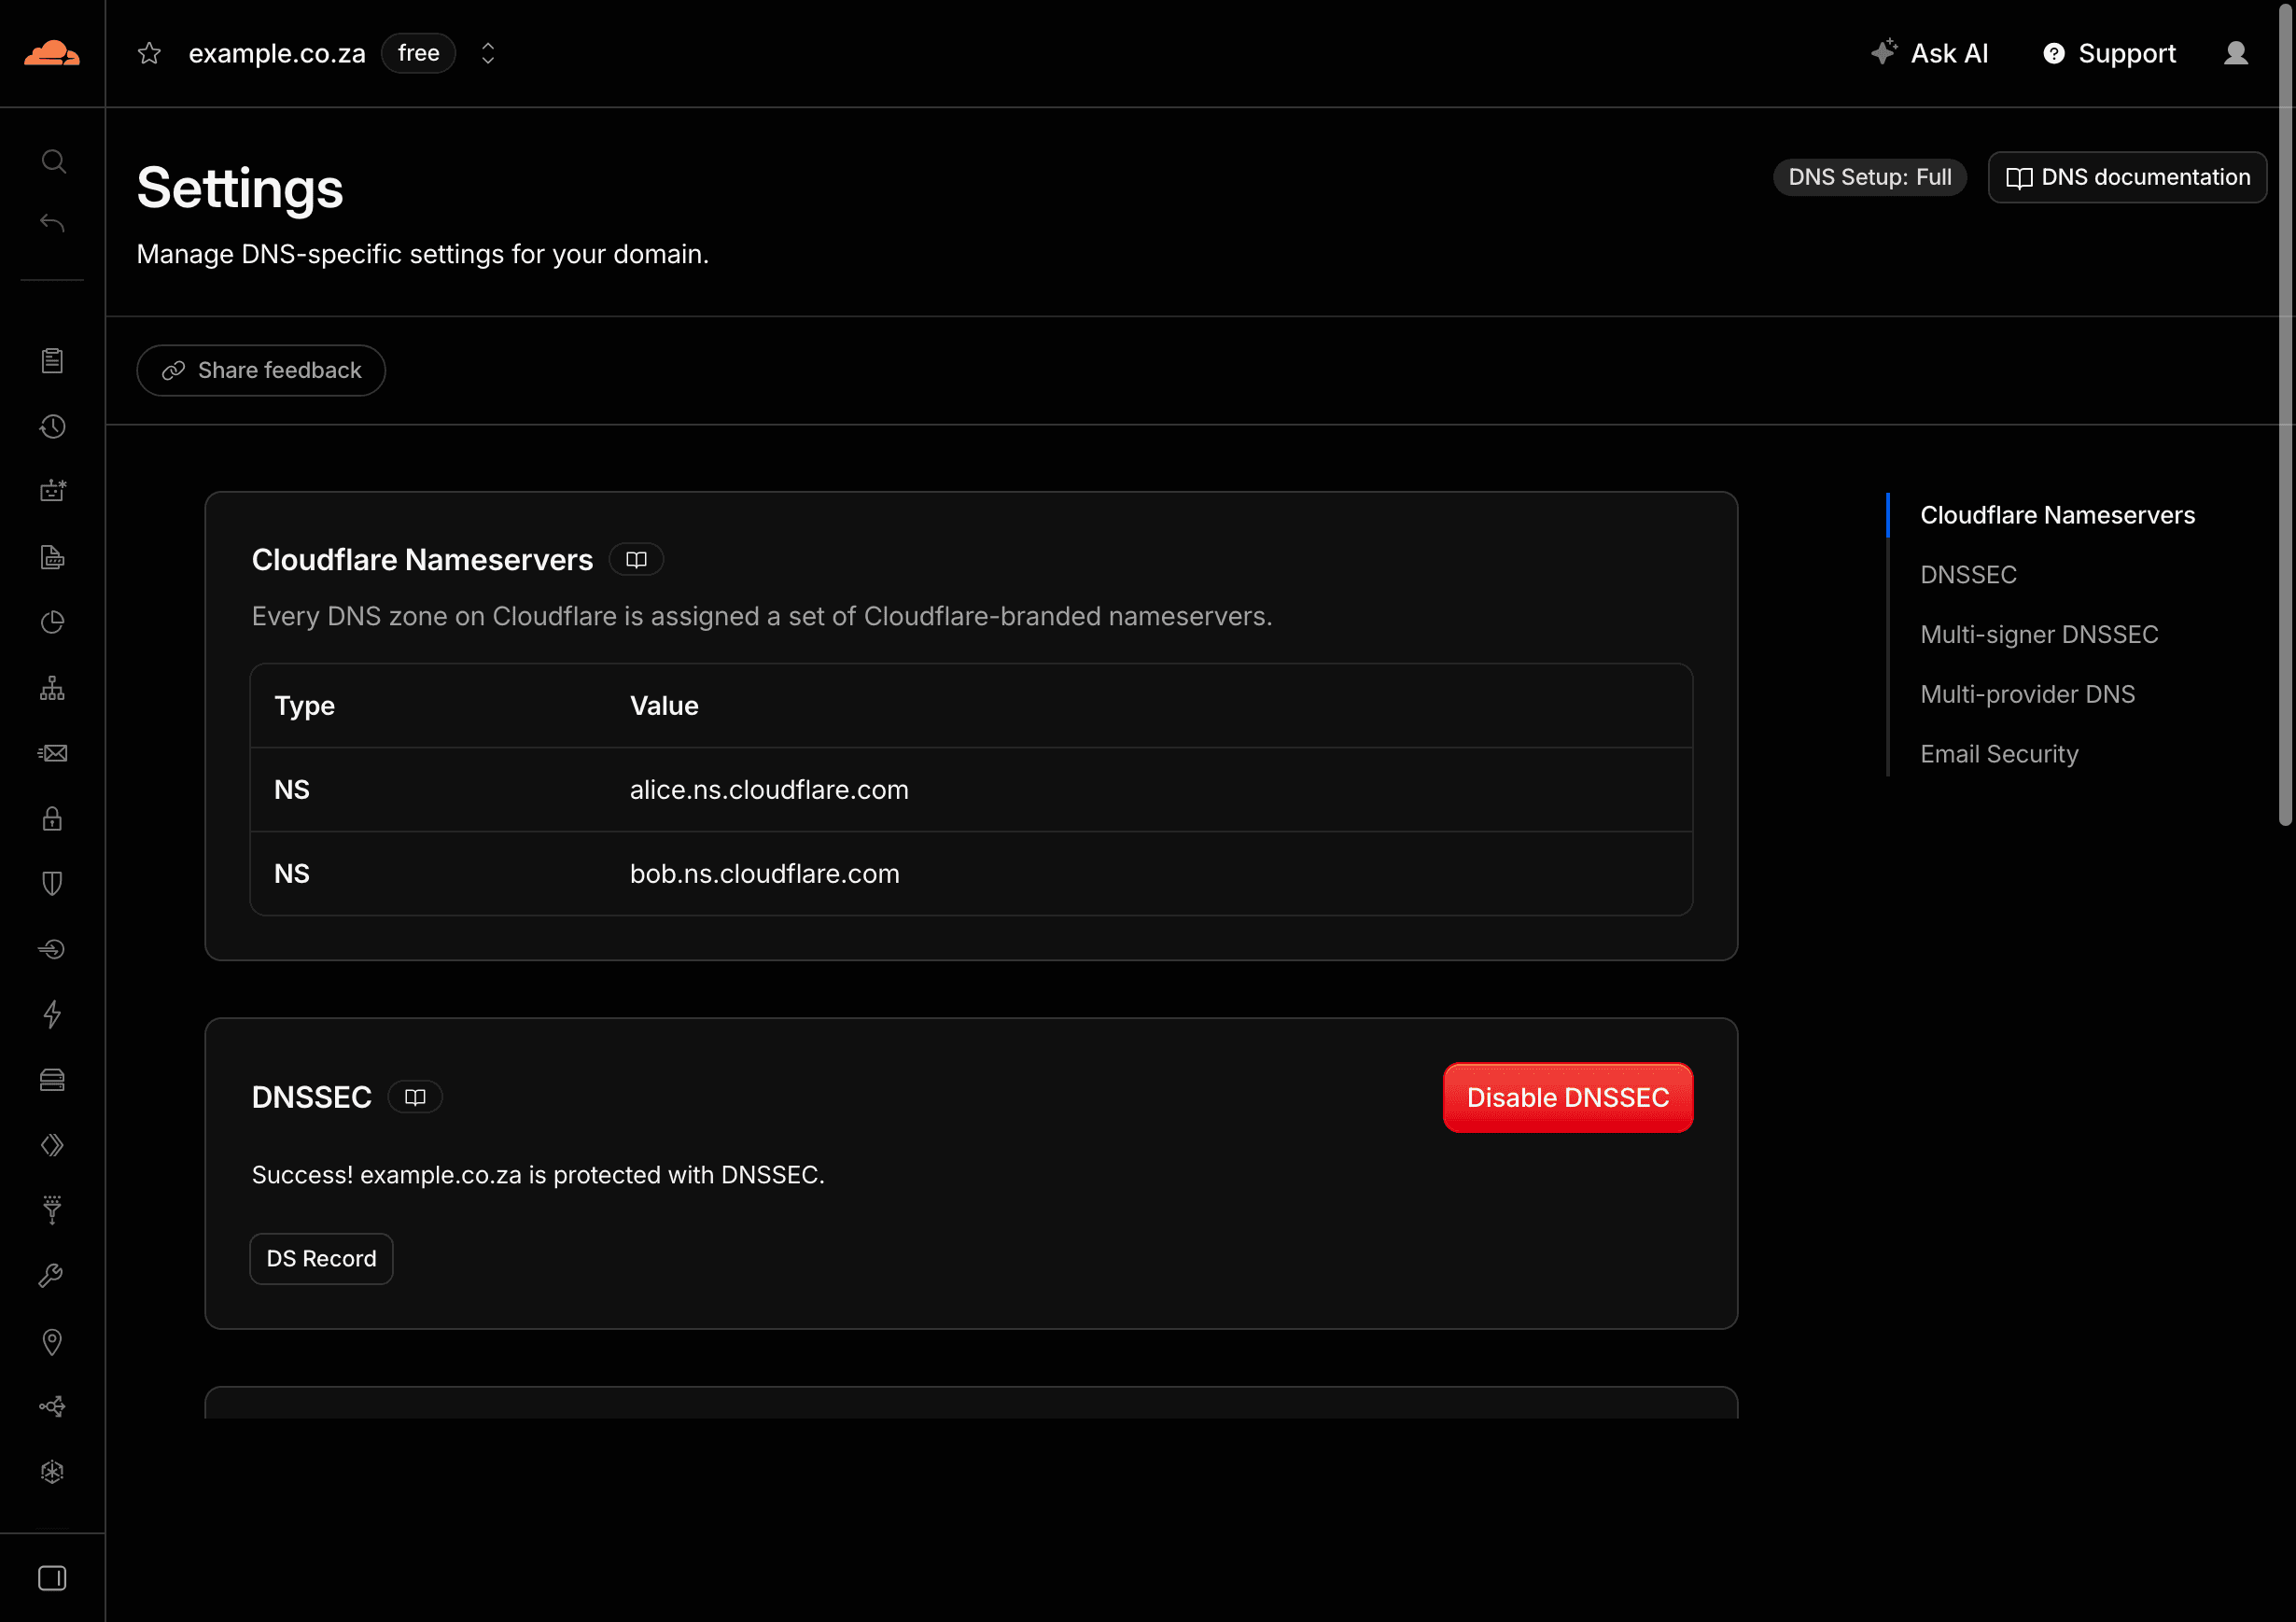
If you disabled DNSSEC in Step 6, now is the time to turn it back on — but this time through Cloudflare. Once your domain shows as Active, go to DNS, then Settings, and enable DNSSEC. If Cloudflare asks you to add a DS record at Domains.co.za, follow those instructions. Make sure Cloudflare shows DNSSEC as active before you move on.
If you didn't have DNSSEC enabled before, you can skip this step.
Step 10: Test Your Website and Email
Open your website in a private (incognito) browser window — try both the root domain (like example.co.za) and the www version. Then send a test email to an address on your domain, and send one from that address to somewhere else. Both directions need to work.
If something isn't working, compare the DNS records in Cloudflare with the backup you saved in Step 1 before making any other changes.
Once everything checks out, Dev3 Studio can take over the remaining web configuration using our Cloudflare Administrator access.
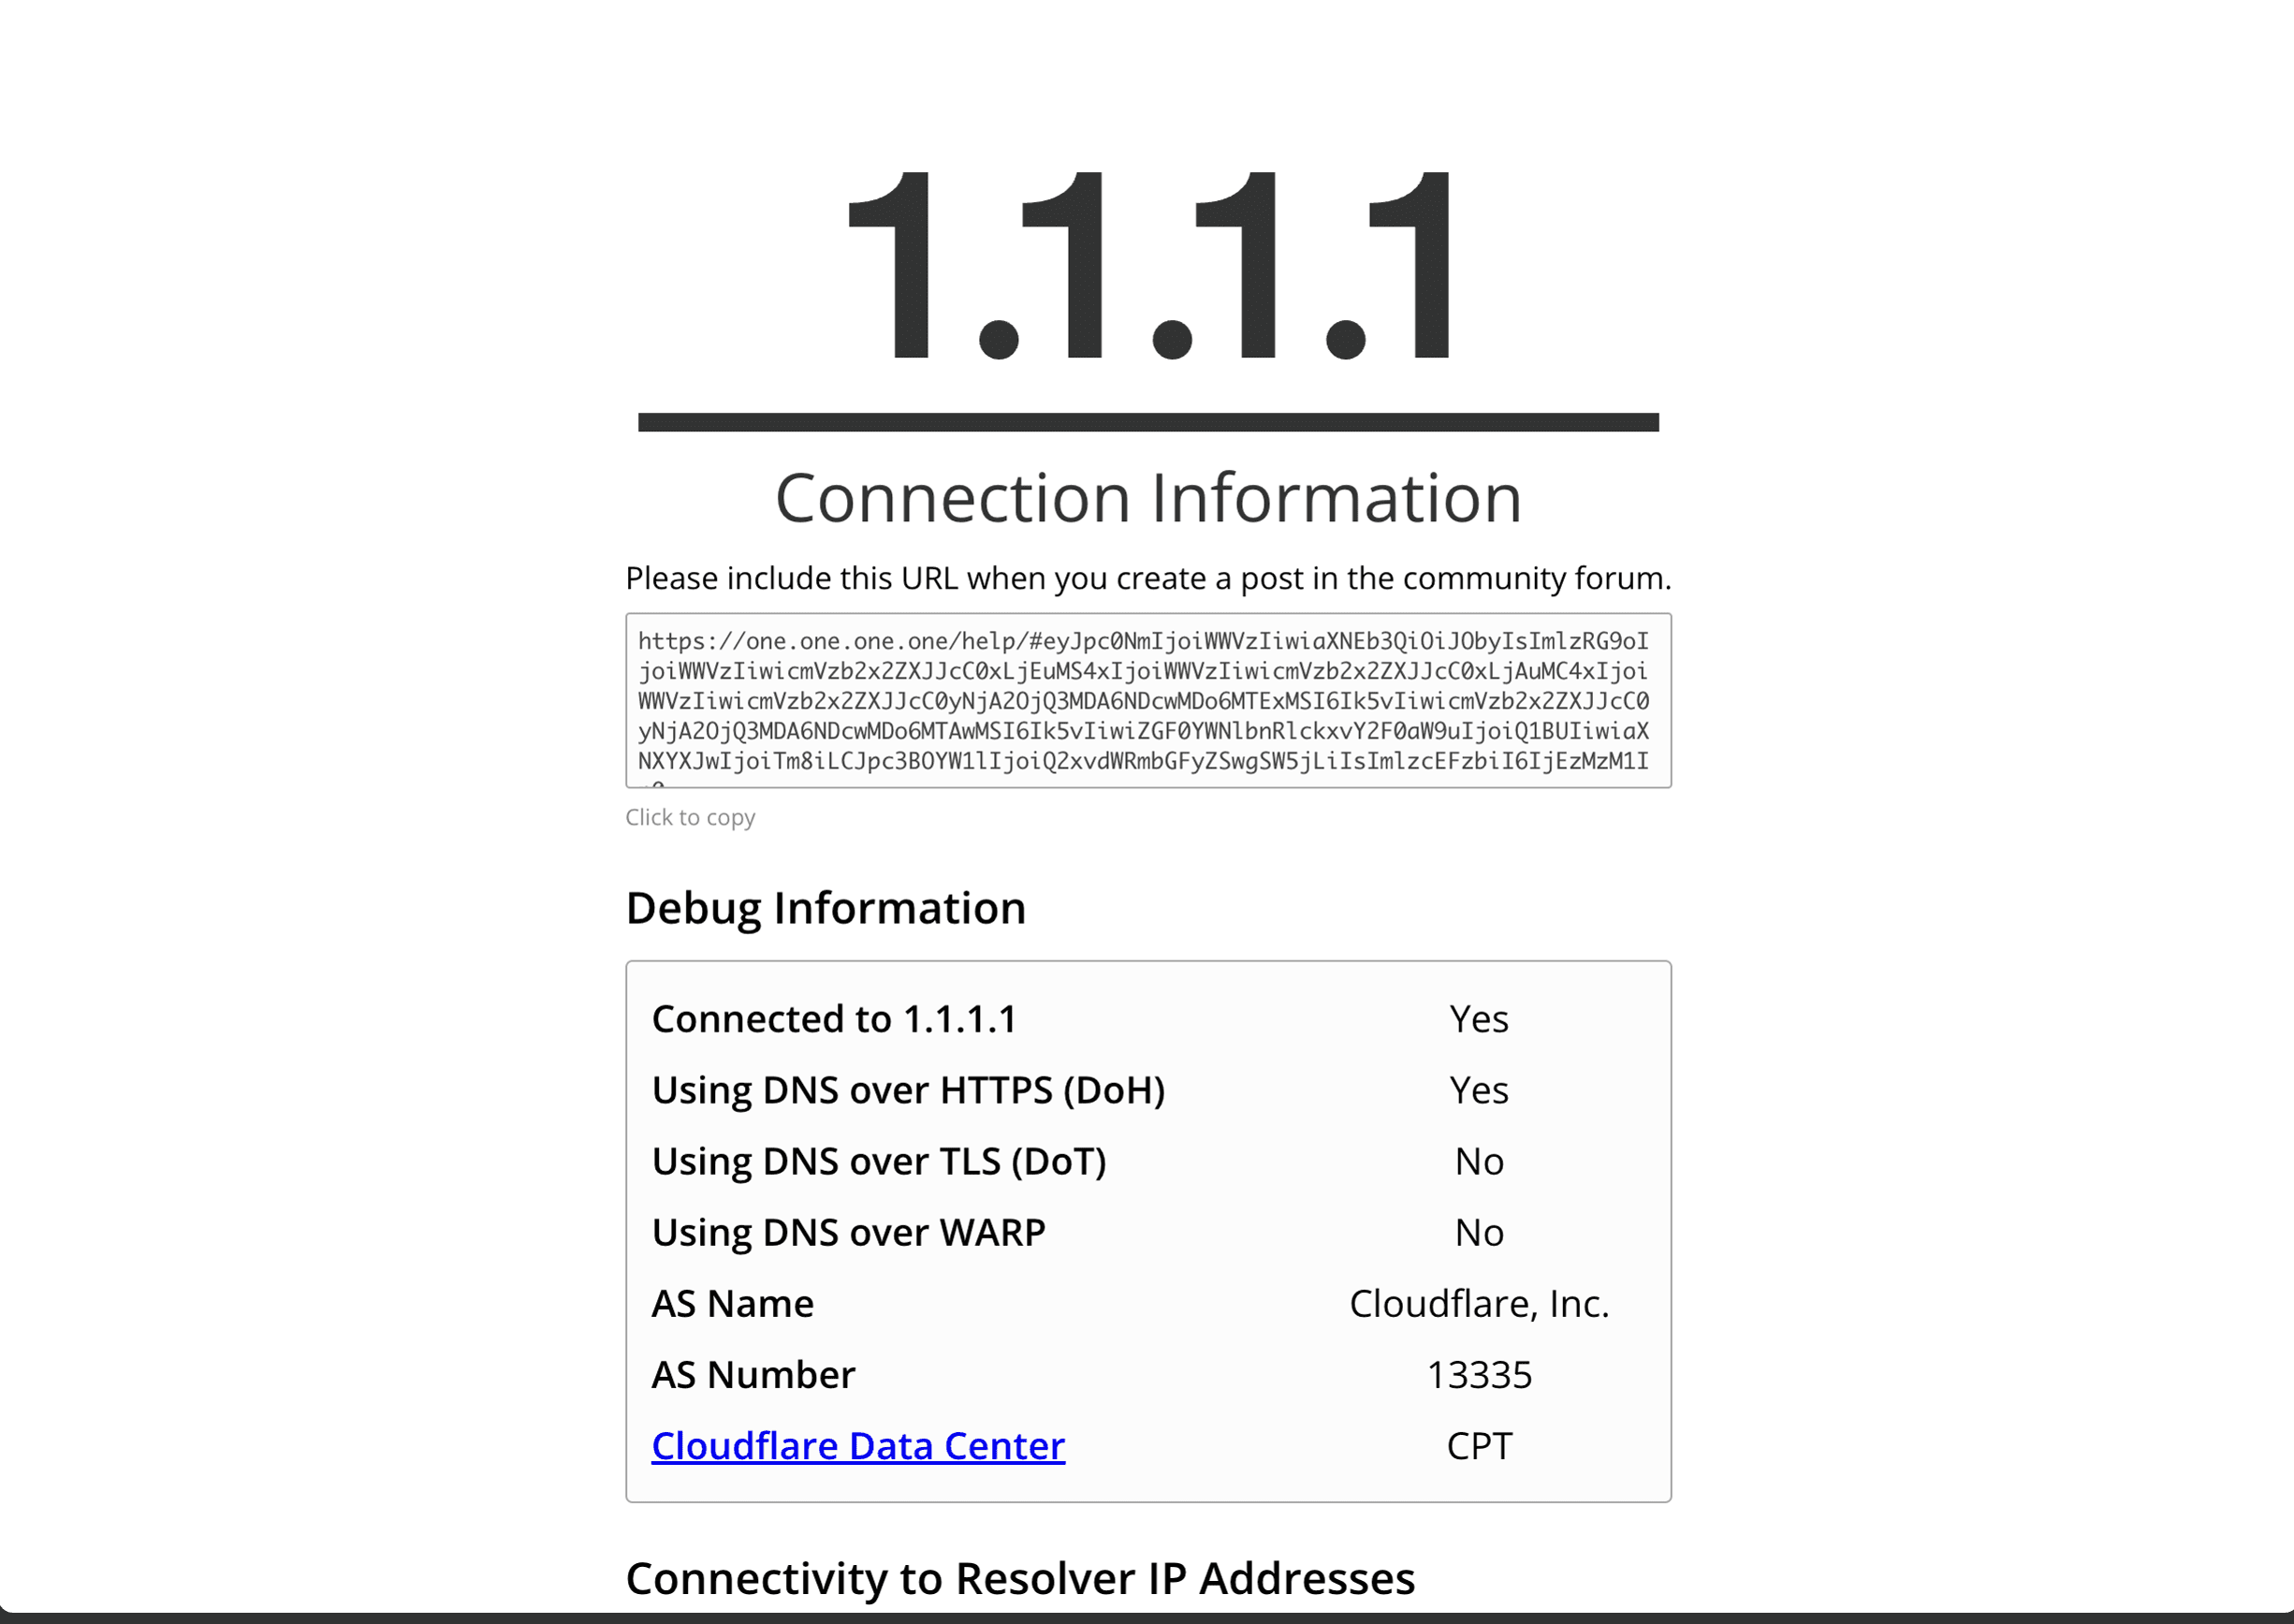
Completion Checklist
Troubleshooting
- Cloudflare still says "Pending": Double-check that the nameservers at Domains.co.za exactly match the pair Cloudflare gave you (watch for typos). It can take up to 24 hours, so give it time if you just made the change.
- The website isn't loading: Compare the root domain and
wwwrecords (A, AAAA, or CNAME) in Cloudflare with your backup from Step 1. A missing or incorrect record is the most common cause. - Email isn't working: Check that all MX, SPF, DKIM, and DMARC records are in Cloudflare. Make sure email-related records are set to DNS only (grey cloud), not Proxied (orange cloud).
- You're seeing a DNSSEC error: This usually means the old DS record at Domains.co.za wasn't removed before the nameserver change. Remove it, then follow Cloudflare's DNSSEC setup to create a new one.
Security Reminder
Your domain registration at Domains.co.za stays entirely under your control — Dev3 Studio doesn't need access to your registrar account. You also remain the Cloudflare account owner. Never share your passwords, authentication codes, recovery codes, or API keys with anyone, including us. If you ever want to check who has access to your Cloudflare account, you can review the Members page anytime.