The Ultimate Guide to Website Metadata & OpenGraph: Pro Tips
You've spent weeks building a great product page. You share the link on LinkedIn, and... it shows up as a sad, blank rectangle with a raw URL. No image. No description. Maybe a title that got cut off mid-sentence. Not exactly the first impression you were going for.
The fix is metadata—especially Open Graph tags. These snippets in your page's <head> give compatible social platforms and messaging apps a title, description, image, and canonical URL to use when rendering a shared link. Each platform still decides how to display the data, so good tags improve your odds rather than guaranteeing an identical preview everywhere.
Here's how to get it right.
The essential OpenGraph tags
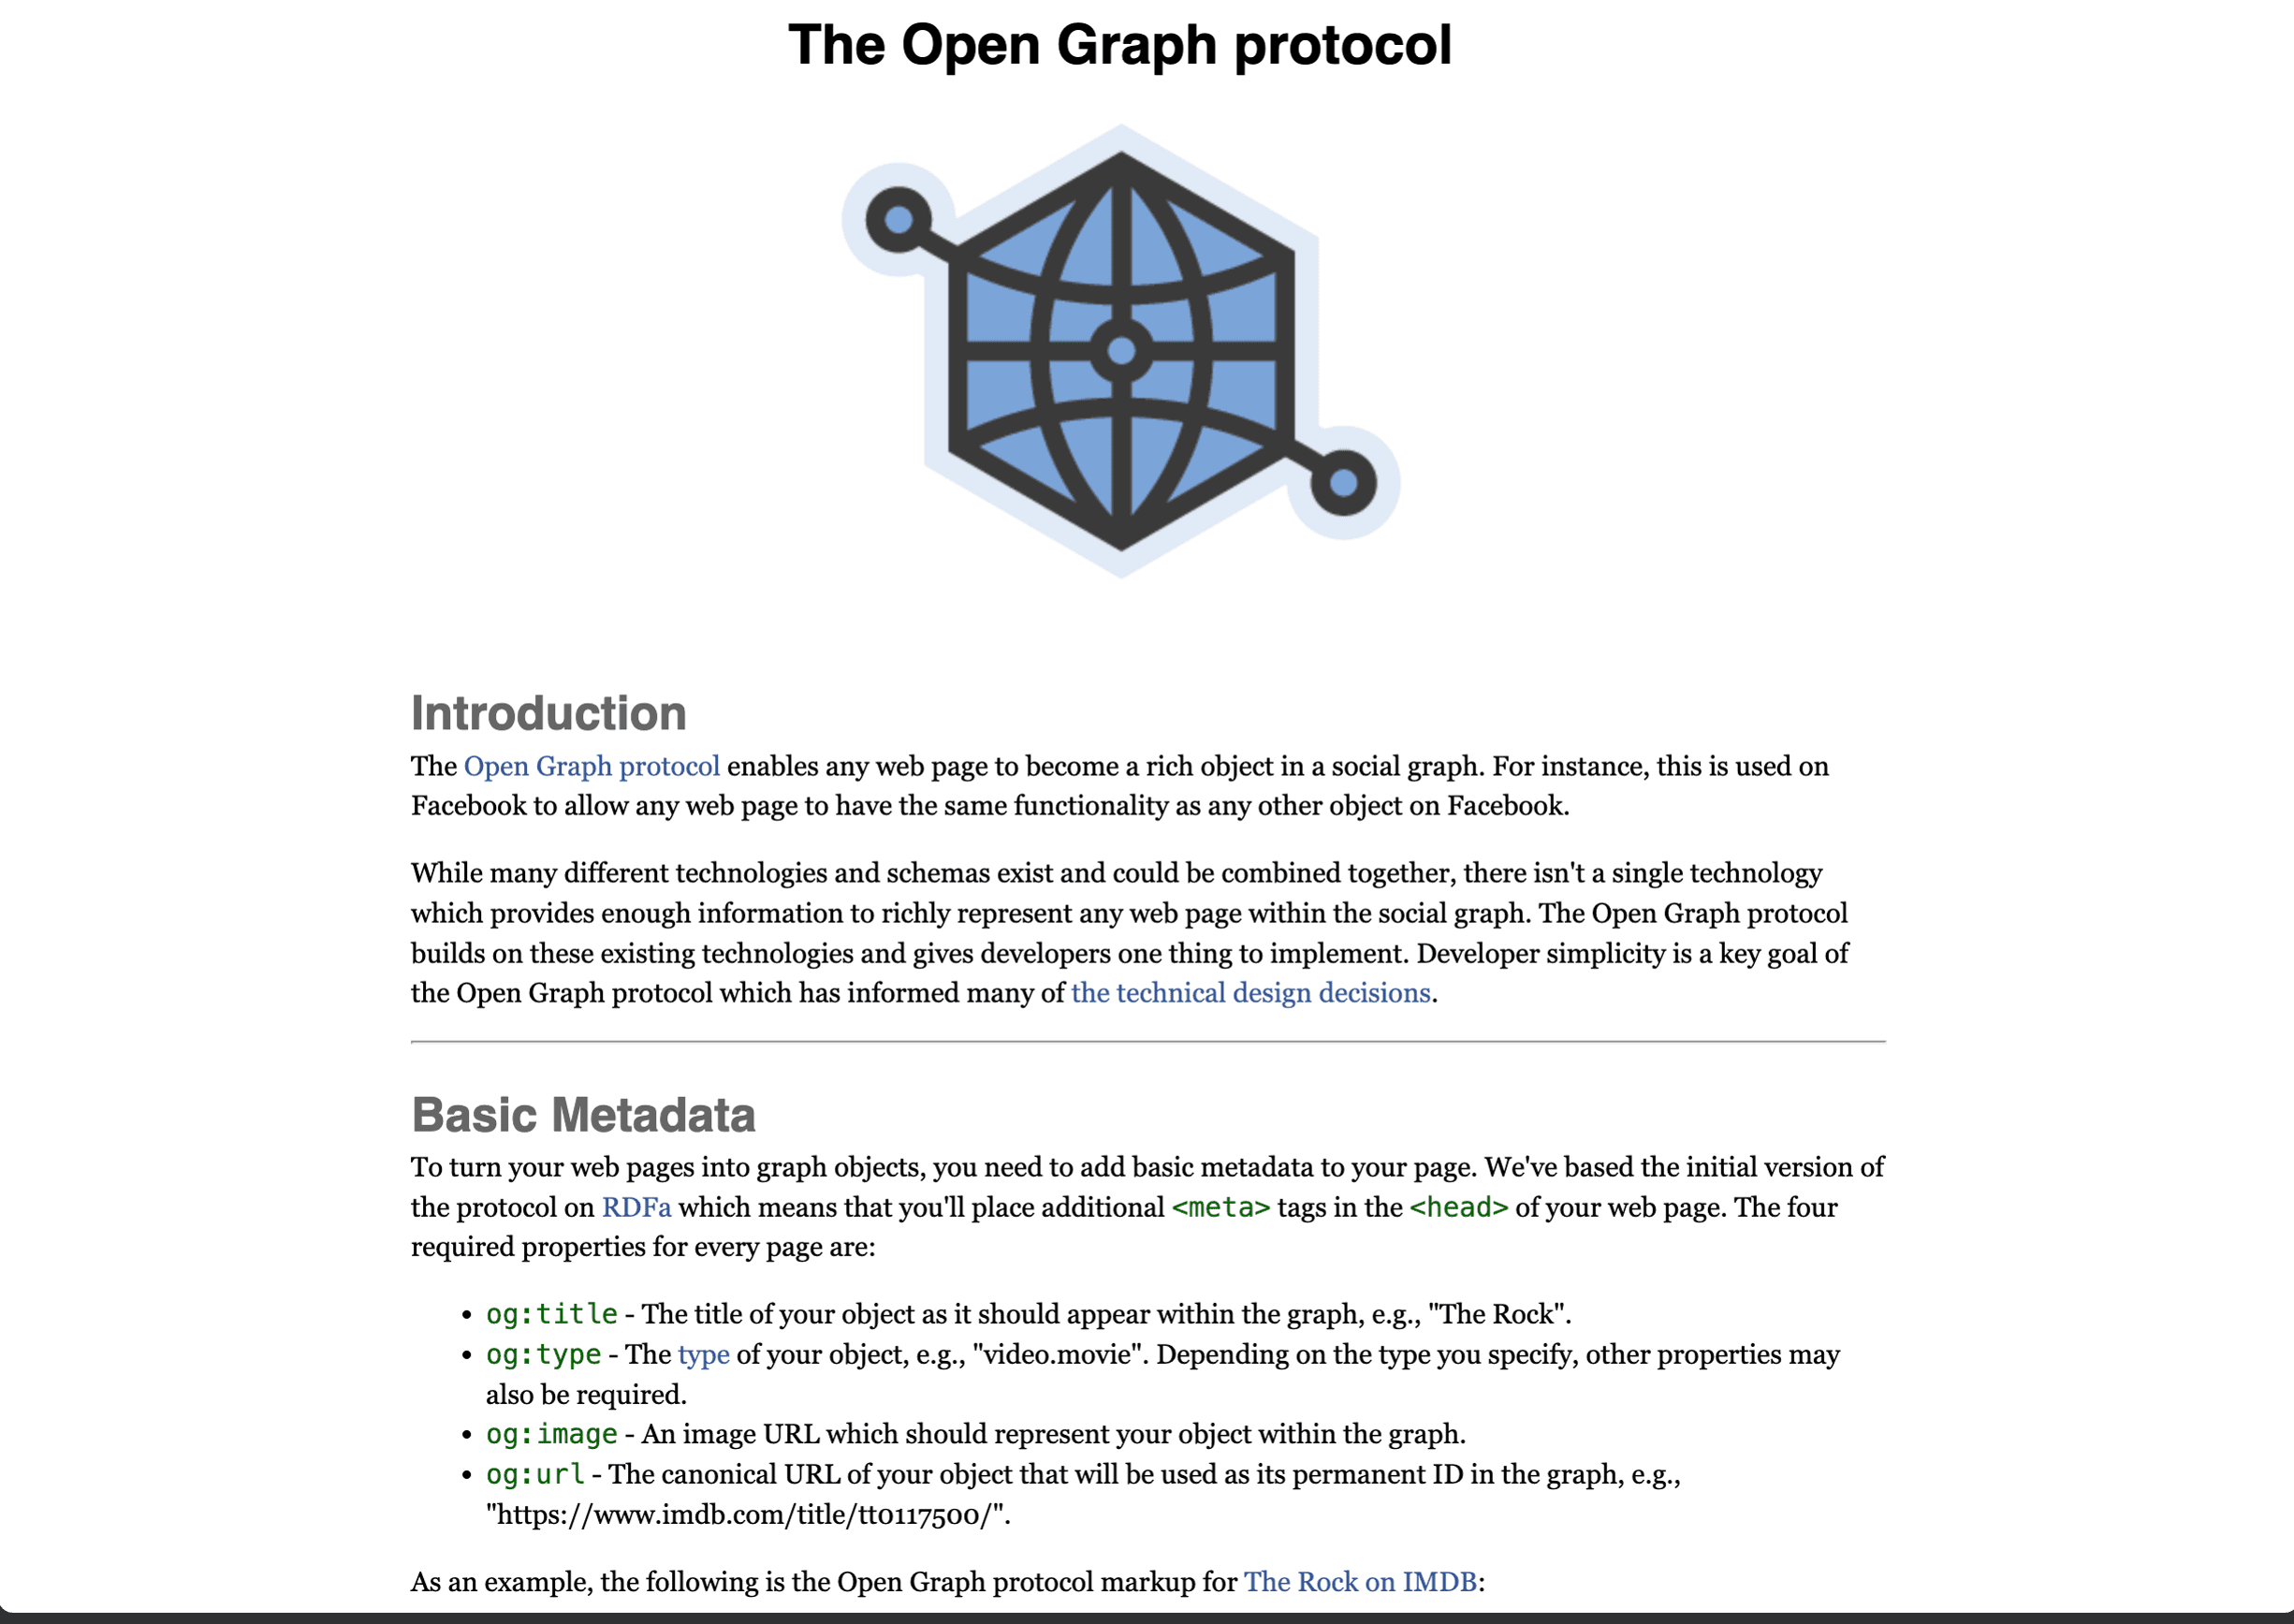
The Open Graph protocol defines four required properties—og:title, og:type, og:image, and og:url—and recommends useful additions such as og:description. A practical page setup looks like this:
<meta property="og:title" content="Punchy, Social-First Title" />
<meta property="og:description" content="A 1-2 sentence hook that creates curiosity." />
<meta property="og:image" content="https://example.com/og-image.jpg" />
<meta property="og:url" content="https://example.com/canonical-page-url" />
<meta property="og:type" content="article" /> <!-- or 'website' -->
A few things to note: your og:title doesn't have to match your page's <title> tag. Social titles should be punchier and more attention-grabbing than what you'd write for a browser tab. The og:description is your hook — think of it as the subtitle on a book jacket, not an SEO keyword dump. And og:image is the single most important tag of the bunch — more on that below.
Twitter (X) cards
X Card markup can supplement your Open Graph tags, particularly when you want the summary_large_image card. Notice that these tags use name="" instead of property="":
<meta name="twitter:card" content="summary_large_image" />
<meta name="twitter:site" content="@yourhandle" />
<meta name="twitter:title" content="Your Title" />
<meta name="twitter:image" content="https://example.com/og-image.jpg" />
<meta name="twitter:image:alt" content="Descriptive alt text for accessibility" />
The summary_large_image card type is a good fit when the image is central to the story. Use the smaller summary card when the title and description should carry more of the preview.
Making your previews actually look good
Having the tags is step one. Making them work well is where most people stop too early.
Get the image right
Your og:image does more heavy lifting than any other piece of metadata. A compelling preview image can be the difference between someone clicking your link or scrolling past it.
- Dimensions: 1200 × 630 pixels (about 1.91:1) is a widely compatible starting point, but confirm the current requirements of each platform you care about.
- File size: Compress aggressively and stay within each platform's published limits. Under 1MB is a practical target for quick fetching, but visual quality and format support still matter.
- Prevent layout jank: Tell platforms the exact dimensions upfront so they can reserve the right amount of space before the image loads:
<meta property="og:image:width" content="1200" />
<meta property="og:image:height" content="630" />
Generate images dynamically
Using the same generic image for every page on your site is a missed opportunity. If you're running a blog, an e-commerce store, or any site with lots of individual pages, consider generating OG images on the fly. Tools like @vercel/og can pull in each page's title, author photo, product image, or price and bake them directly into the preview image.
It takes some initial setup, but every shared link can then have a unique, relevant preview instead of repeating the same generic logo. Measure click-through performance on your own audience rather than relying on a universal uplift figure.
Fix the cached image problem
You've updated your OG image, but Facebook (or Slack, or LinkedIn) keeps showing the old one. This is frustrating, and it happens because social platforms cache your metadata aggressively — sometimes for days or weeks.
The quick fix: add a version parameter to your image URL. When the URL changes, even slightly, the platform treats it as a new image and fetches the fresh version:
content="https://example.com/og-image.jpg?v=2"
Bump the number each time you update the image. Simple, but it saves a lot of head-scratching.
Design for the scroll
Most people will see your shared link on their phone, mid-scroll, giving it about two seconds of attention. Design your OG images accordingly:
- Keep text on the image minimal — a headline and maybe a logo, nothing more.
- Use a font size of 65px or larger for any text. If it's hard to read on a phone screen, it won't get read at all.
- If someone can't grasp what the link is about within five seconds, the image is too busy. Simplify.
Don't skip alt text
Always include og:image:alt and twitter:image:alt. The Open Graph specification recommends an alt description whenever og:image is present, and the text gives platforms useful context when they expose an accessible description for the preview.
Two more metadata wins
Beyond OpenGraph, there are a couple of quick additions that punch above their weight:
-
Theme color: Adding
<meta name="theme-color" content="#yourcolor">suggests a colour that supporting browsers may use around the page UI. Support is not universal, so treat it as progressive enhancement. -
Write descriptive titles for people: Your
<title>tag is one input Google may use when generating title links in search results. Keep it specific, concise, and faithful to the page instead of stuffing keywords or promising outcomes the content does not deliver.
Always test before you share
Never assume your metadata looks right — always verify. Platforms interpret tags slightly differently, and a missing image or truncated title can undo all your work. Run your URLs through these tools before sharing anything publicly:
- Facebook: Sharing Debugger
- LinkedIn: Post Inspector
- All platforms at once: OpenGraph.xyz
These debuggers also force a cache refresh, so they're useful for checking that your updates have actually taken effect. Make this the last step before any launch or major content push.