
How to Create a Secure AWS Team
AWS (Amazon Web Services) is a cloud platform that can host your entire application -- servers, databases, storage, and more. It's the infrastructure that keeps your product running. If Dev3 Studio is building your product on AWS, you'll need to set up an account so we can get to work.
This guide is a bit more involved than some of our other setup guides, but there's a good reason for that. For security, we set up AWS with two separate accounts:
- A management account -- this is yours. It handles ownership, billing, and administration. You control this, and Dev3 Studio doesn't need access to it.
- A workload account -- this is where Dev3 Studio actually builds and runs your application. It's a separate, contained environment.
We then use something called IAM Identity Center (think of it as a secure sign-in system) to give Dev3 Studio team members their own individual logins to the workload account. This means no one shares passwords, every action is traceable, and you can revoke access at any time.
It sounds complex, but this structure is the AWS-recommended way to keep your billing safe while giving developers the access they need. We'll walk through it step by step.
Before You Begin
You'll need:
- Two company email addresses that have never been used as AWS accounts. Email aliases work well here -- for example,
aws@yourcompany.co.zaandaws+production@yourcompany.co.za(if your email provider supports the "+" alias format). - A payment card (credit or debit).
- A phone that can receive calls or texts for verification.
- An authenticator app (like Google Authenticator or Microsoft Authenticator) for setting up multi-factor authentication.
Expected Costs and Timing
Setting up the accounts and the access structure described in this guide is completely free. AWS Organizations and IAM Identity Center don't cost anything to use.
However, once Dev3 Studio starts building on the workload account, you'll be billed based on what services are used and how much they're used. AWS pricing is usage-based, so costs scale with your application. Before any services go live, we'll help you understand the expected costs and set up budget alerts so there are no surprises.
AWS may take a short time to verify and activate a new account before all services become available.
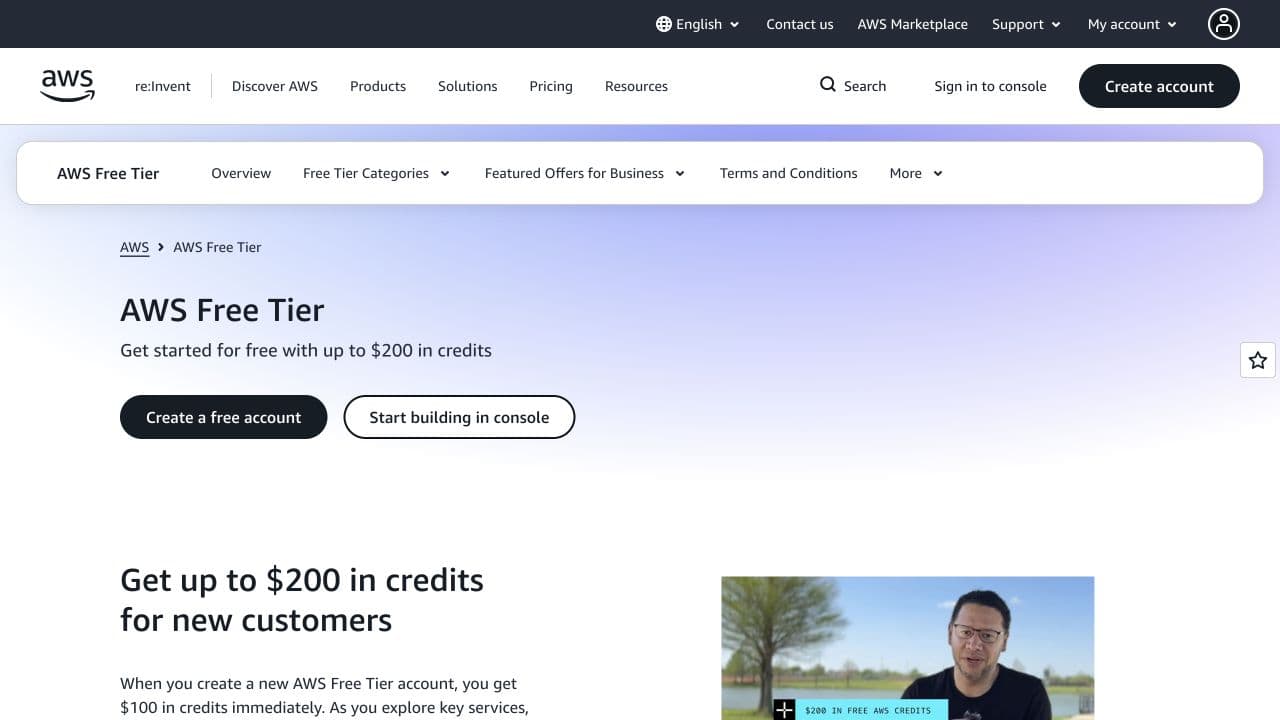
Step 1: Create the AWS Management Account
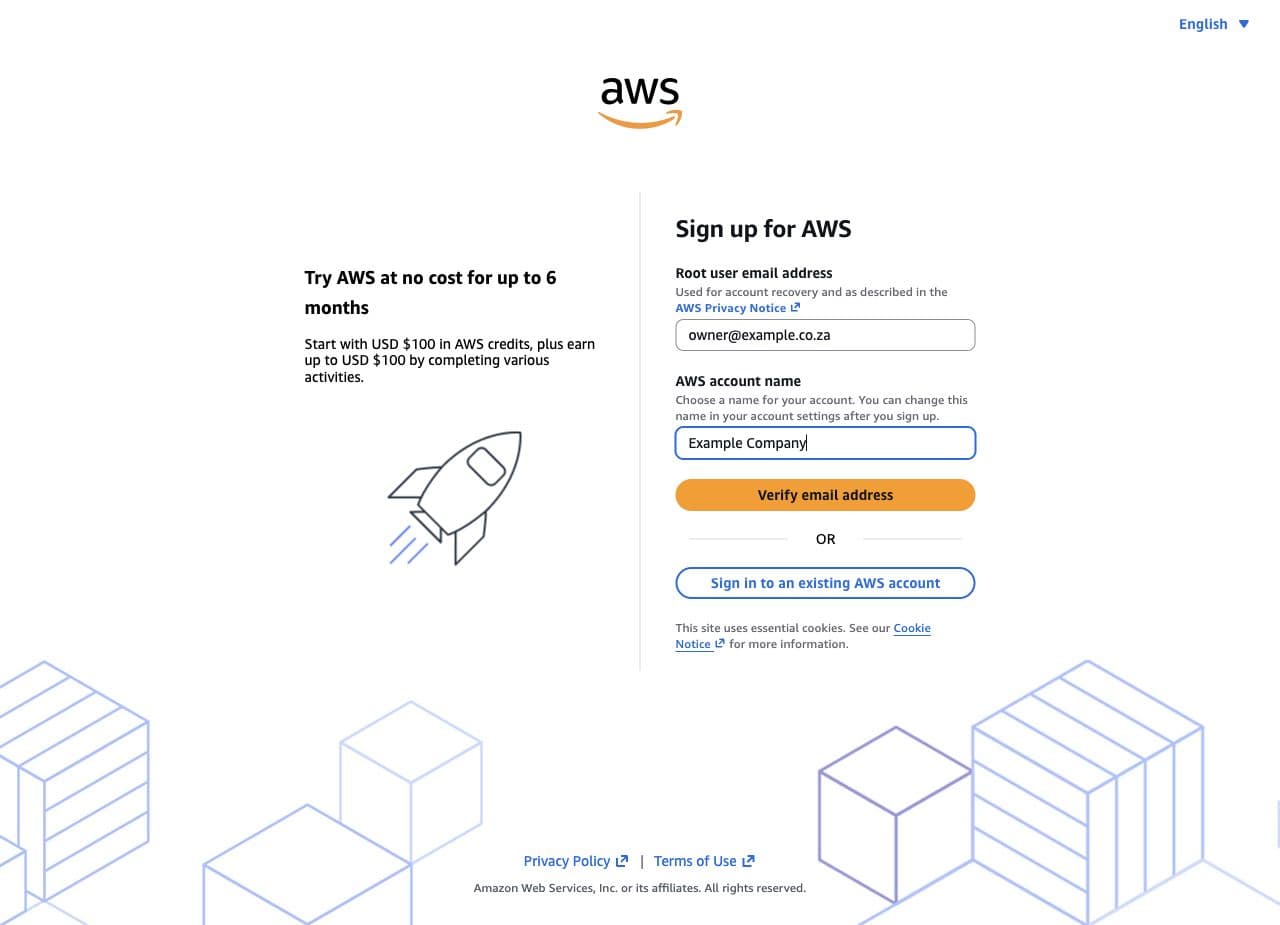
Go to AWS registration and enter your first company email address (this will be the management account) along with an account name. AWS will send a verification code to that email -- enter it and create a strong root password.
This management account is the top-level account that controls everything. Think of it as the master key to your AWS setup.
Step 2: Complete Contact, Payment, and Identity Verification
Choose Business as the account type (not Personal) and enter your company's legal details, payment method, and phone number for verification. AWS will call or text you with a code to confirm.
At the end, you'll be asked to choose a support plan. The free Basic plan is fine to start with -- you can always upgrade later if needed.
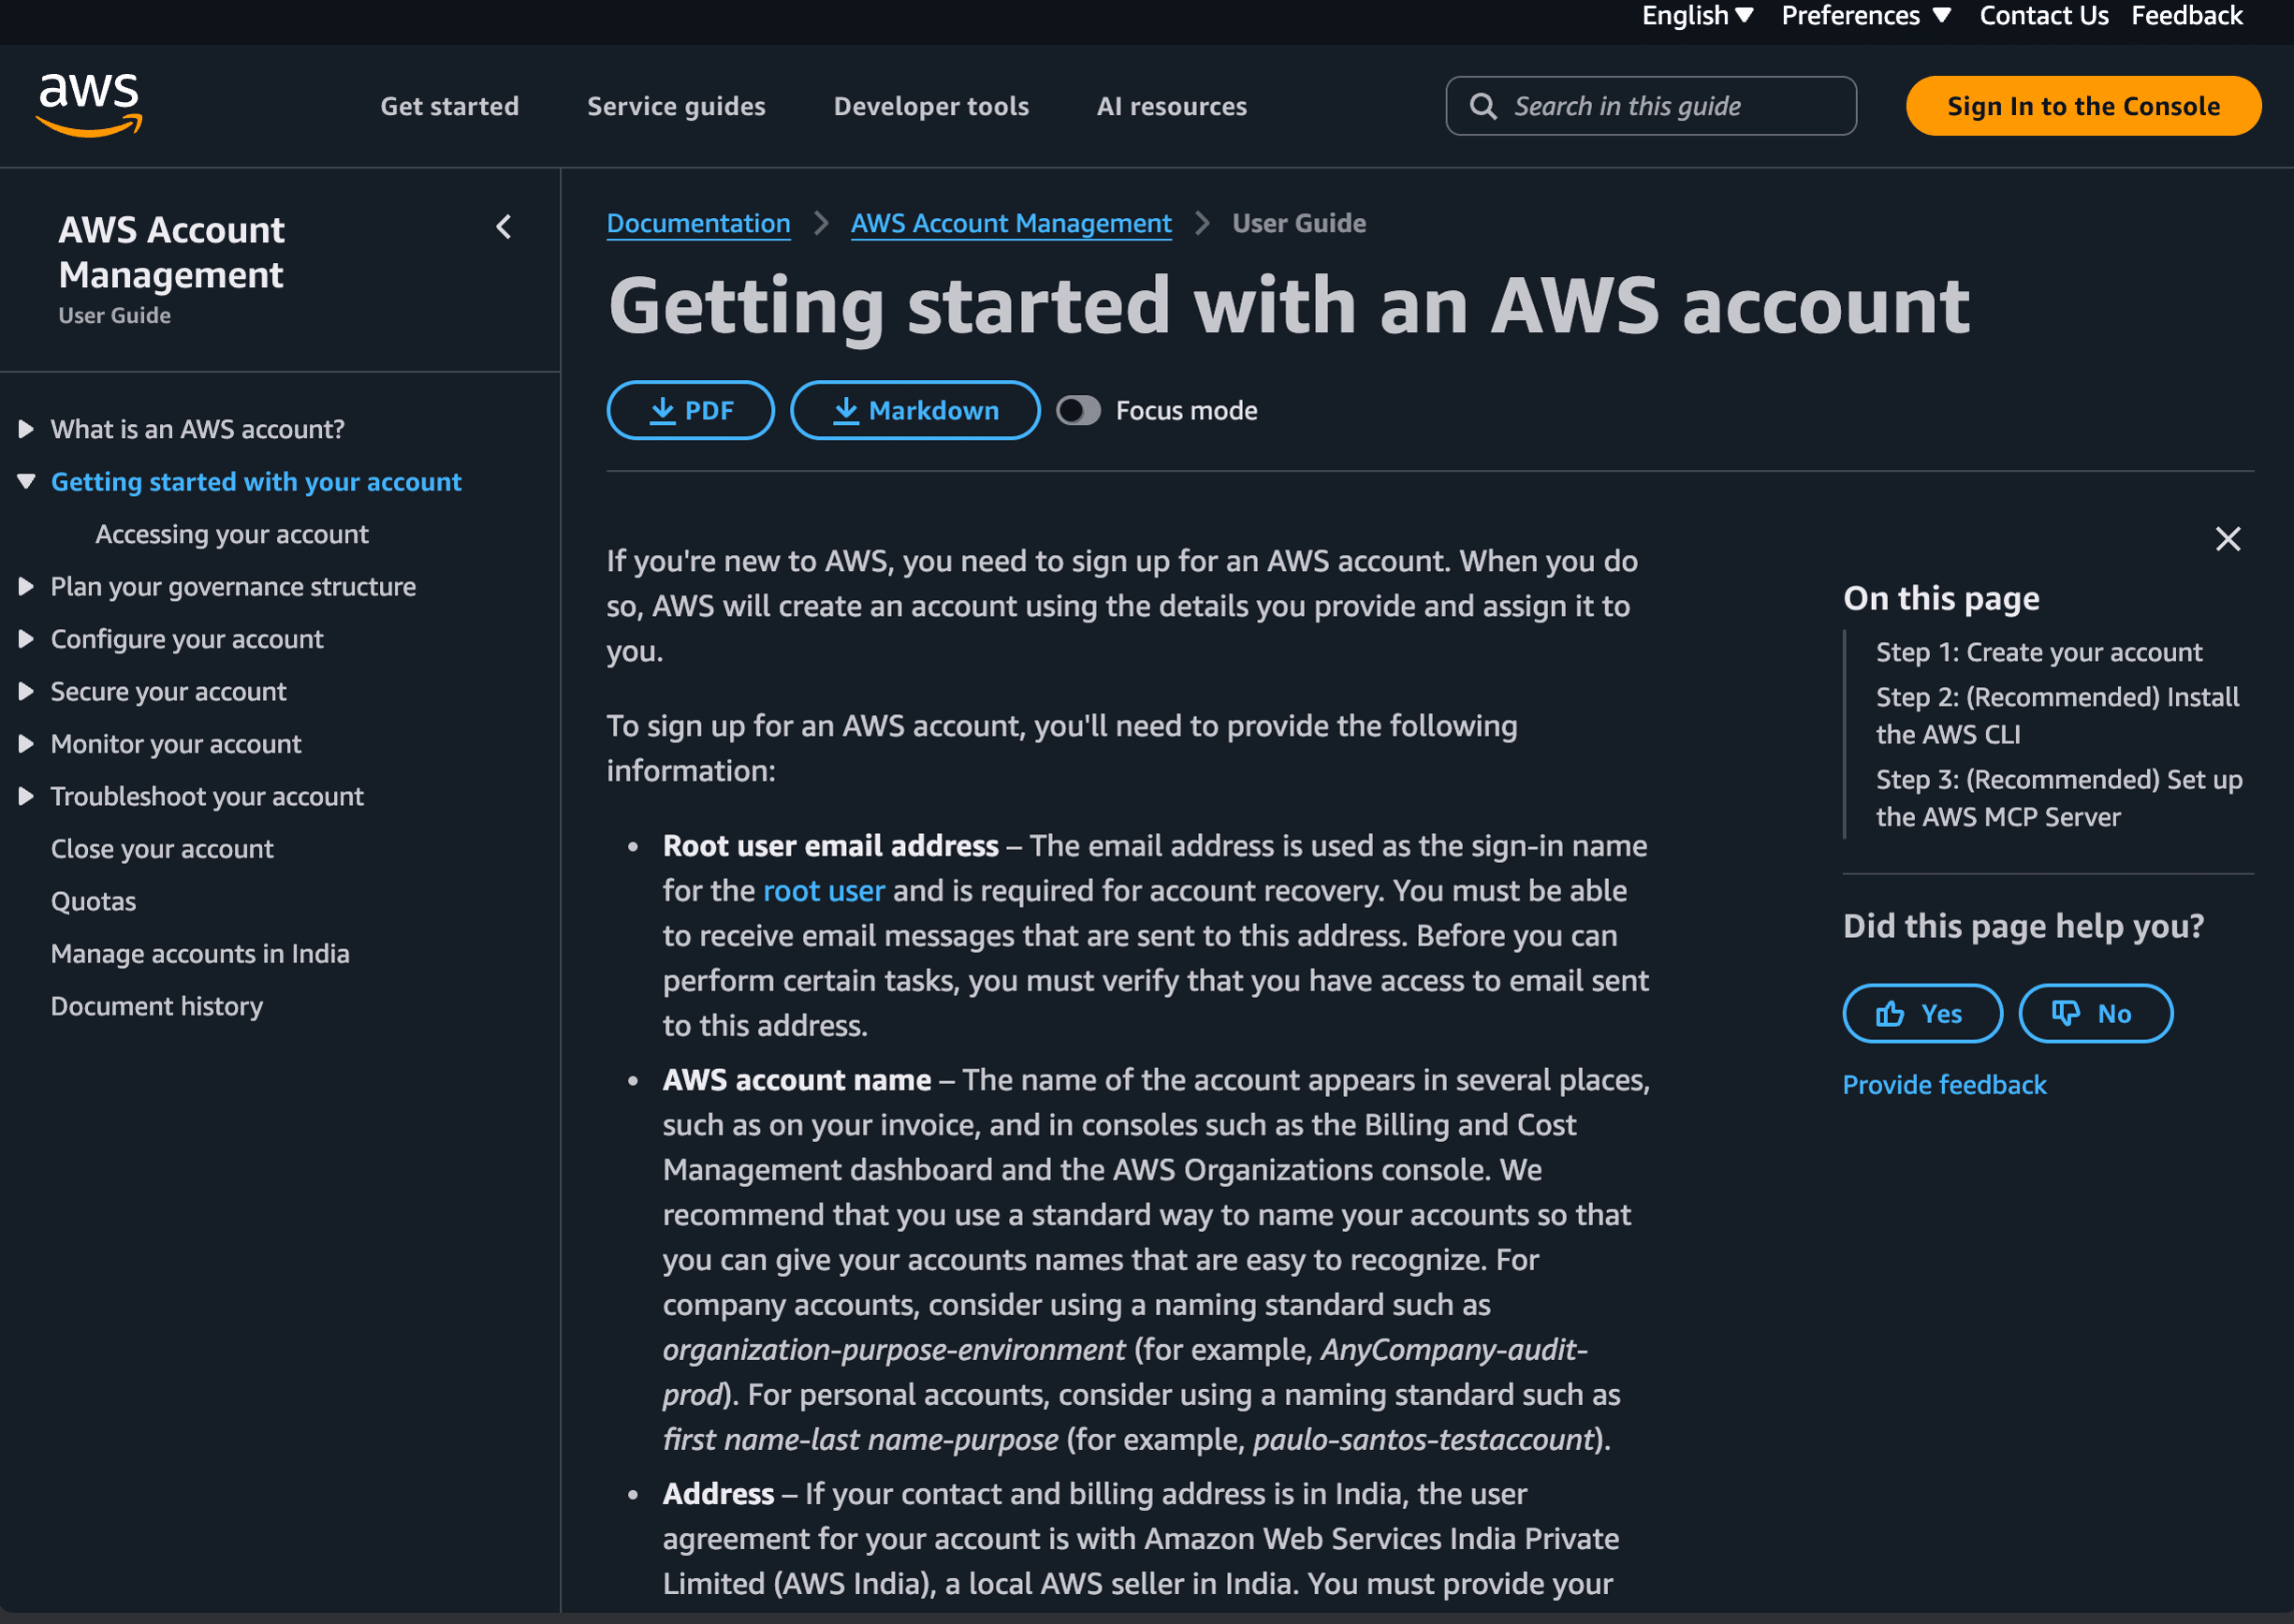
Step 3: Secure the Root User
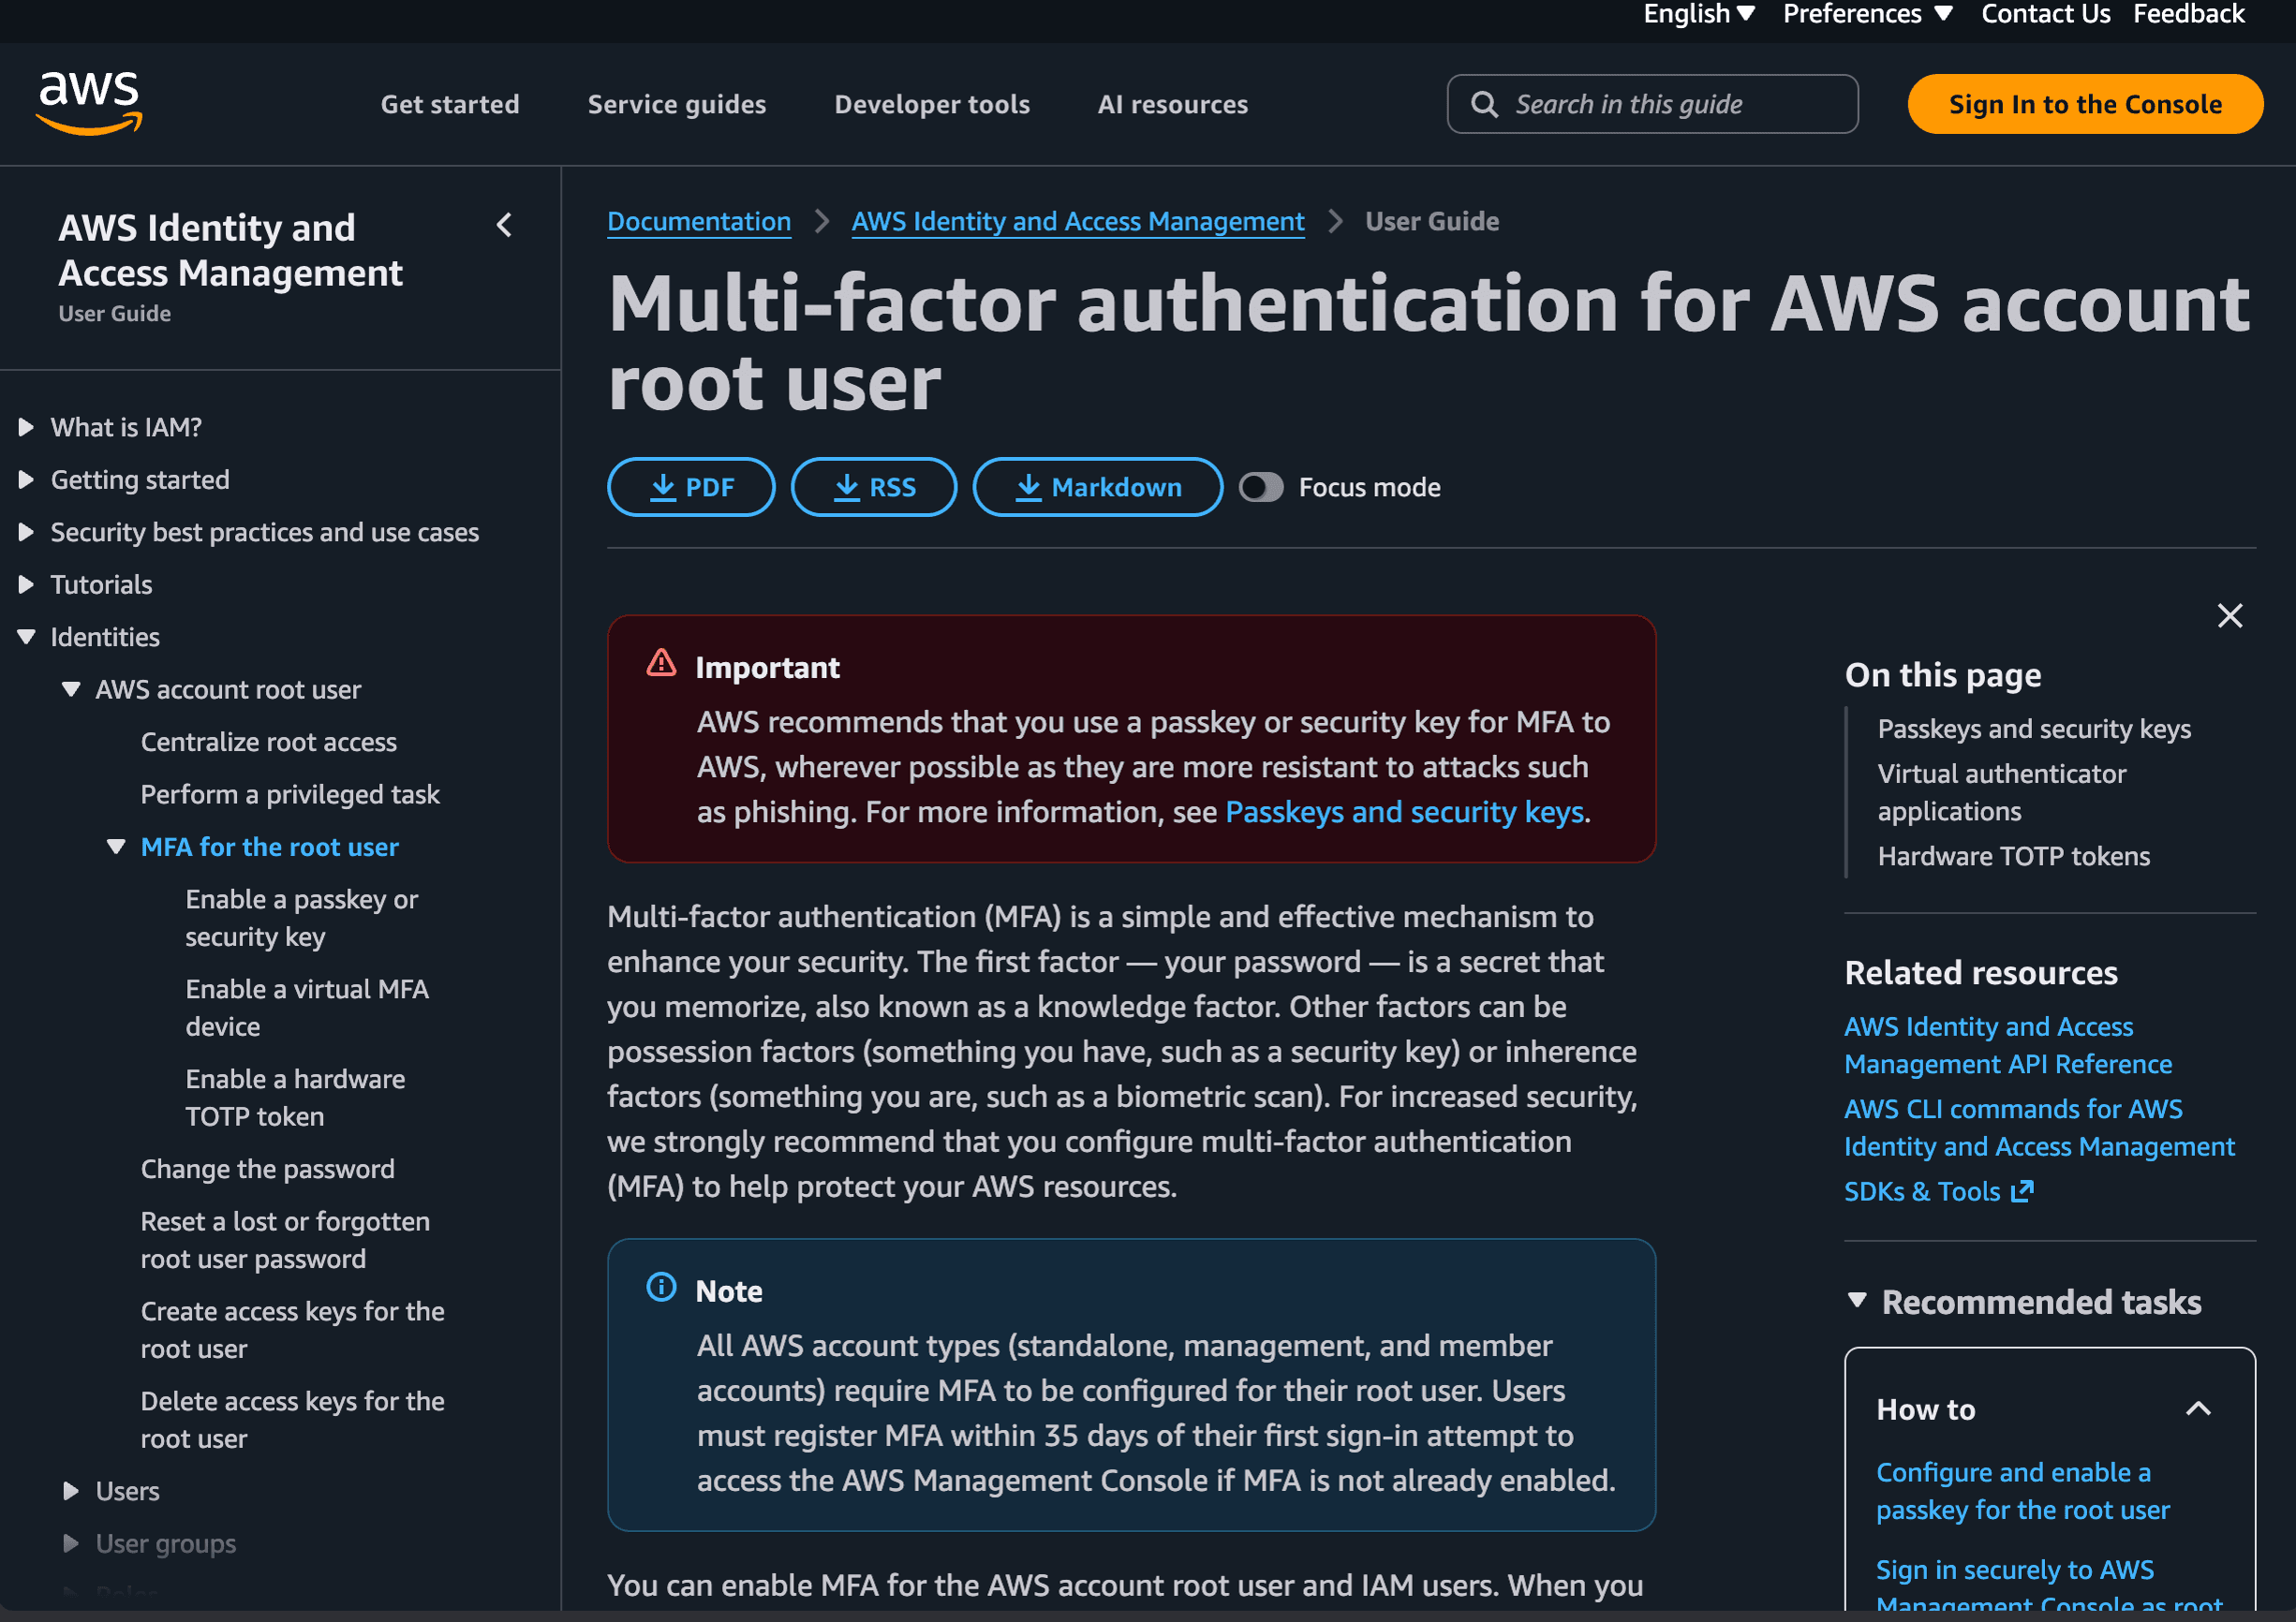
The root user has unrestricted access to everything in your AWS account, so it's important to lock it down right away. Sign in as root, go to Security credentials, and set up MFA (multi-factor authentication) using your authenticator app, a passkey, or a security key.
A couple of important points:
- Don't create root access keys. These are long-lived credentials that could be misused if they fell into the wrong hands. You won't need them.
- Store your root password and recovery information somewhere safe. If you lose access to the root user, recovery can be difficult.
Step 4: Set Up a Billing Budget
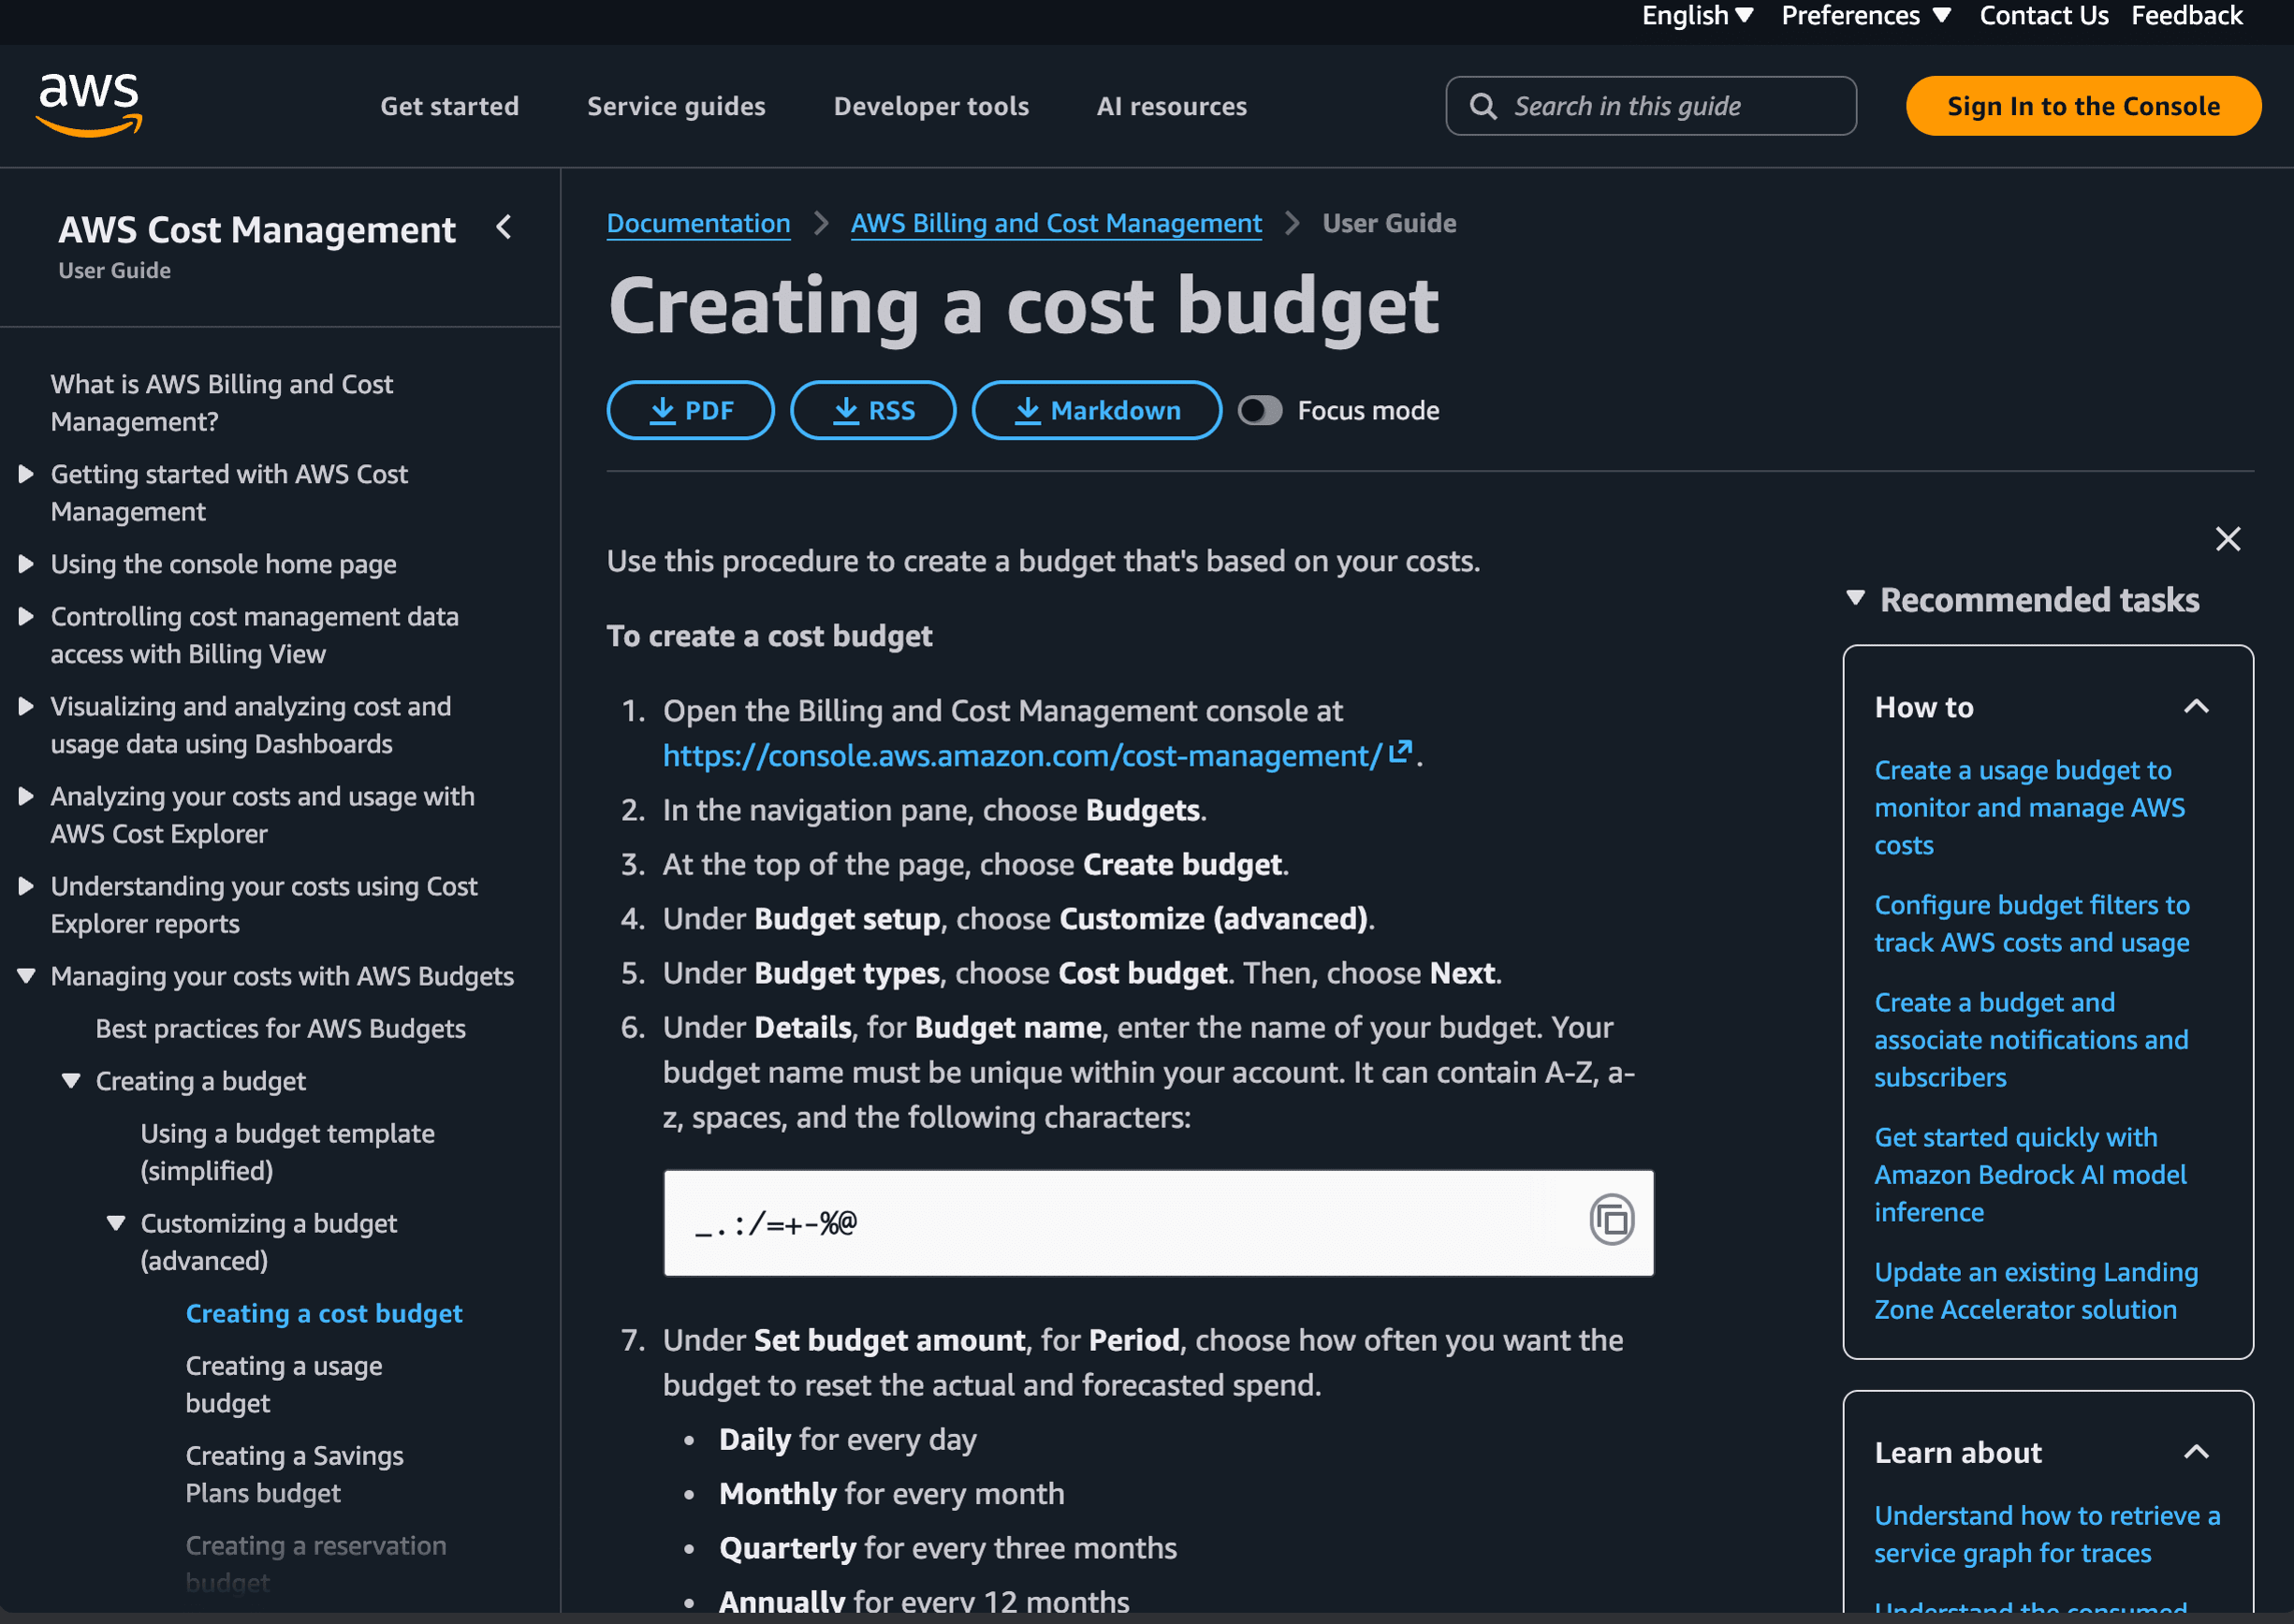
Before anything gets built, it's smart to set up cost alerts so you're never caught off guard. Open Billing and Cost Management, go to Budgets, and create a monthly cost budget.
Enter a threshold that makes sense for your project and add an email address (like your finance or operations contact) where alerts should be sent. AWS will email you when your spending approaches or exceeds the threshold.
Step 5: Create the AWS Organization
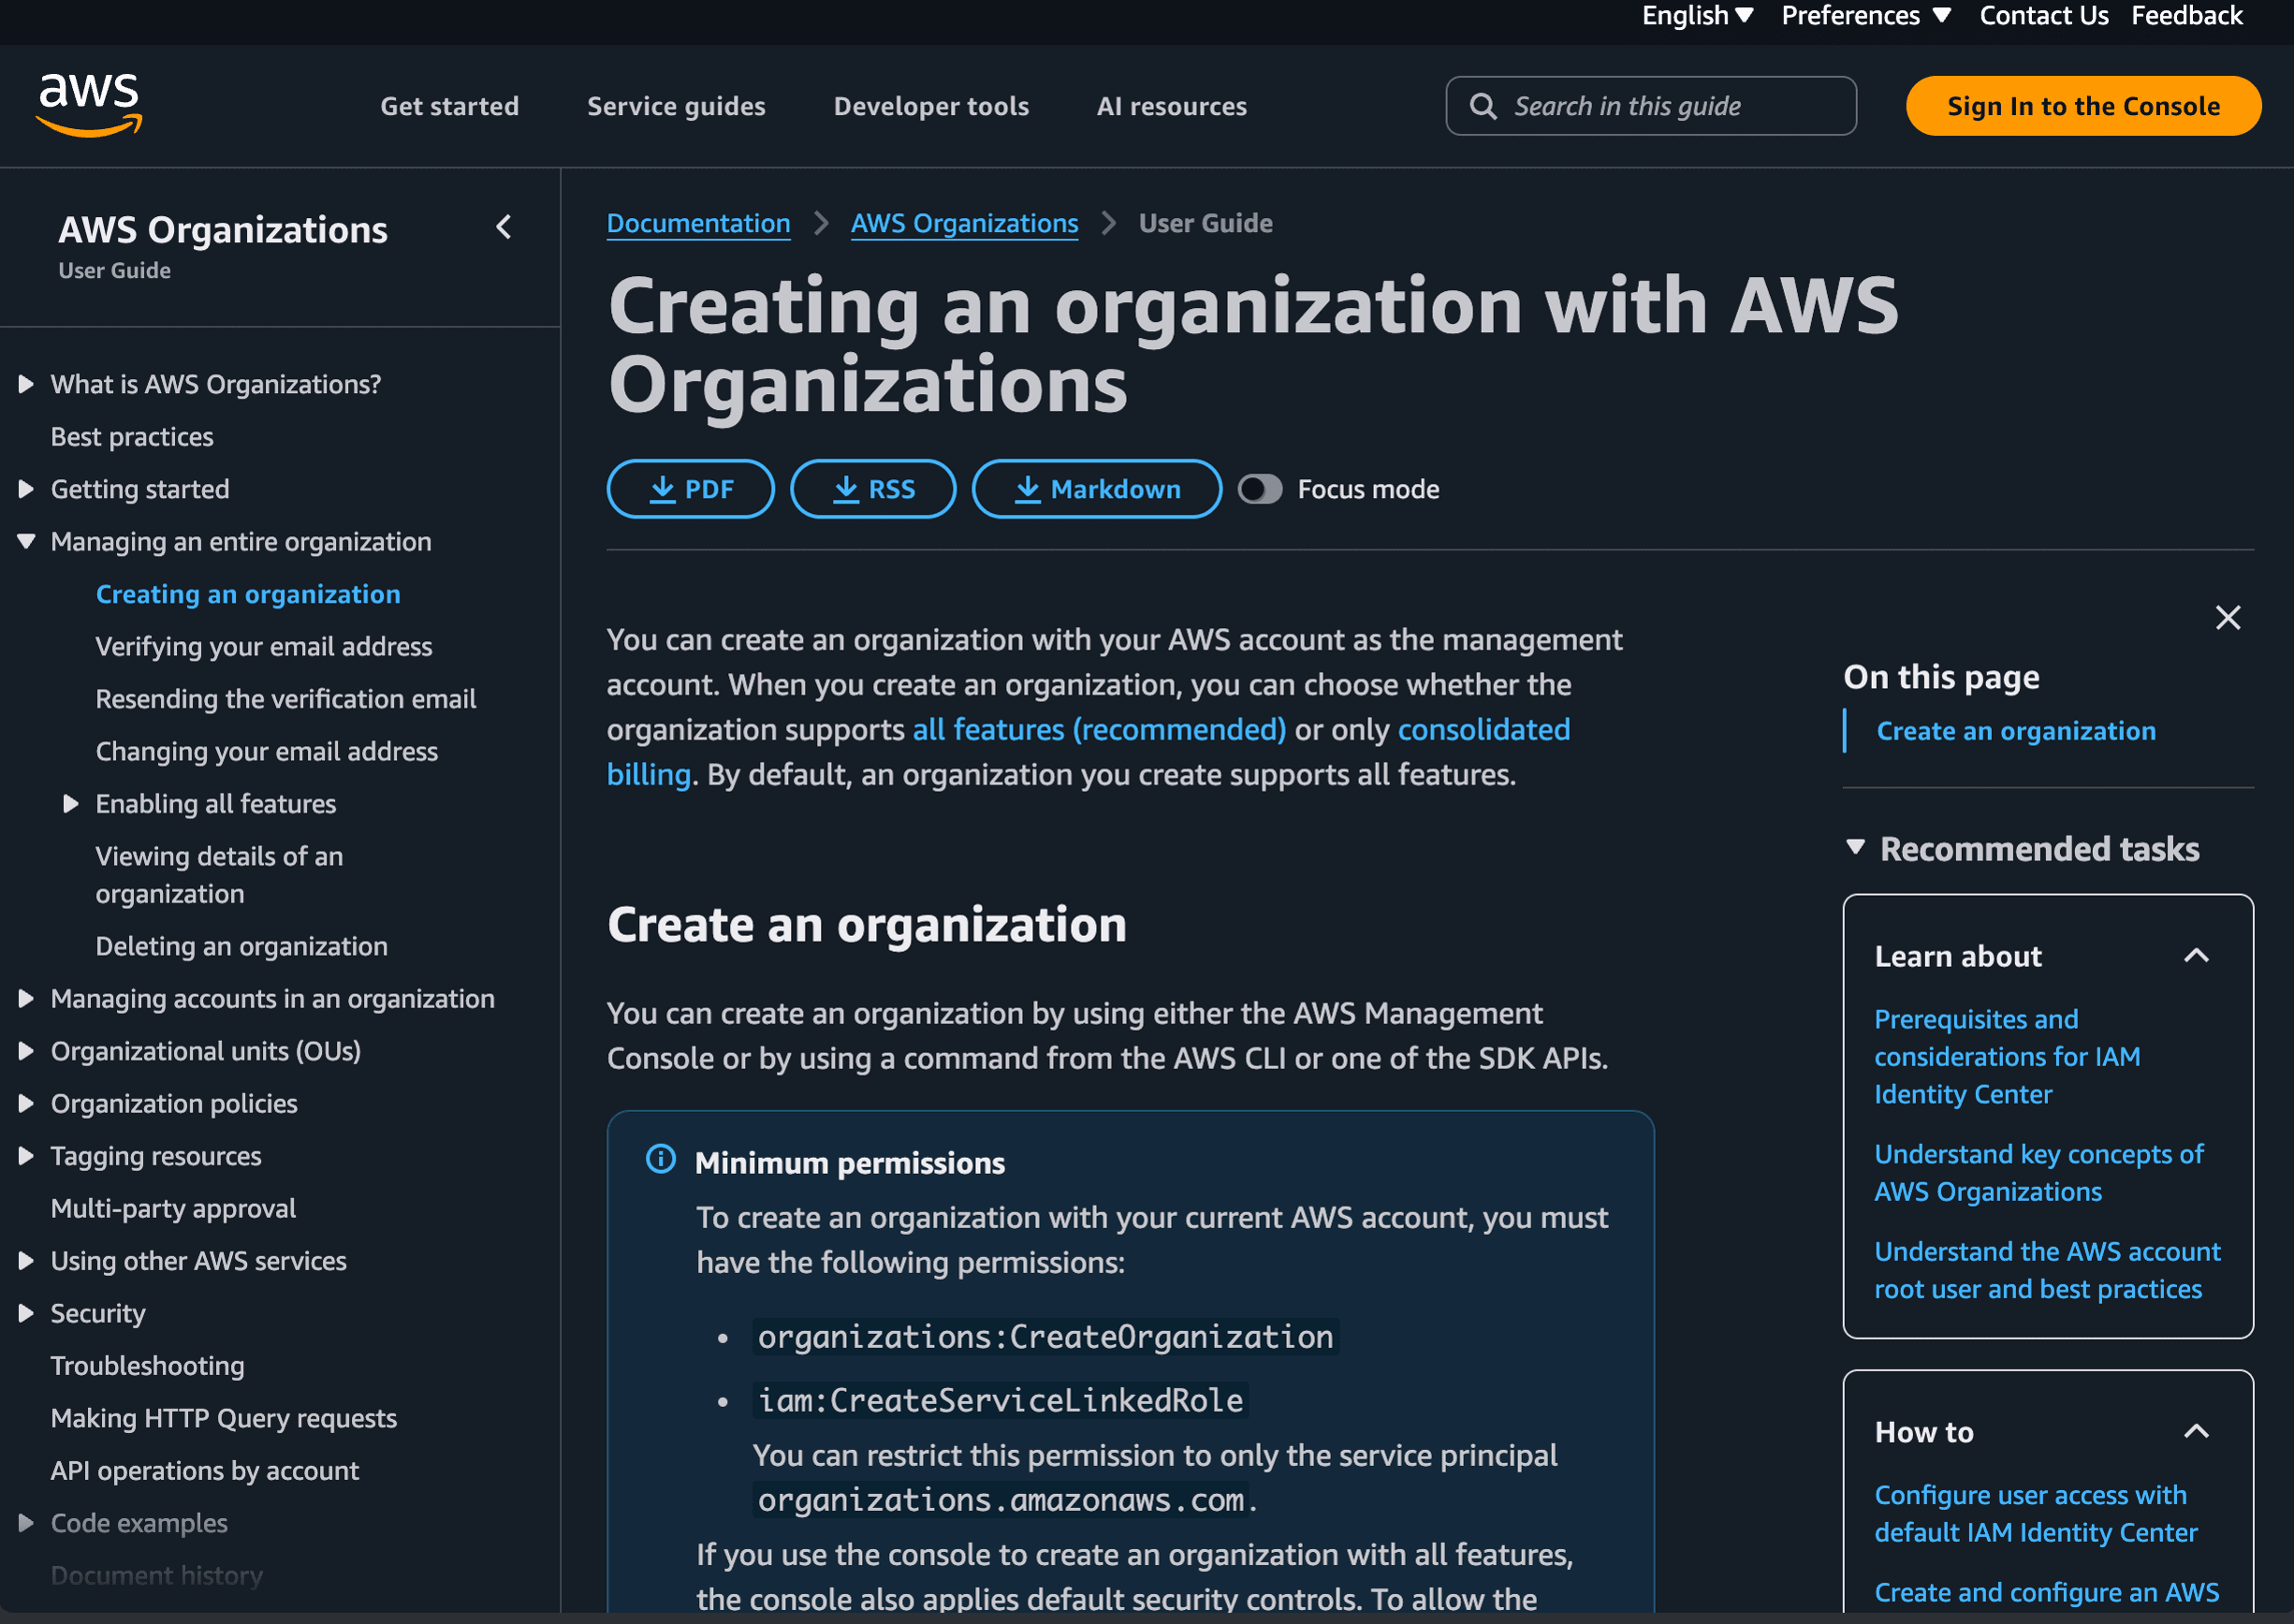
Open AWS Organizations from the console menu and create an organization with all features enabled. This turns your management account into the central hub that can oversee other accounts (like the workload account you'll create next).
Your management account should not host any application workloads. Its job is purely administrative: billing, organization management, and security oversight.
Step 6: Create the Workload Account
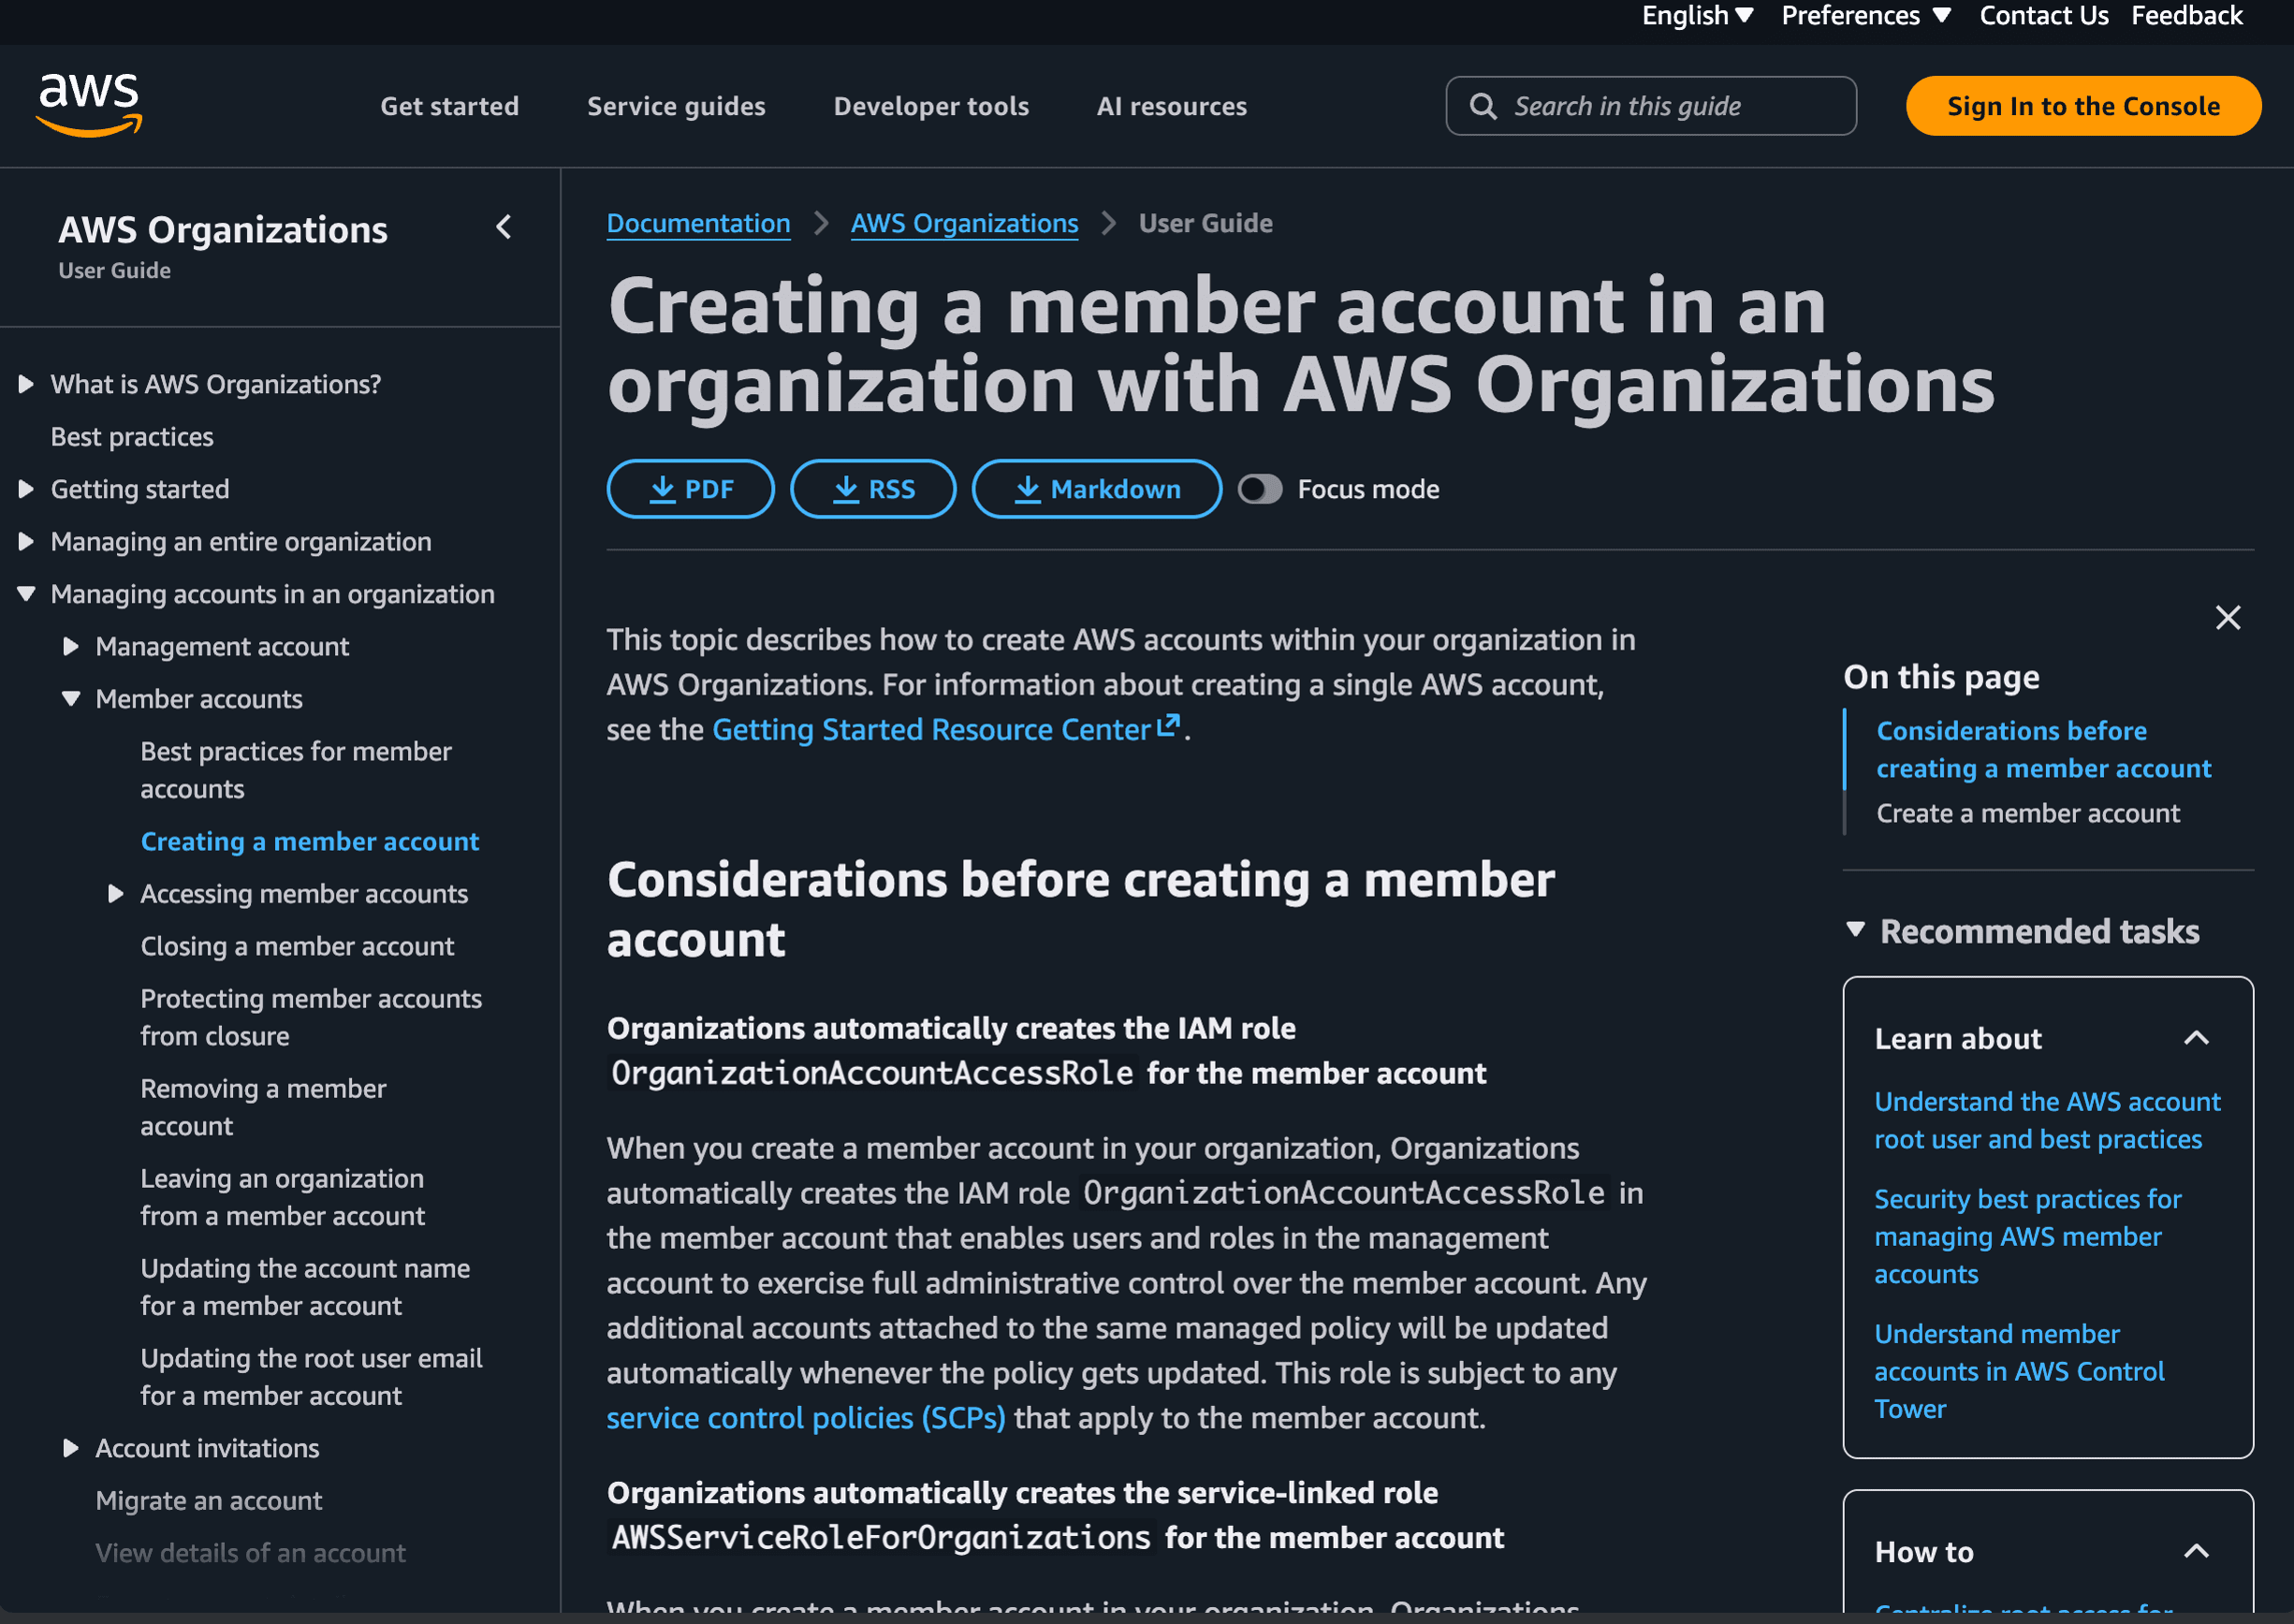
Within AWS Organizations, click Add an AWS account and then Create an AWS account. Give it a clear, recognizable name (something like Your Company Production) and enter the second company email address you prepared earlier.
This is the account where Dev3 Studio will do all the actual building. Keeping it separate from the management account means that even with full access to the workload account, Dev3 Studio can't touch billing, organization settings, or the root user.
Step 7: Enable IAM Identity Center
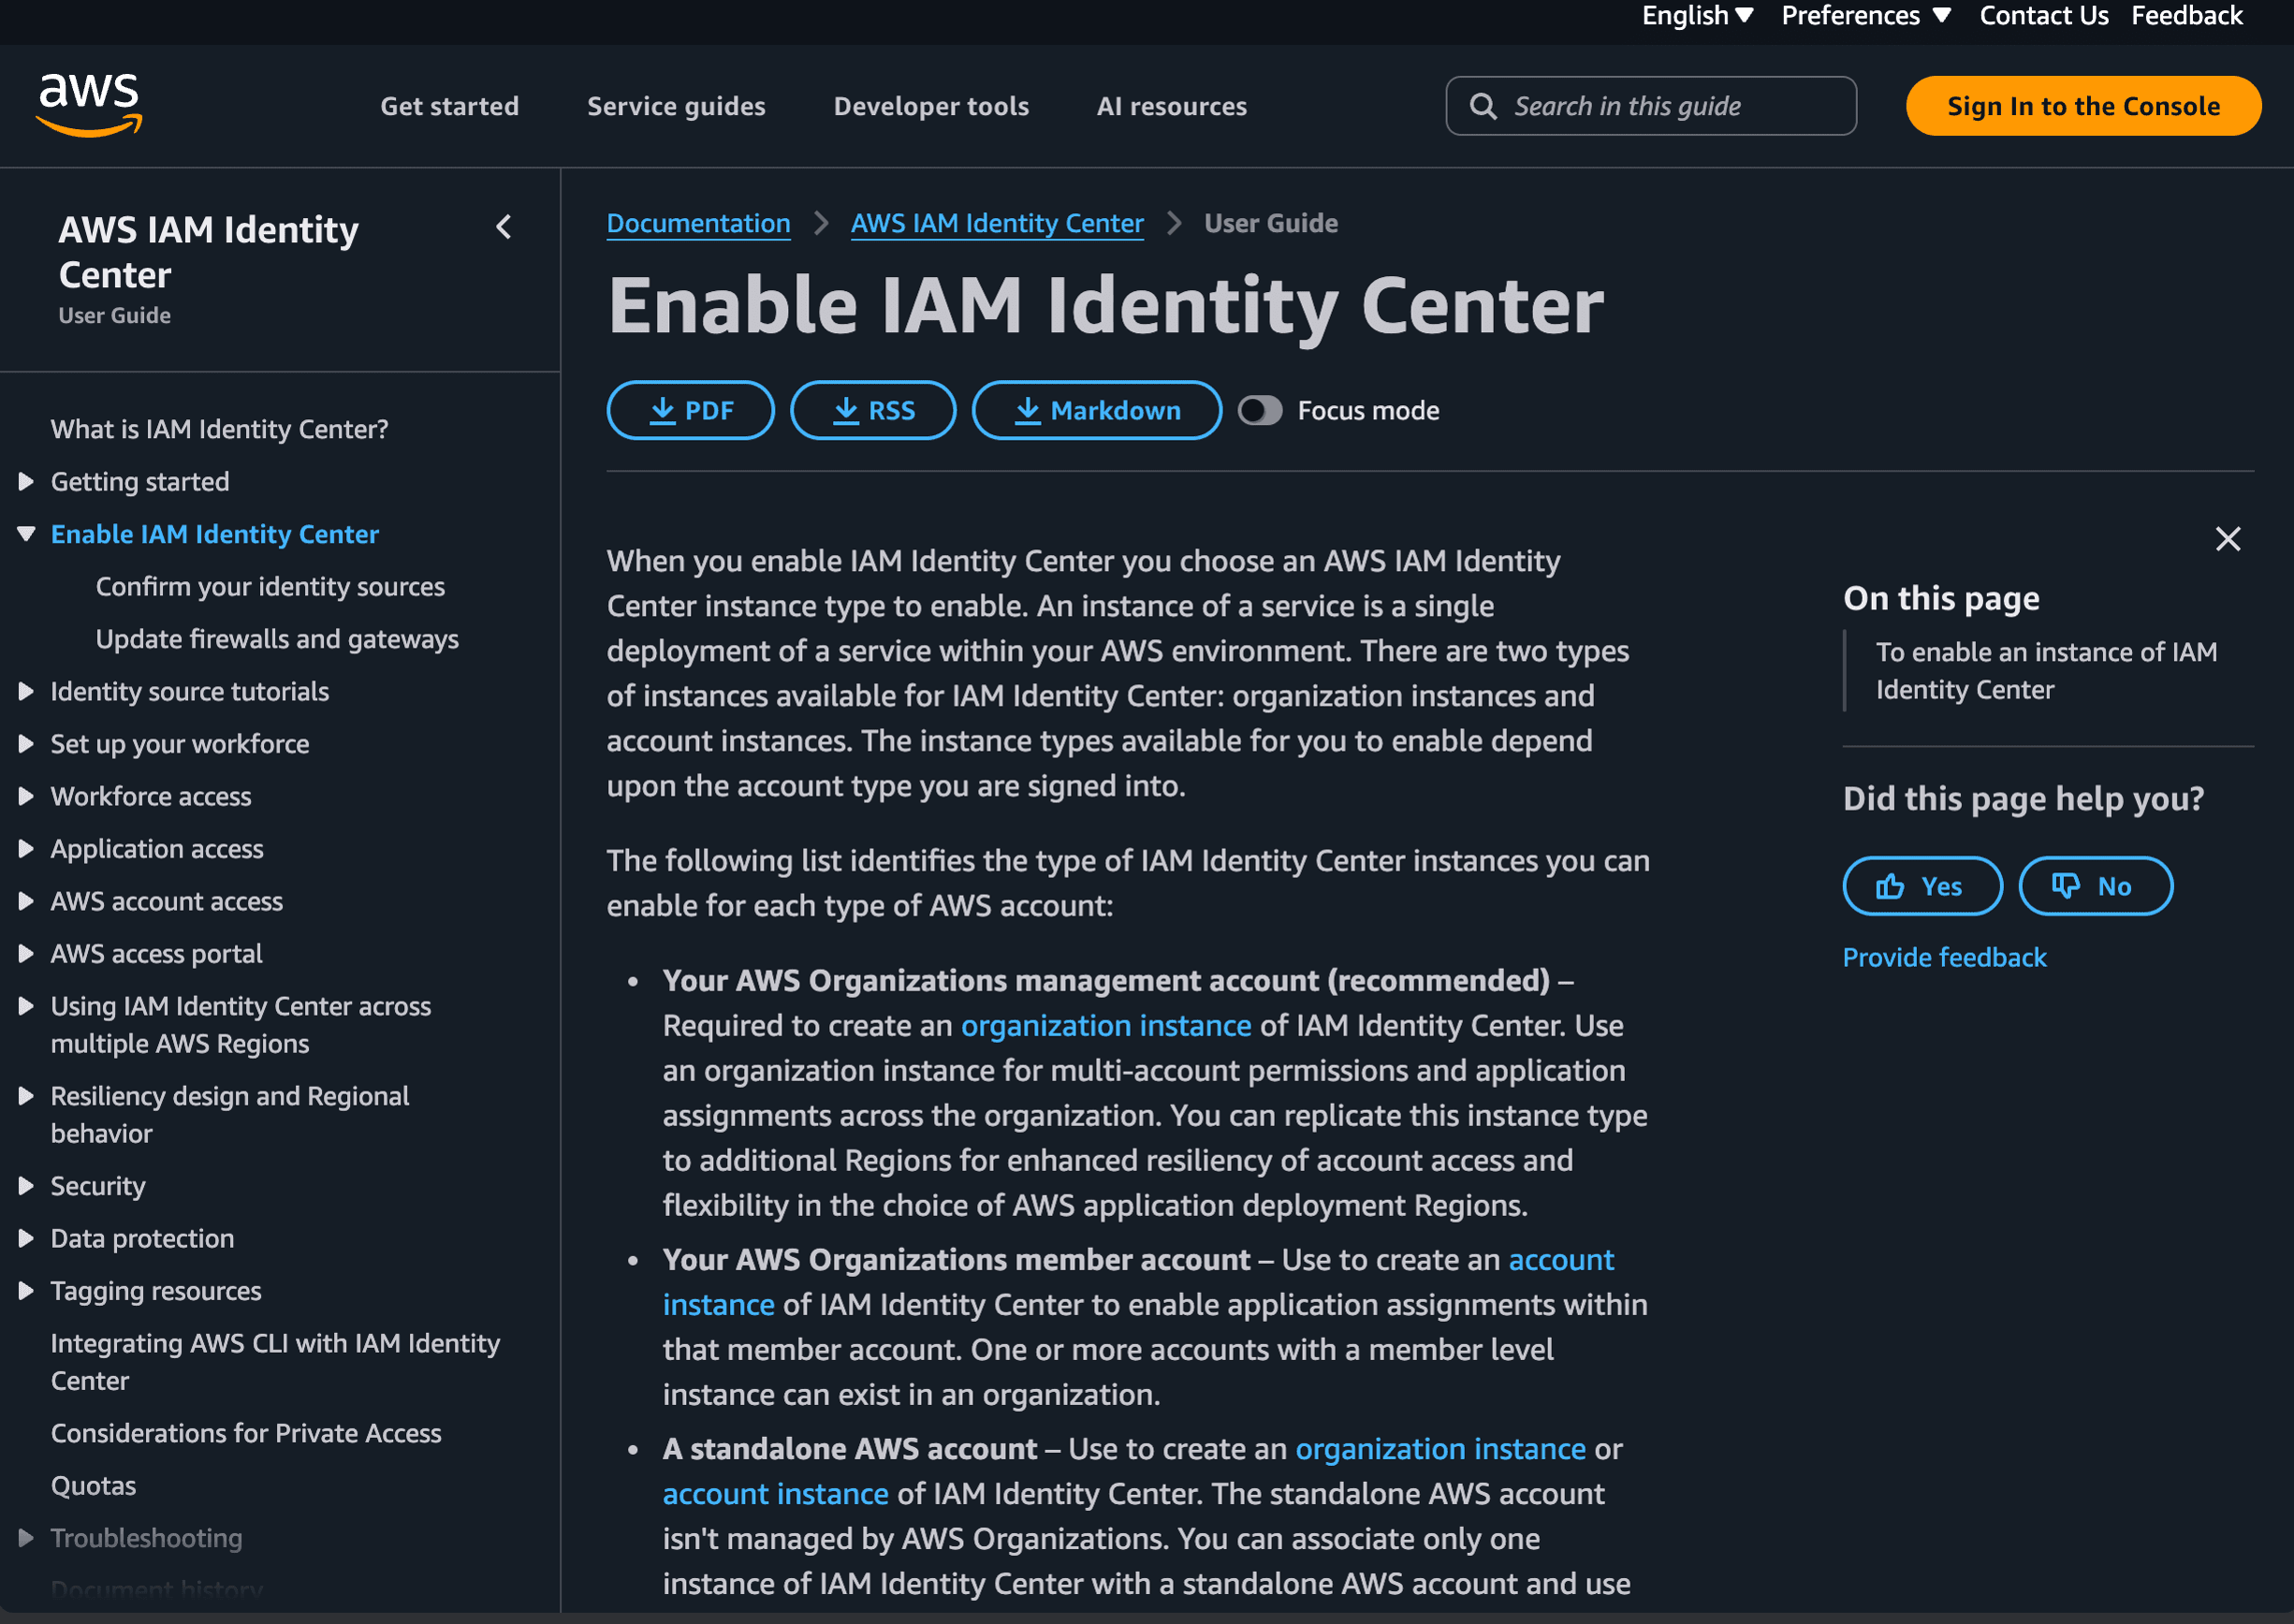
Go back to the management account, open IAM Identity Center from the console menu, choose your preferred AWS Region, and enable an organization instance.
IAM Identity Center is the secure sign-in system that lets you create individual user accounts for people who need access to your AWS environment. Instead of sharing passwords or creating separate AWS accounts for each person, everyone gets their own login with permissions you control.
Keep the default Identity Center directory unless you already use an external identity provider (like Azure AD or Okta) -- if that doesn't mean anything to you, the default is the right choice.
Step 8: Create the Dev3 Studio Group
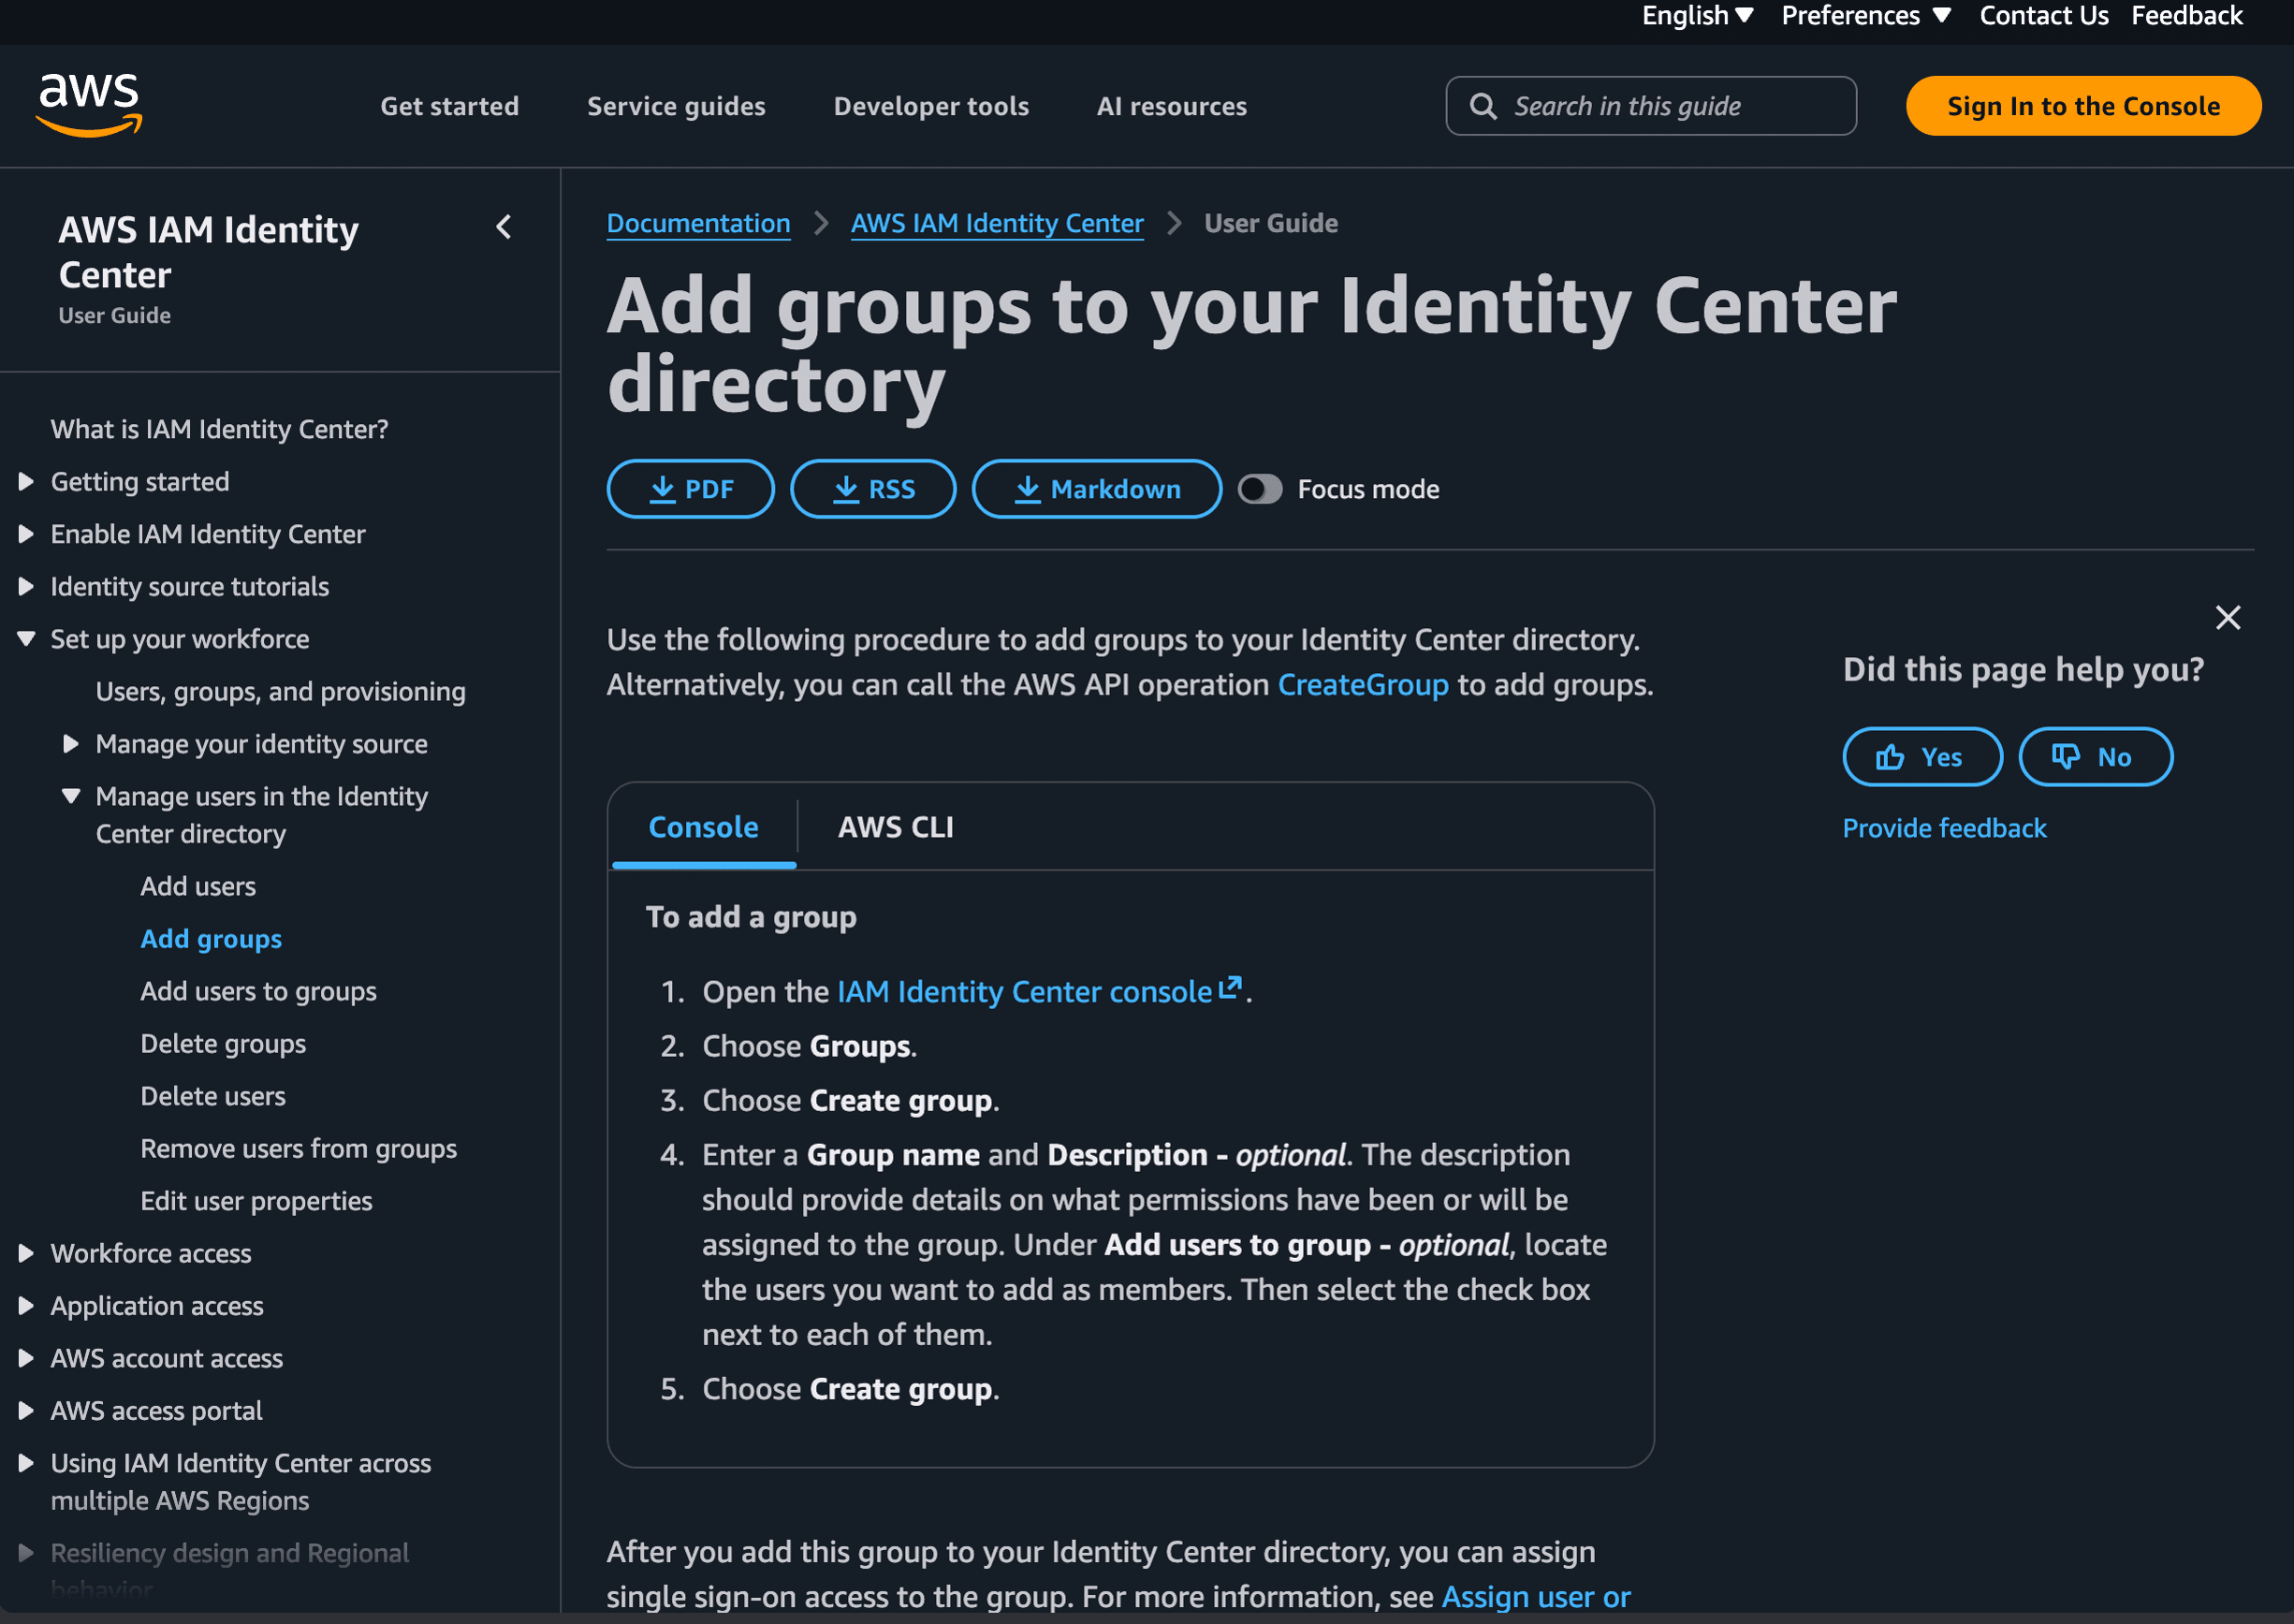
In IAM Identity Center, open Groups and create a new group called Dev3 Studio. Add a short description like "External development team" so it's clear what this group is for.
Groups make it easy to manage access -- instead of configuring permissions for each person individually, you assign permissions to the group and then add people to it.
Step 9: Add the Dev3 Studio Team Members
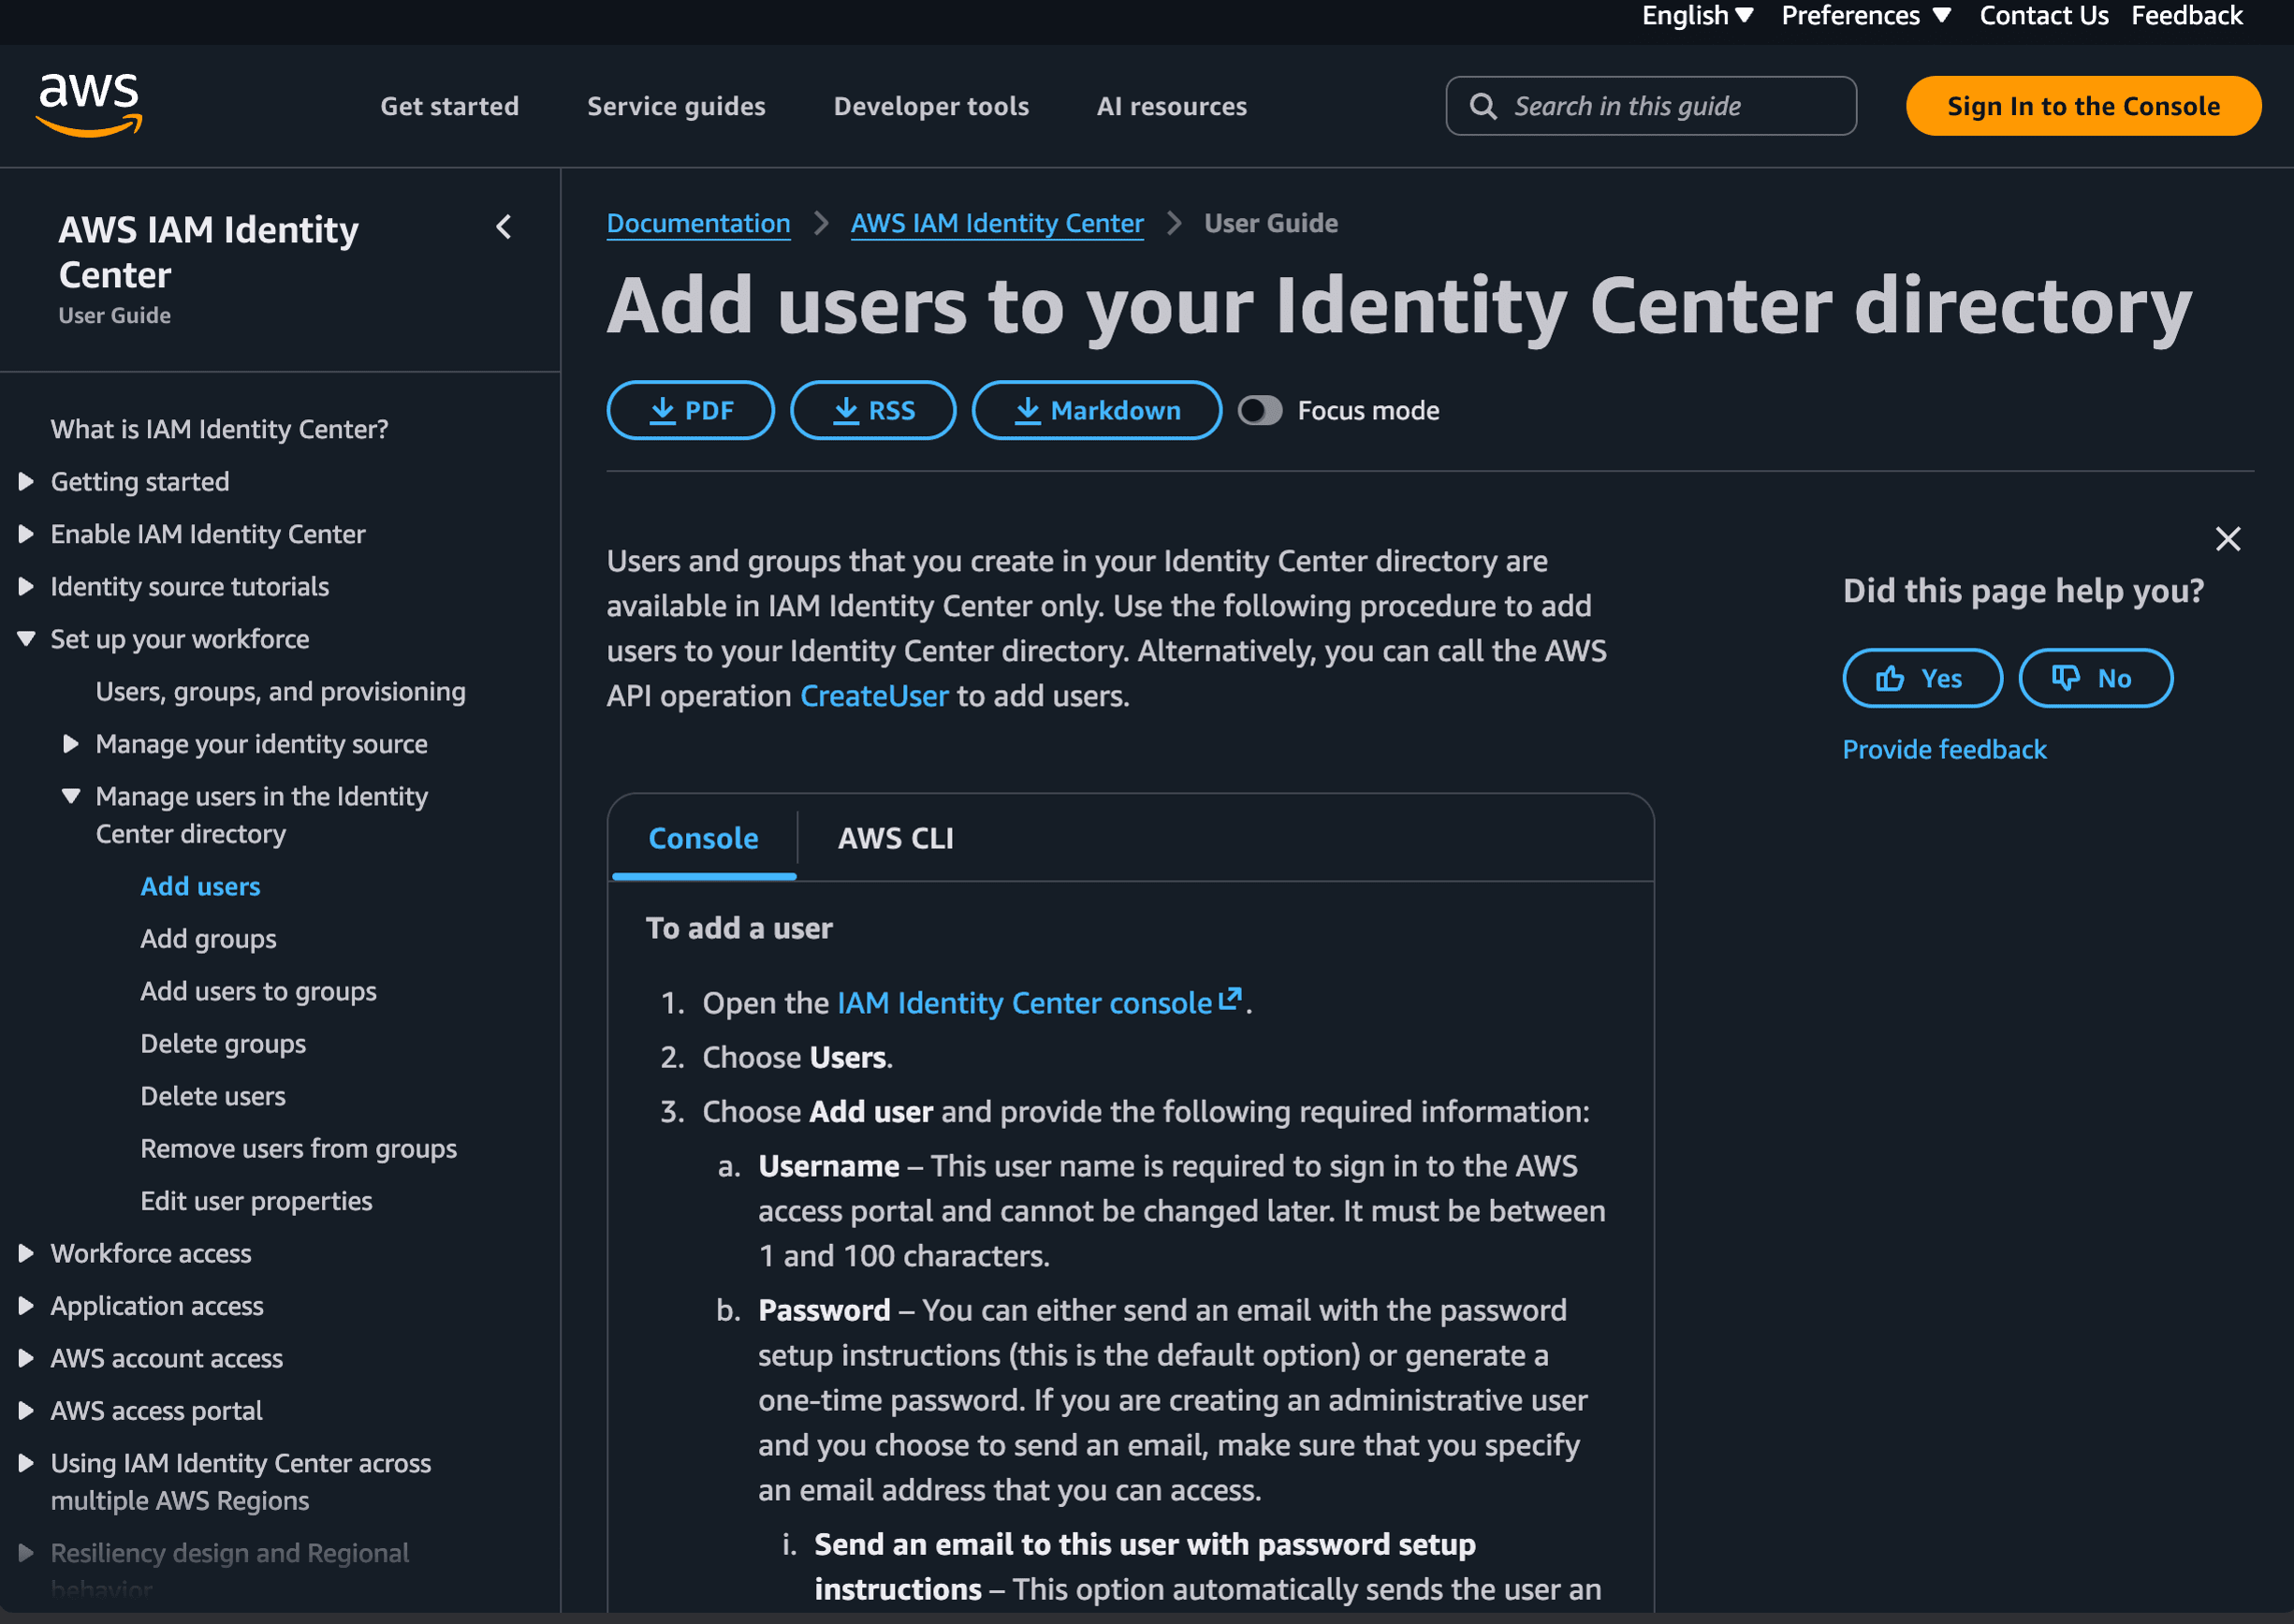
Open Users in IAM Identity Center and create a user for each of the two Dev3 Studio email addresses we've given you — if you don't have them to hand, just ask and we'll send them through. Choose the option to email them password-setup instructions, and add both users to the Dev3 Studio group you just created.
They'll receive an email with a link to set up their own passwords and multi-factor authentication -- you won't need to share any credentials.
Step 10: Create the Workload Administrator Permission Set
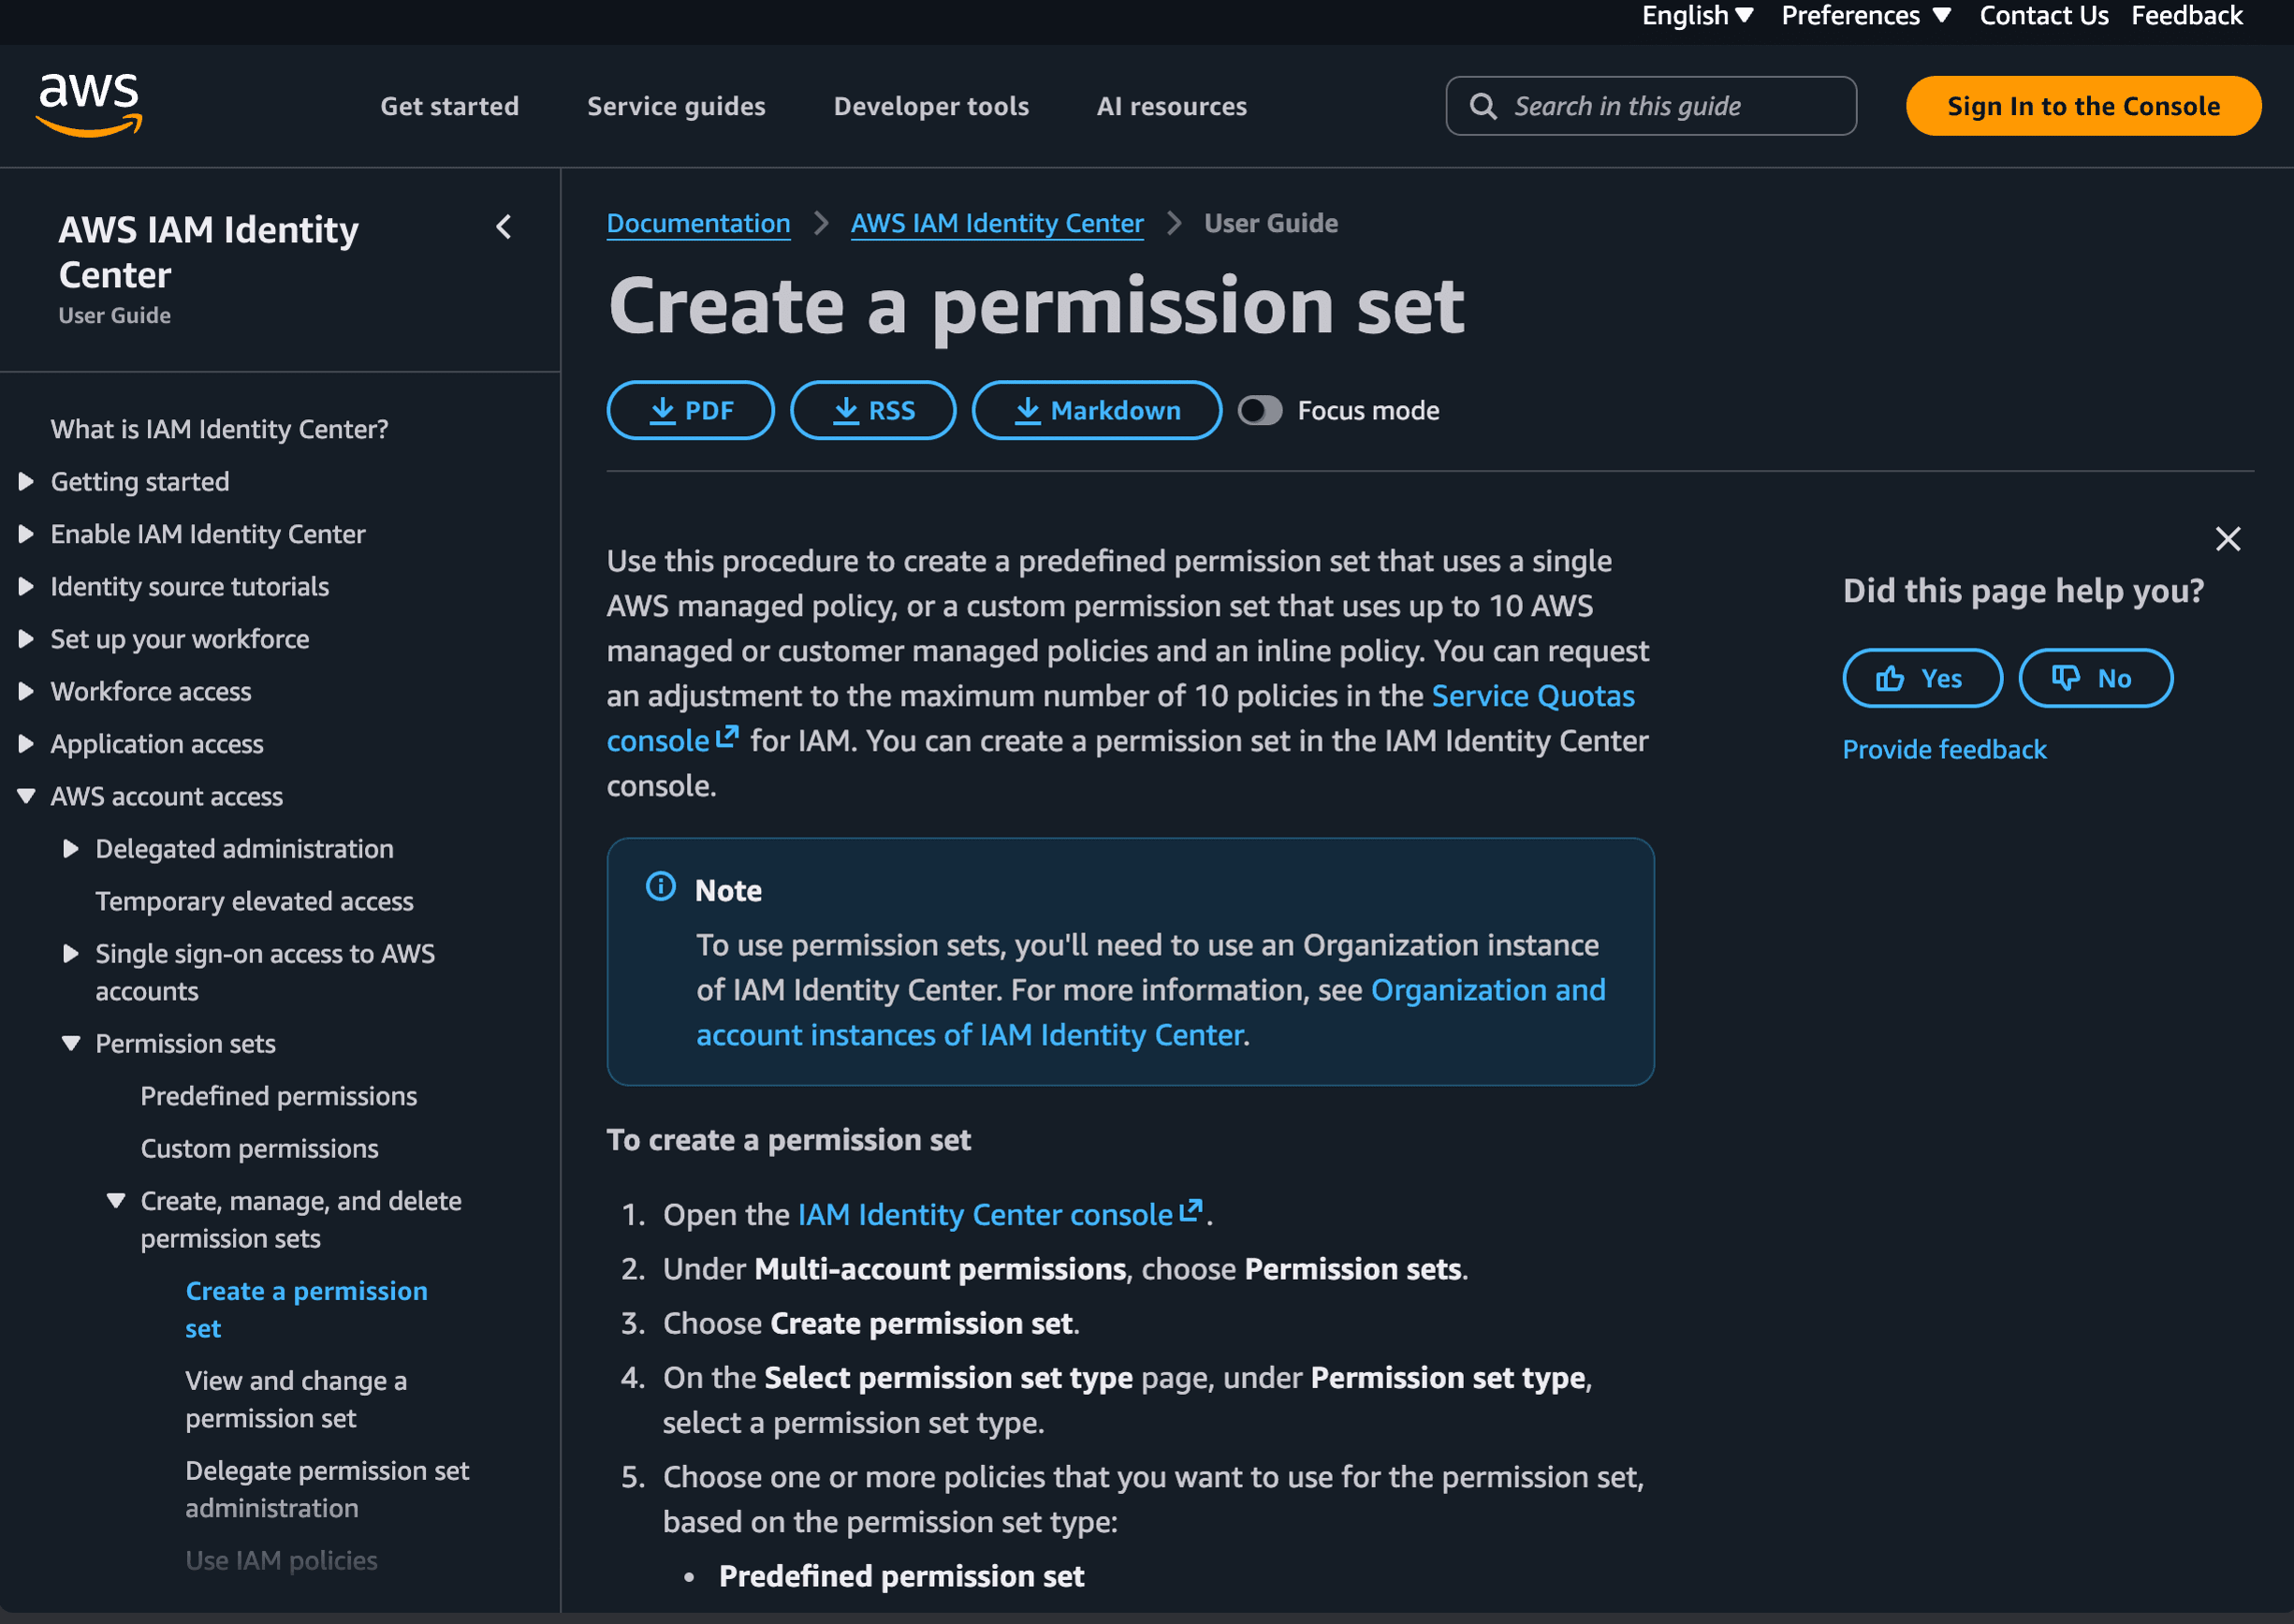
Under Multi-account permissions, open Permission sets and create a new one. Choose the predefined AdministratorAccess managed policy (this is a standard AWS template) and give the permission set a clear name like WorkloadAdministrator.
This permission set defines what the Dev3 Studio team can do -- but it doesn't do anything on its own until you assign it to a specific account in the next step.
Step 11: Assign the Group to the Workload Account
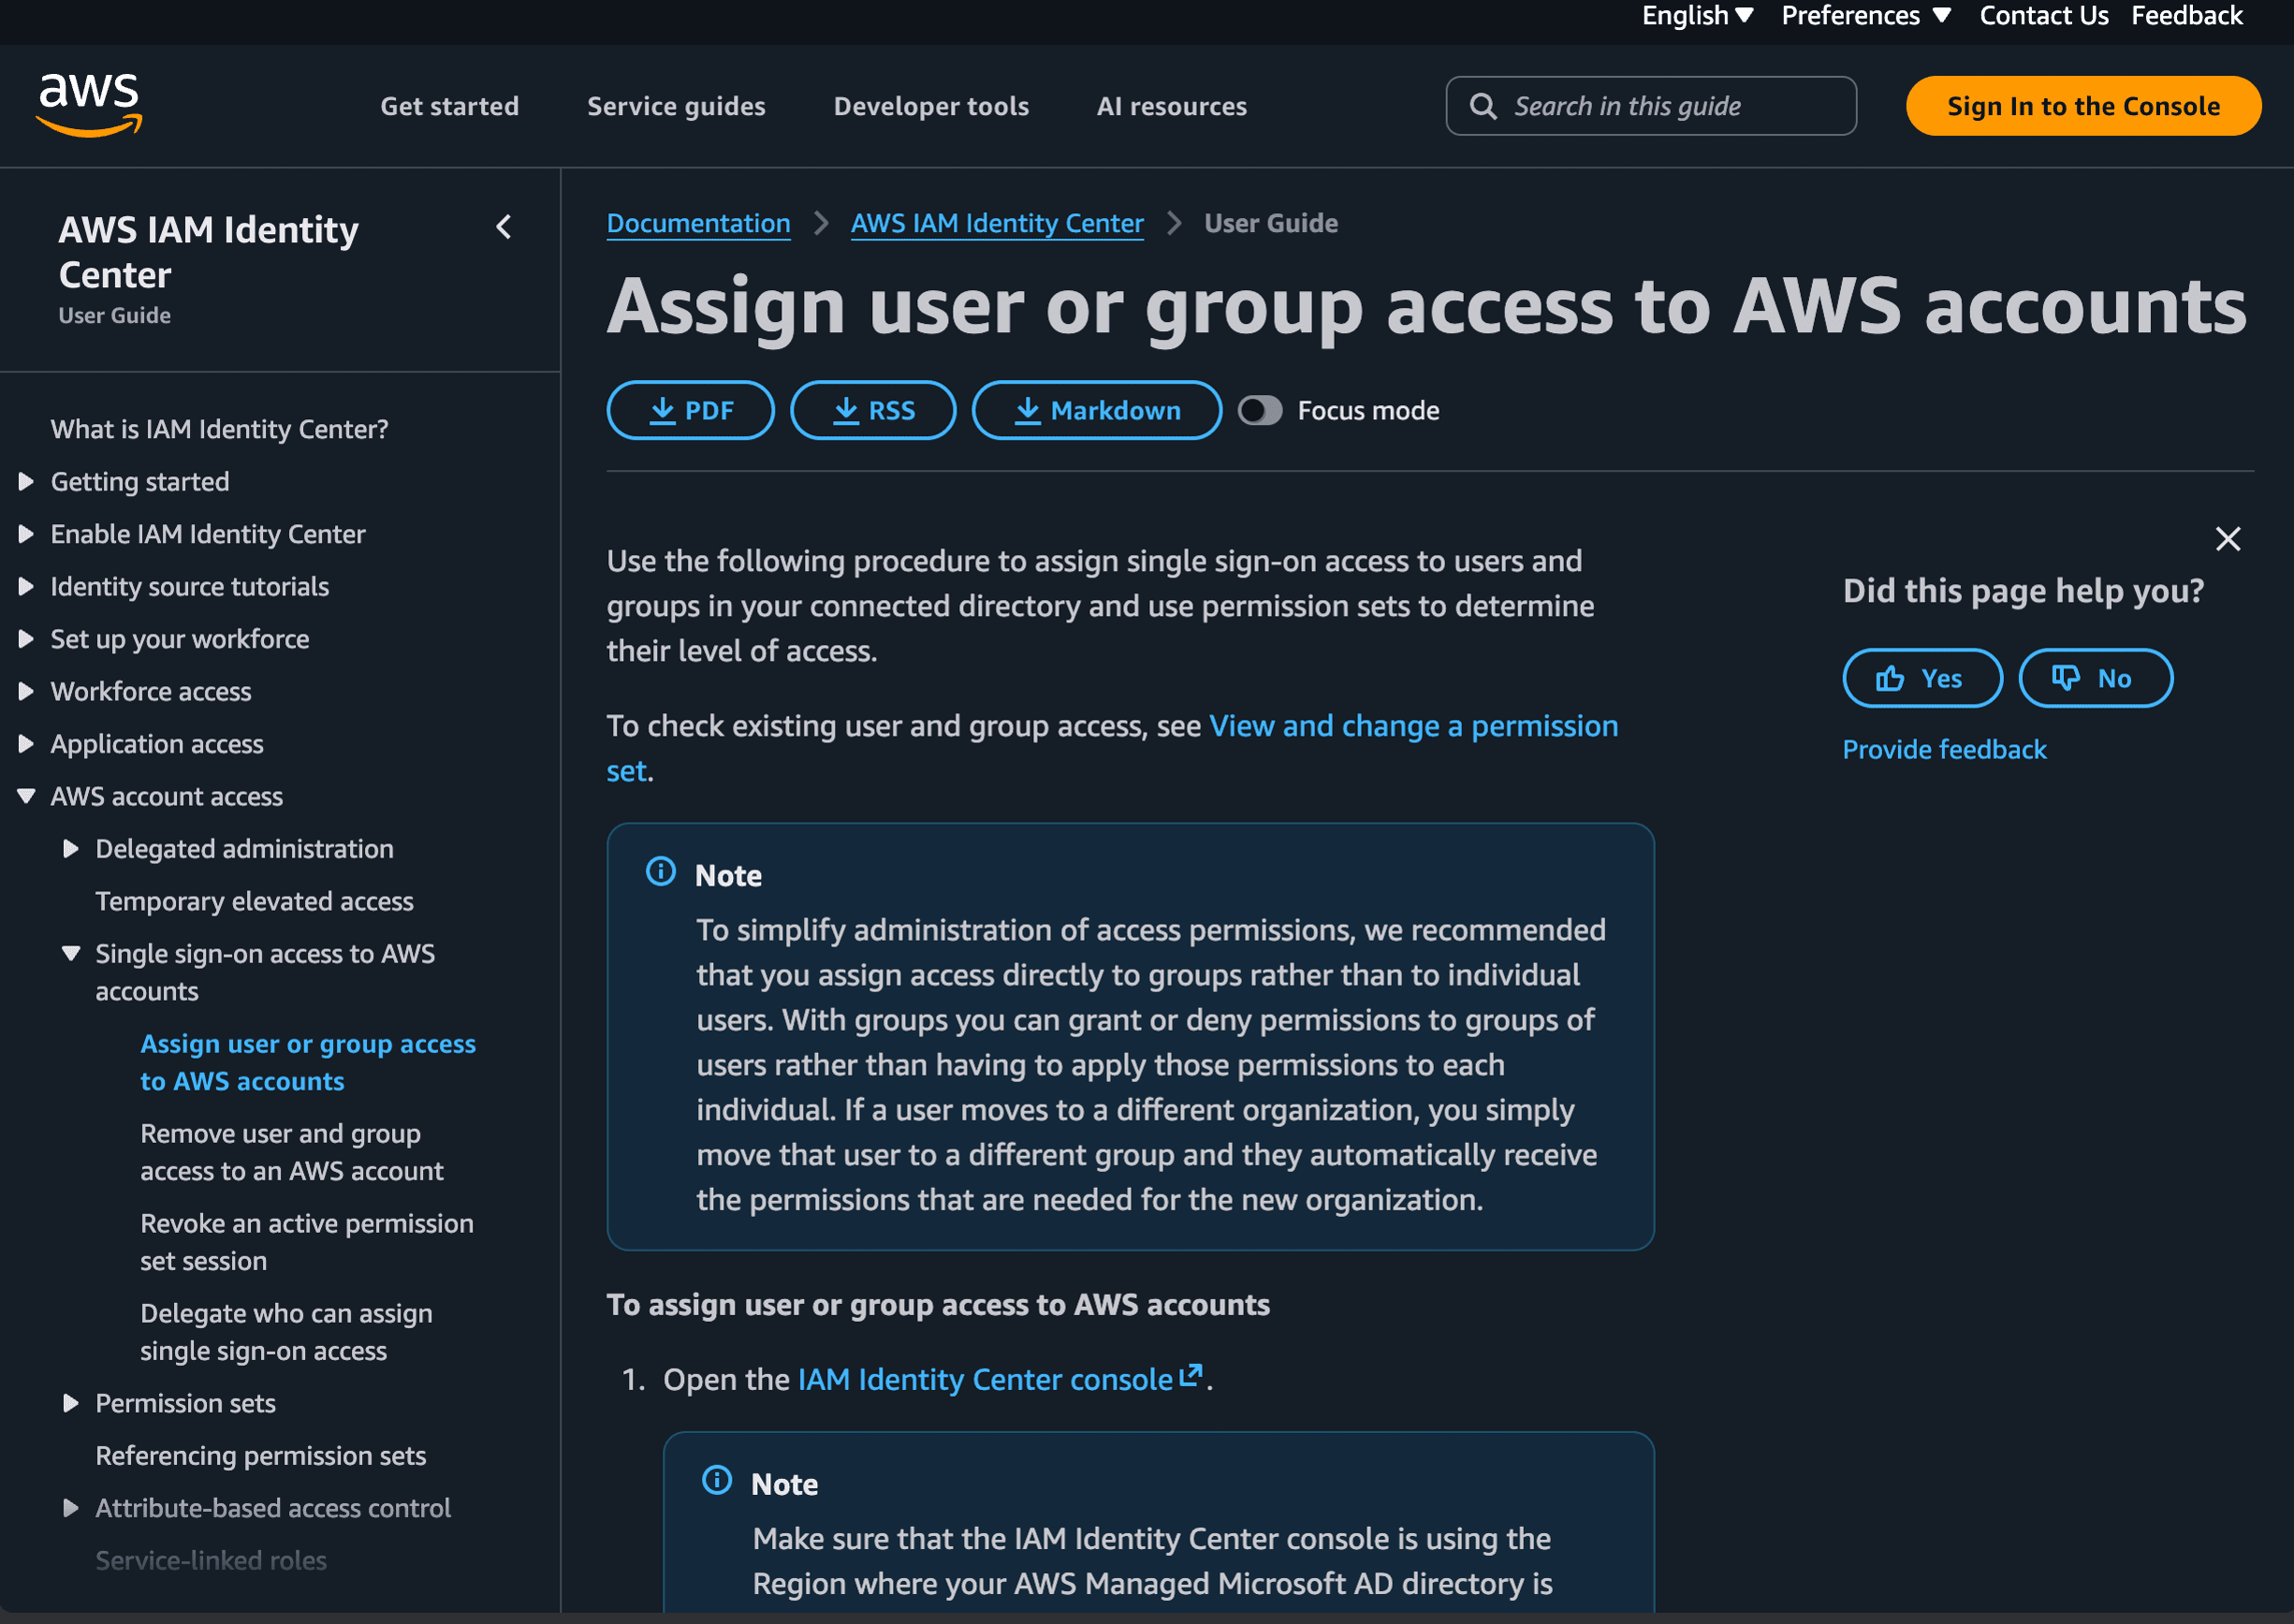
Open AWS accounts in IAM Identity Center, select only the workload account (not the management account), and click Assign users or groups. Select the Dev3 Studio group and assign the WorkloadAdministrator permission set.
This is the critical step that ties everything together: the Dev3 Studio team now has administrator access to the workload account where they'll build your application, but no access to the management account where billing and organization settings live.
Do not select the management account. Dev3 Studio should only have access to the workload account.
Completion Checklist
Troubleshooting
- The workload account is still being created: AWS sometimes takes a few minutes to finish setting up a new member account. Wait for the status in AWS Organizations to show as active before trying to assign access.
- A Dev3 Studio team member didn't receive an invitation email: Double-check the email addresses in IAM Identity Center and resend the password-setup email.
- Dev3 Studio can see the management account in the access portal: Remove that assignment immediately. Go to AWS accounts in IAM Identity Center and confirm the group is assigned only to the workload account.
- A service is unavailable in the workload account: Check that the account is fully activated, that you're in the correct AWS Region, and that there are no service-control policies blocking access.
Security Reminder
You're in full control of the management account, and that's exactly how it should stay. Never share the root password, root MFA device, recovery details, or payment information. Dev3 Studio accesses the workload account through their own individual IAM Identity Center logins -- they never need your root credentials.
Keep in mind that AdministratorAccess in the workload account is powerful -- it can create resources that cost money and delete existing ones. This is necessary for building your application, but once development stabilizes, we can work together to tighten permissions down to only what's needed. You can also revoke access at any time by removing users from the Dev3 Studio group.