
How to Create an Apple Developer Account
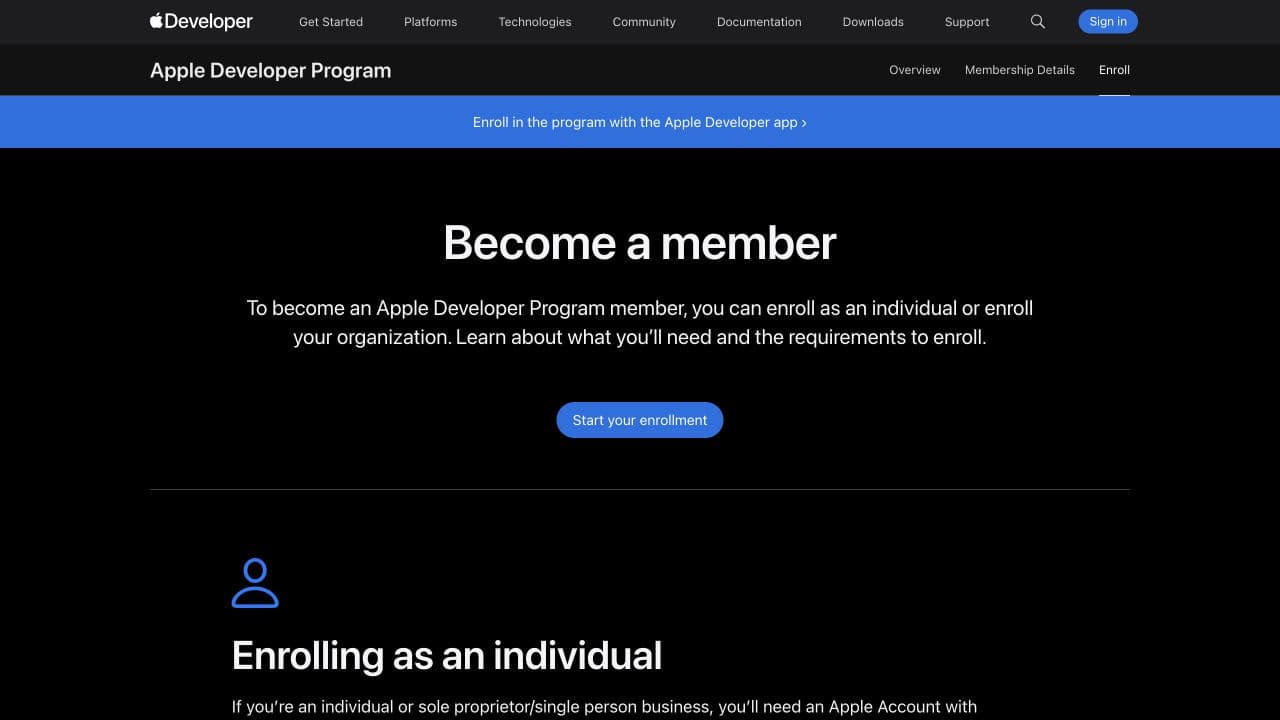
To publish an app on the App Store, your company needs to join the Apple Developer Program. This is Apple's way of verifying that real, legitimate businesses are behind the apps people download. Once you're enrolled, you can distribute apps on iPhone, iPad, Mac, Apple Watch, and Apple TV.
We always recommend enrolling as an Organization rather than an Individual. With an Organization enrollment, your company name appears as the seller on the App Store, and you can invite team members (like Dev3 Studio) to work on the app alongside you. Individual enrollment, by contrast, shows a person's legal name as the seller and doesn't allow the same level of team access.
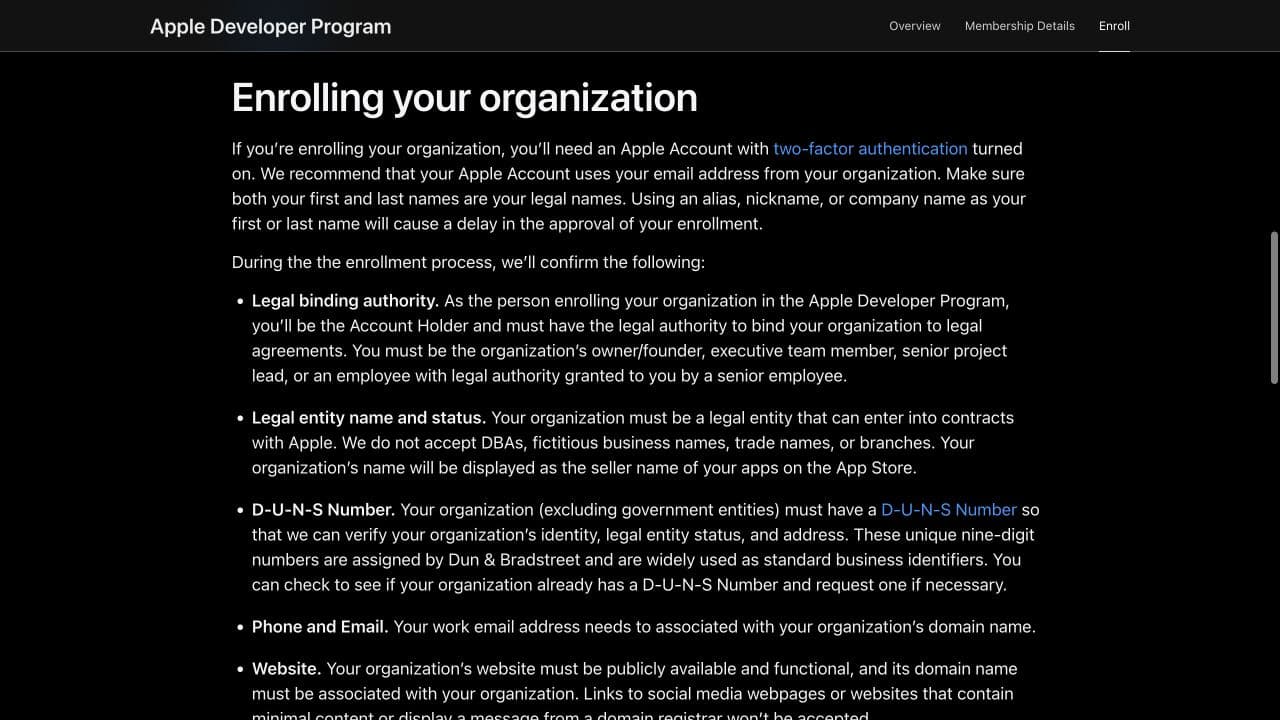
The person who completes enrollment becomes the Account Holder -- this should be someone with legal authority to act on behalf of the company, such as a director or founder. You'll remain the Account Holder and stay in full control of the account. Dev3 Studio joins later as Admins so we can handle the technical side of building and submitting your app.
Before You Begin
Make sure you have the following ready before starting:
- An Apple Account in the Account Holder's real legal name (first name and surname must match their ID exactly).
- Two-factor authentication turned on for that Apple Account.
- The Apple Developer app installed on an iPhone, iPad, or Mac.
- A registered legal entity with a matching D-U-N-S Number -- this is a unique business identifier that Apple uses to verify your company.
- Your company's legal name, registered address, website, and business phone number.
- A government-issued photo ID for the Account Holder.
- A company payment method for the annual fee.
Expected Costs and Timing
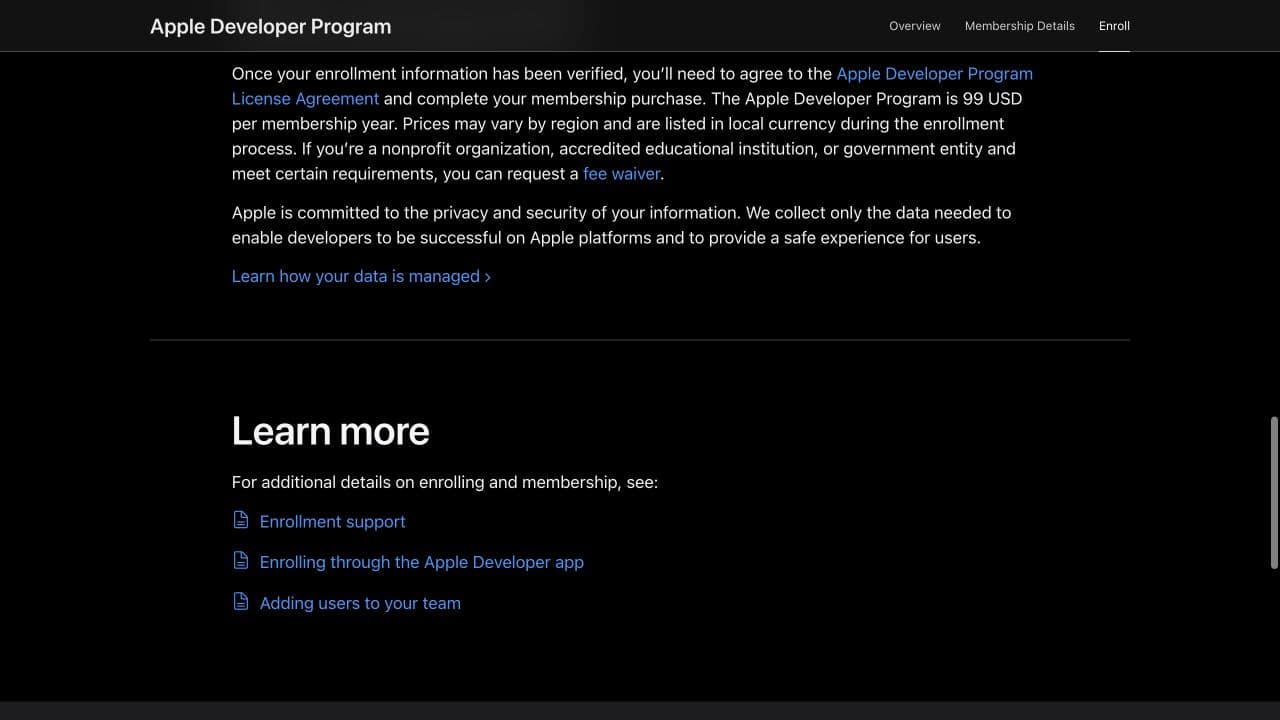
Apple charges US$99 per year (or the equivalent in your local currency, which Apple will show you during enrollment). This fee renews annually to keep your membership active.
The enrollment process itself involves several verification checks -- Apple will confirm your identity, your authority to act for the company, and your D-U-N-S Number. There's no fixed timeline for approval, and it can take longer if Apple needs to follow up on anything. If you've recently created or updated your D-U-N-S record, give it at least two business days before starting enrollment so Apple's systems have time to pick up the new data.
Step 1: Set Up or Confirm Your Apple Account
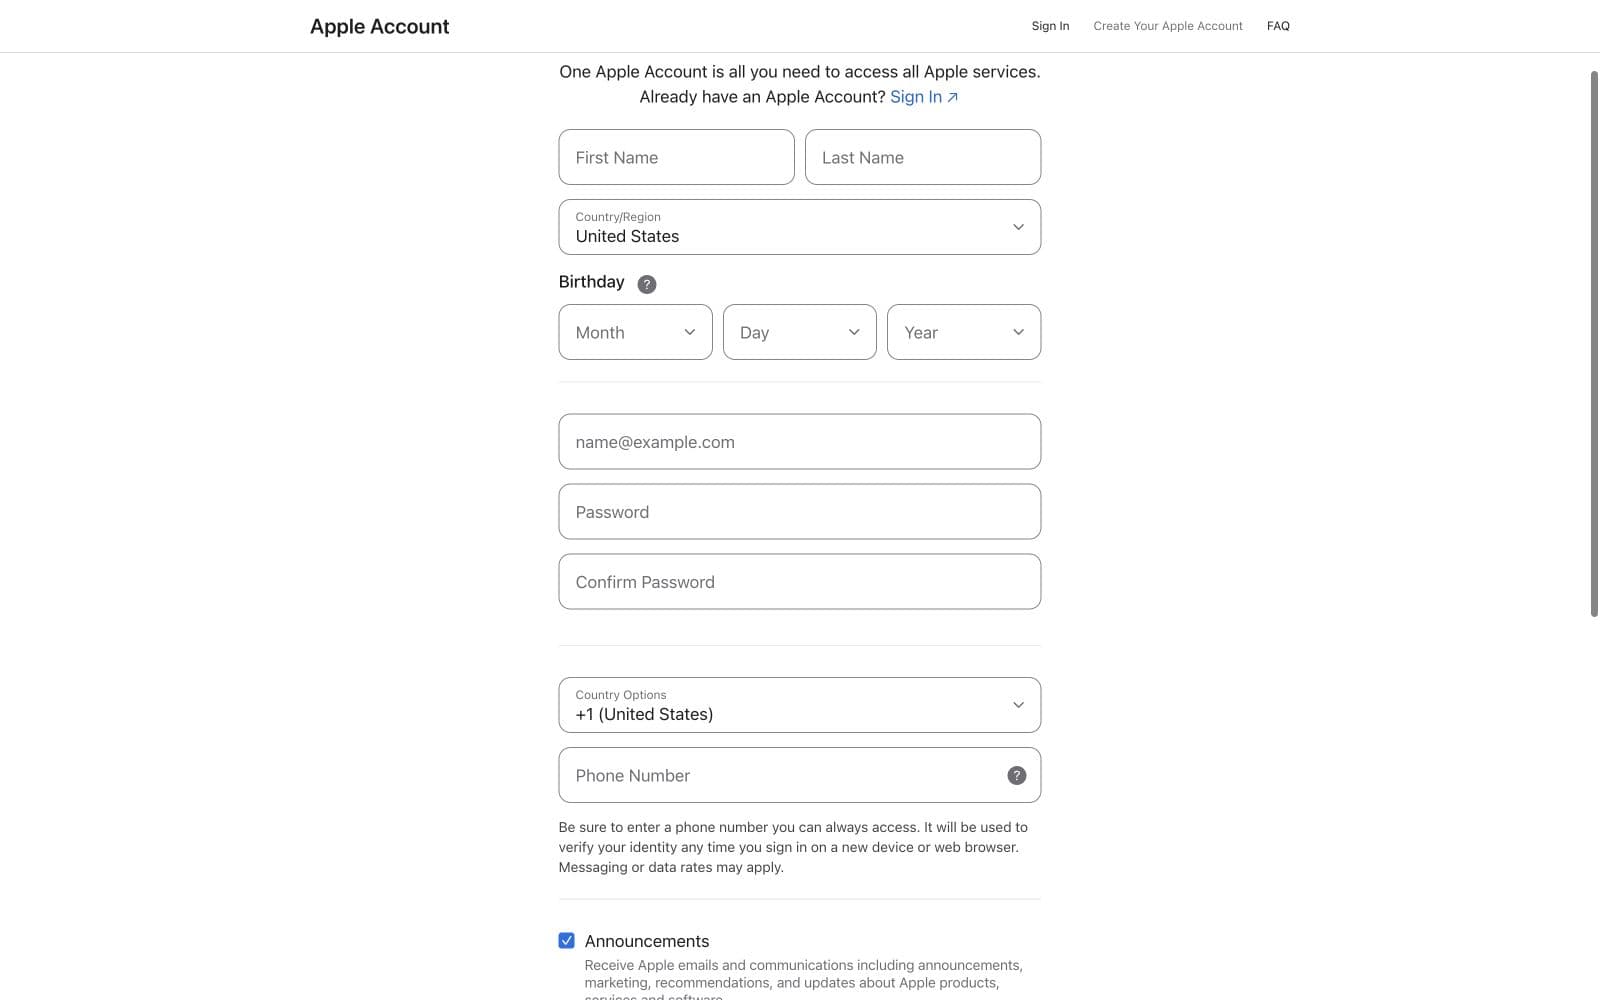
If the Account Holder already has an Apple Account, sign in at Apple Account and double-check that the name on the account matches their government-issued ID exactly. Then make sure two-factor authentication is turned on under the sign-in and security settings.
If the Account Holder doesn't have an Apple Account yet, go to Create Your Apple Account and create one using their real legal name and details. Apple will use this information during verification, so accuracy matters.
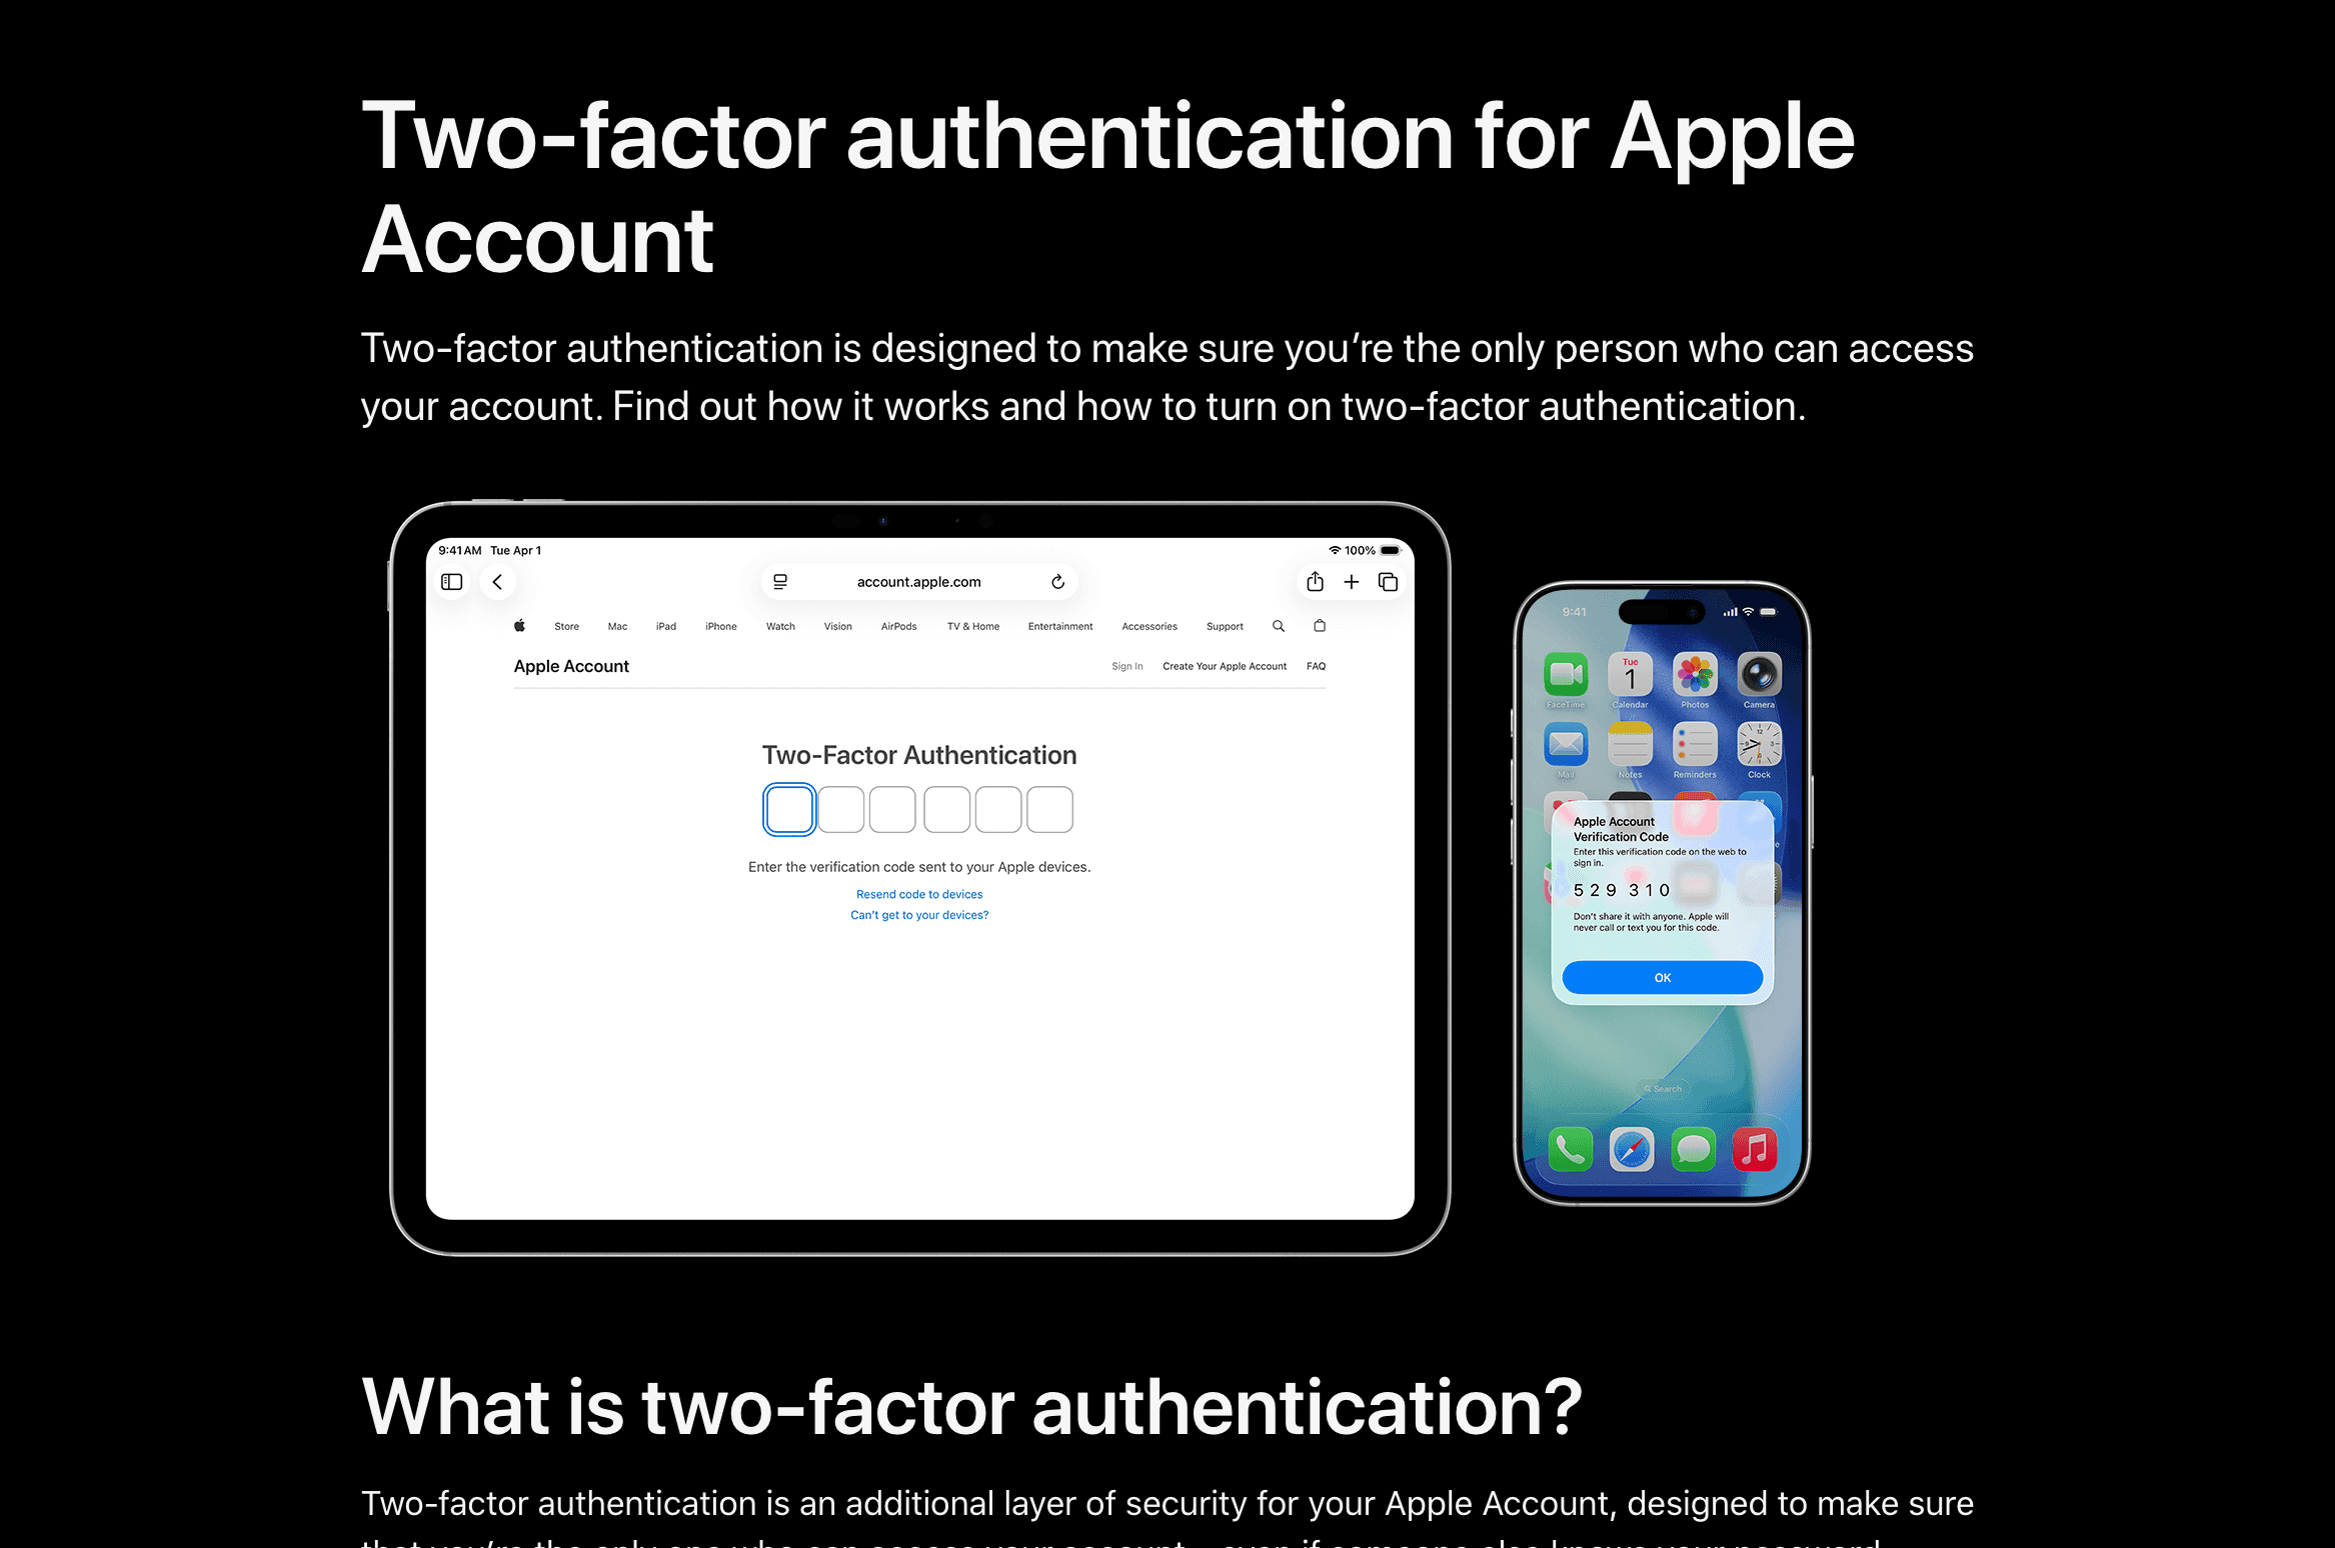
Step 2: Start Enrollment in the Apple Developer App
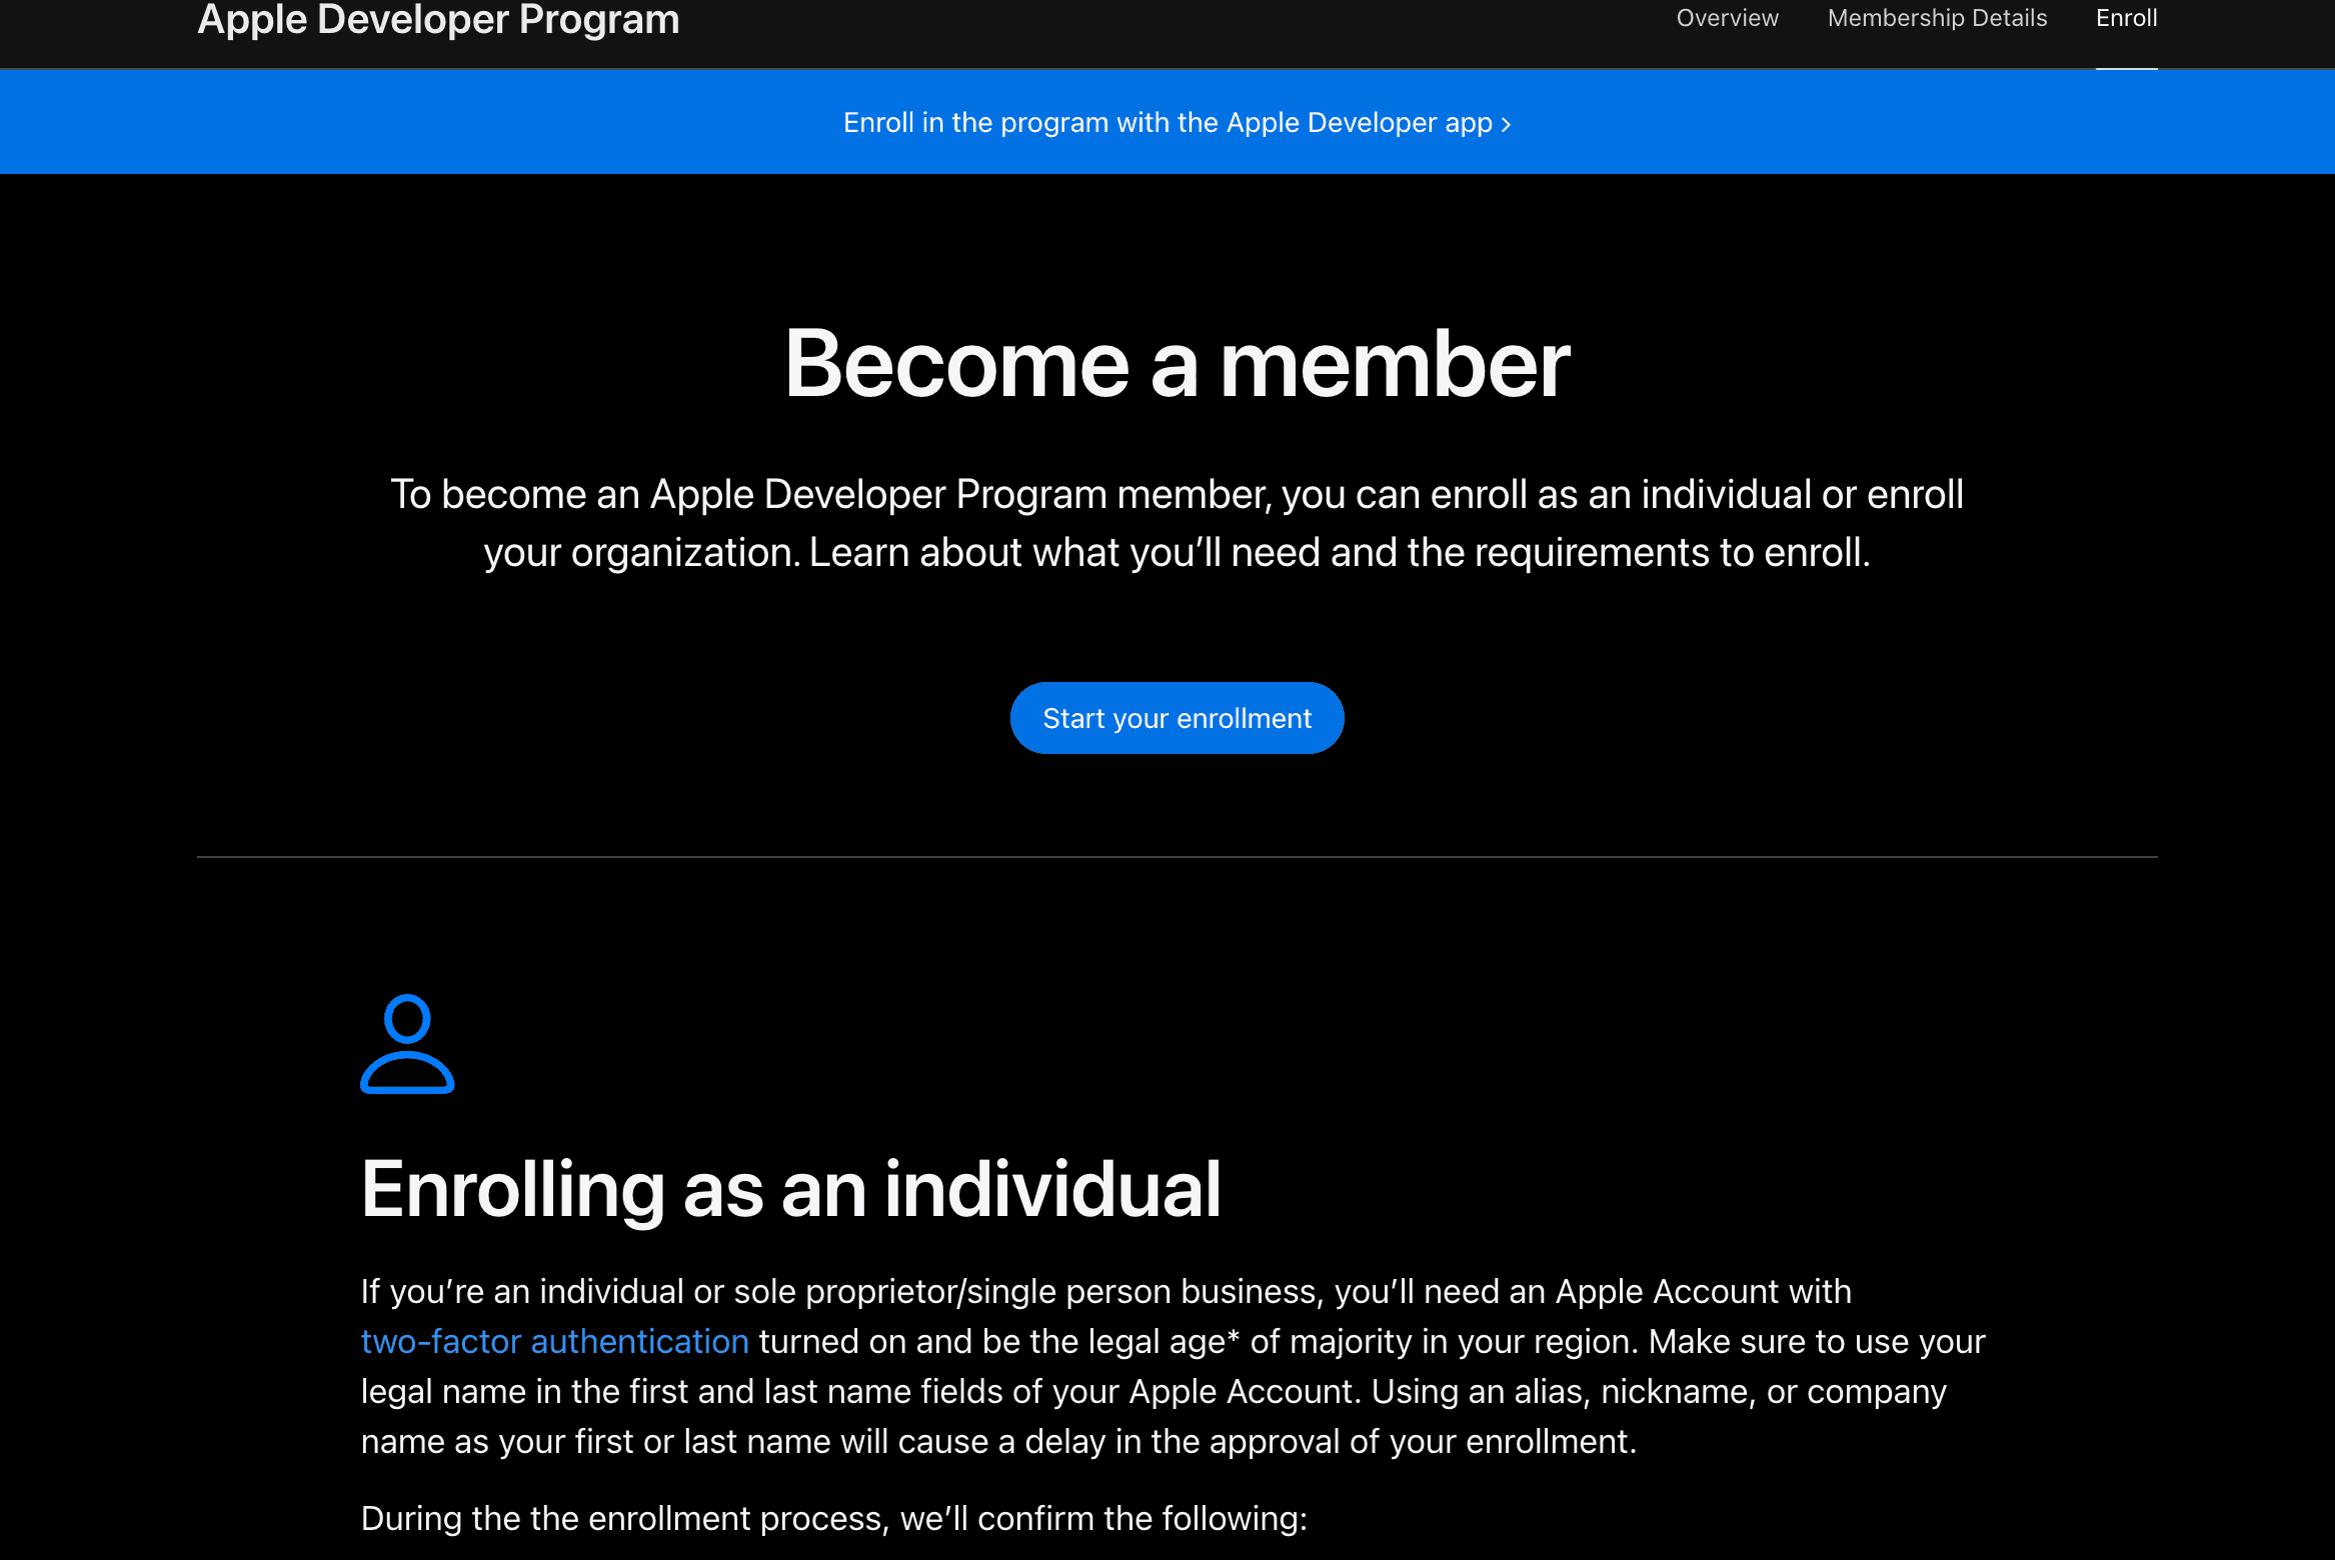
Open the Apple Developer app on your iPhone, iPad, or Mac. Go to the Account tab, sign in with your Apple Account, and tap Enroll Now. This kicks off the enrollment process.
If Apple doesn't offer app-based enrollment in your region, you can use Apple's web enrollment instead.
Step 3: Verify the Account Holder's Identity
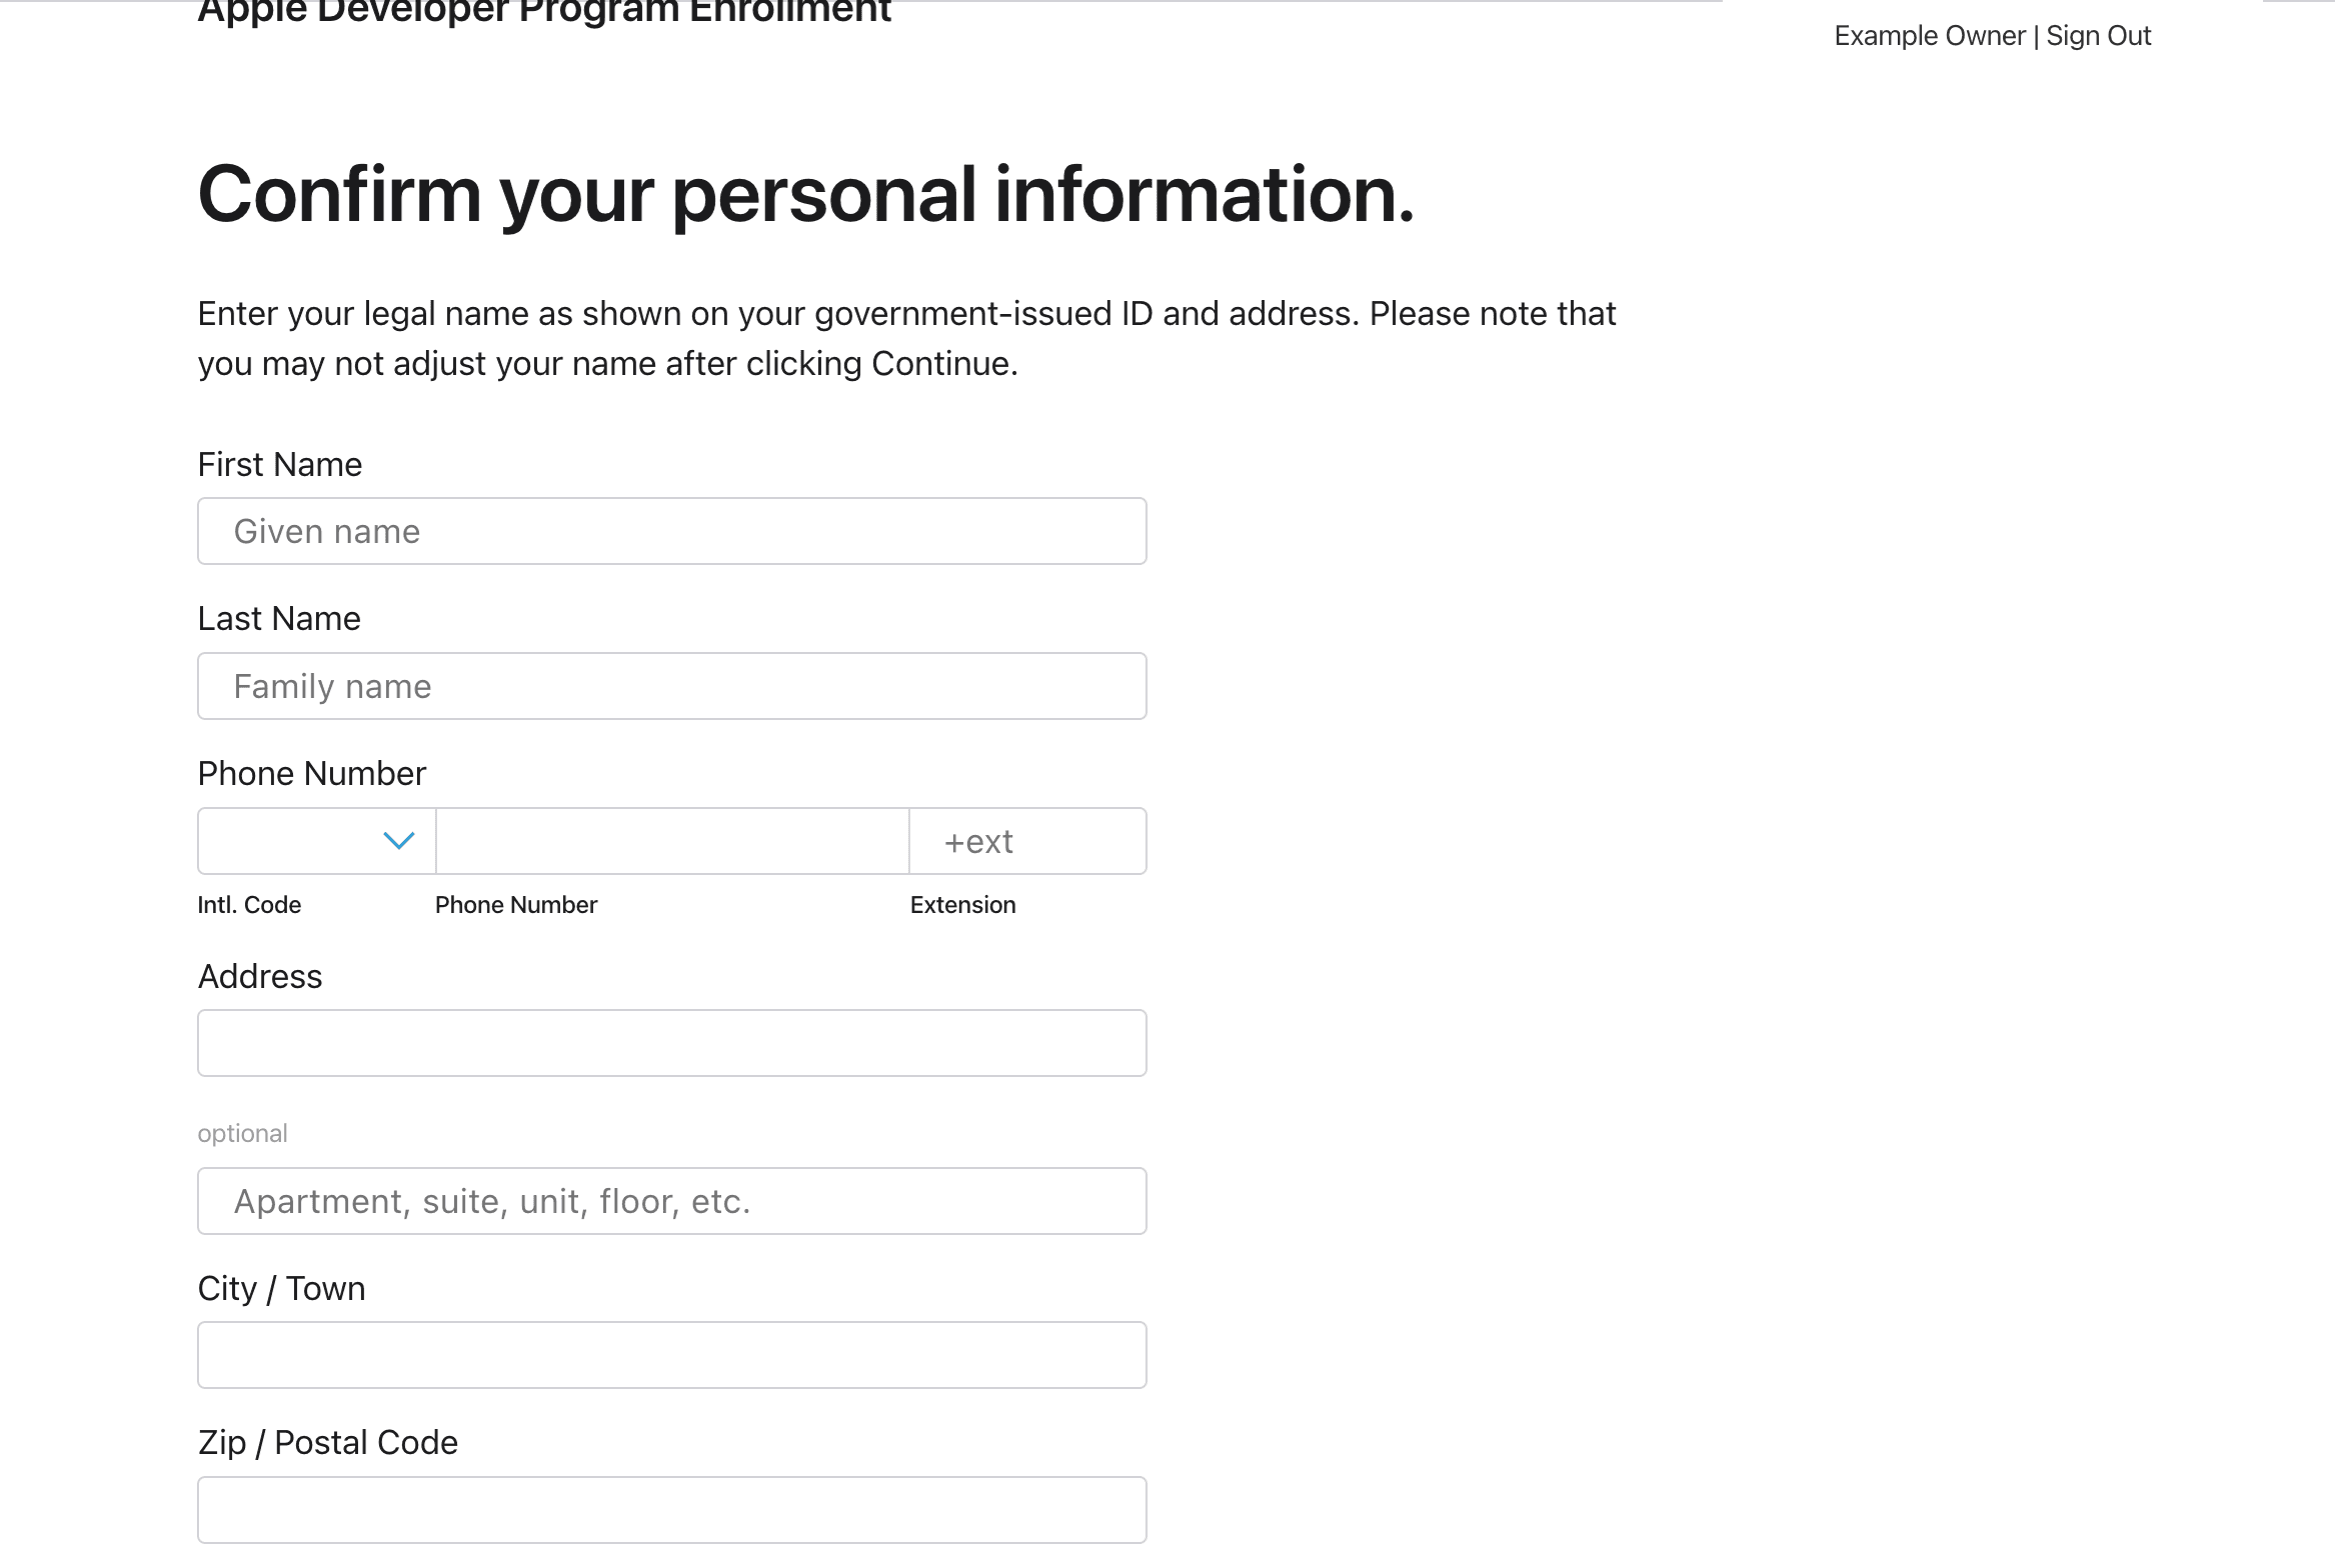
Apple will ask for the Account Holder's legal first name, surname, and phone number. You'll then be prompted to photograph a government-issued ID and complete any additional identity checks Apple requires.
This is a private step that only the Account Holder should complete. Please don't send Dev3 Studio a copy of the ID -- we don't need it, and it's safer kept with you.
Step 4: Choose Organization Enrollment
When Apple asks how you're enrolling, select Organization. This is the right choice for any registered company.
Don't choose Individual, even if it seems simpler. Individual enrollment shows a person's legal name as the seller on the App Store instead of your company name, and it doesn't give you the team access features you'll need.
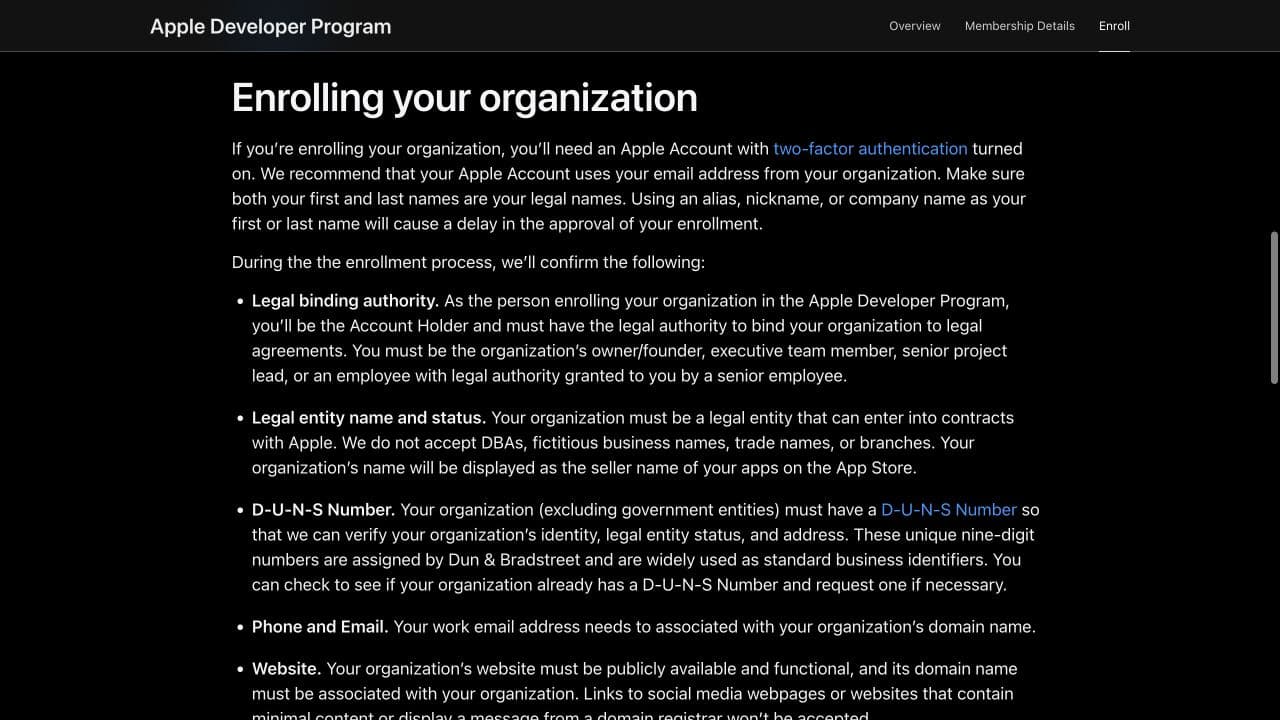
Step 5: Enter Your Company and D-U-N-S Details
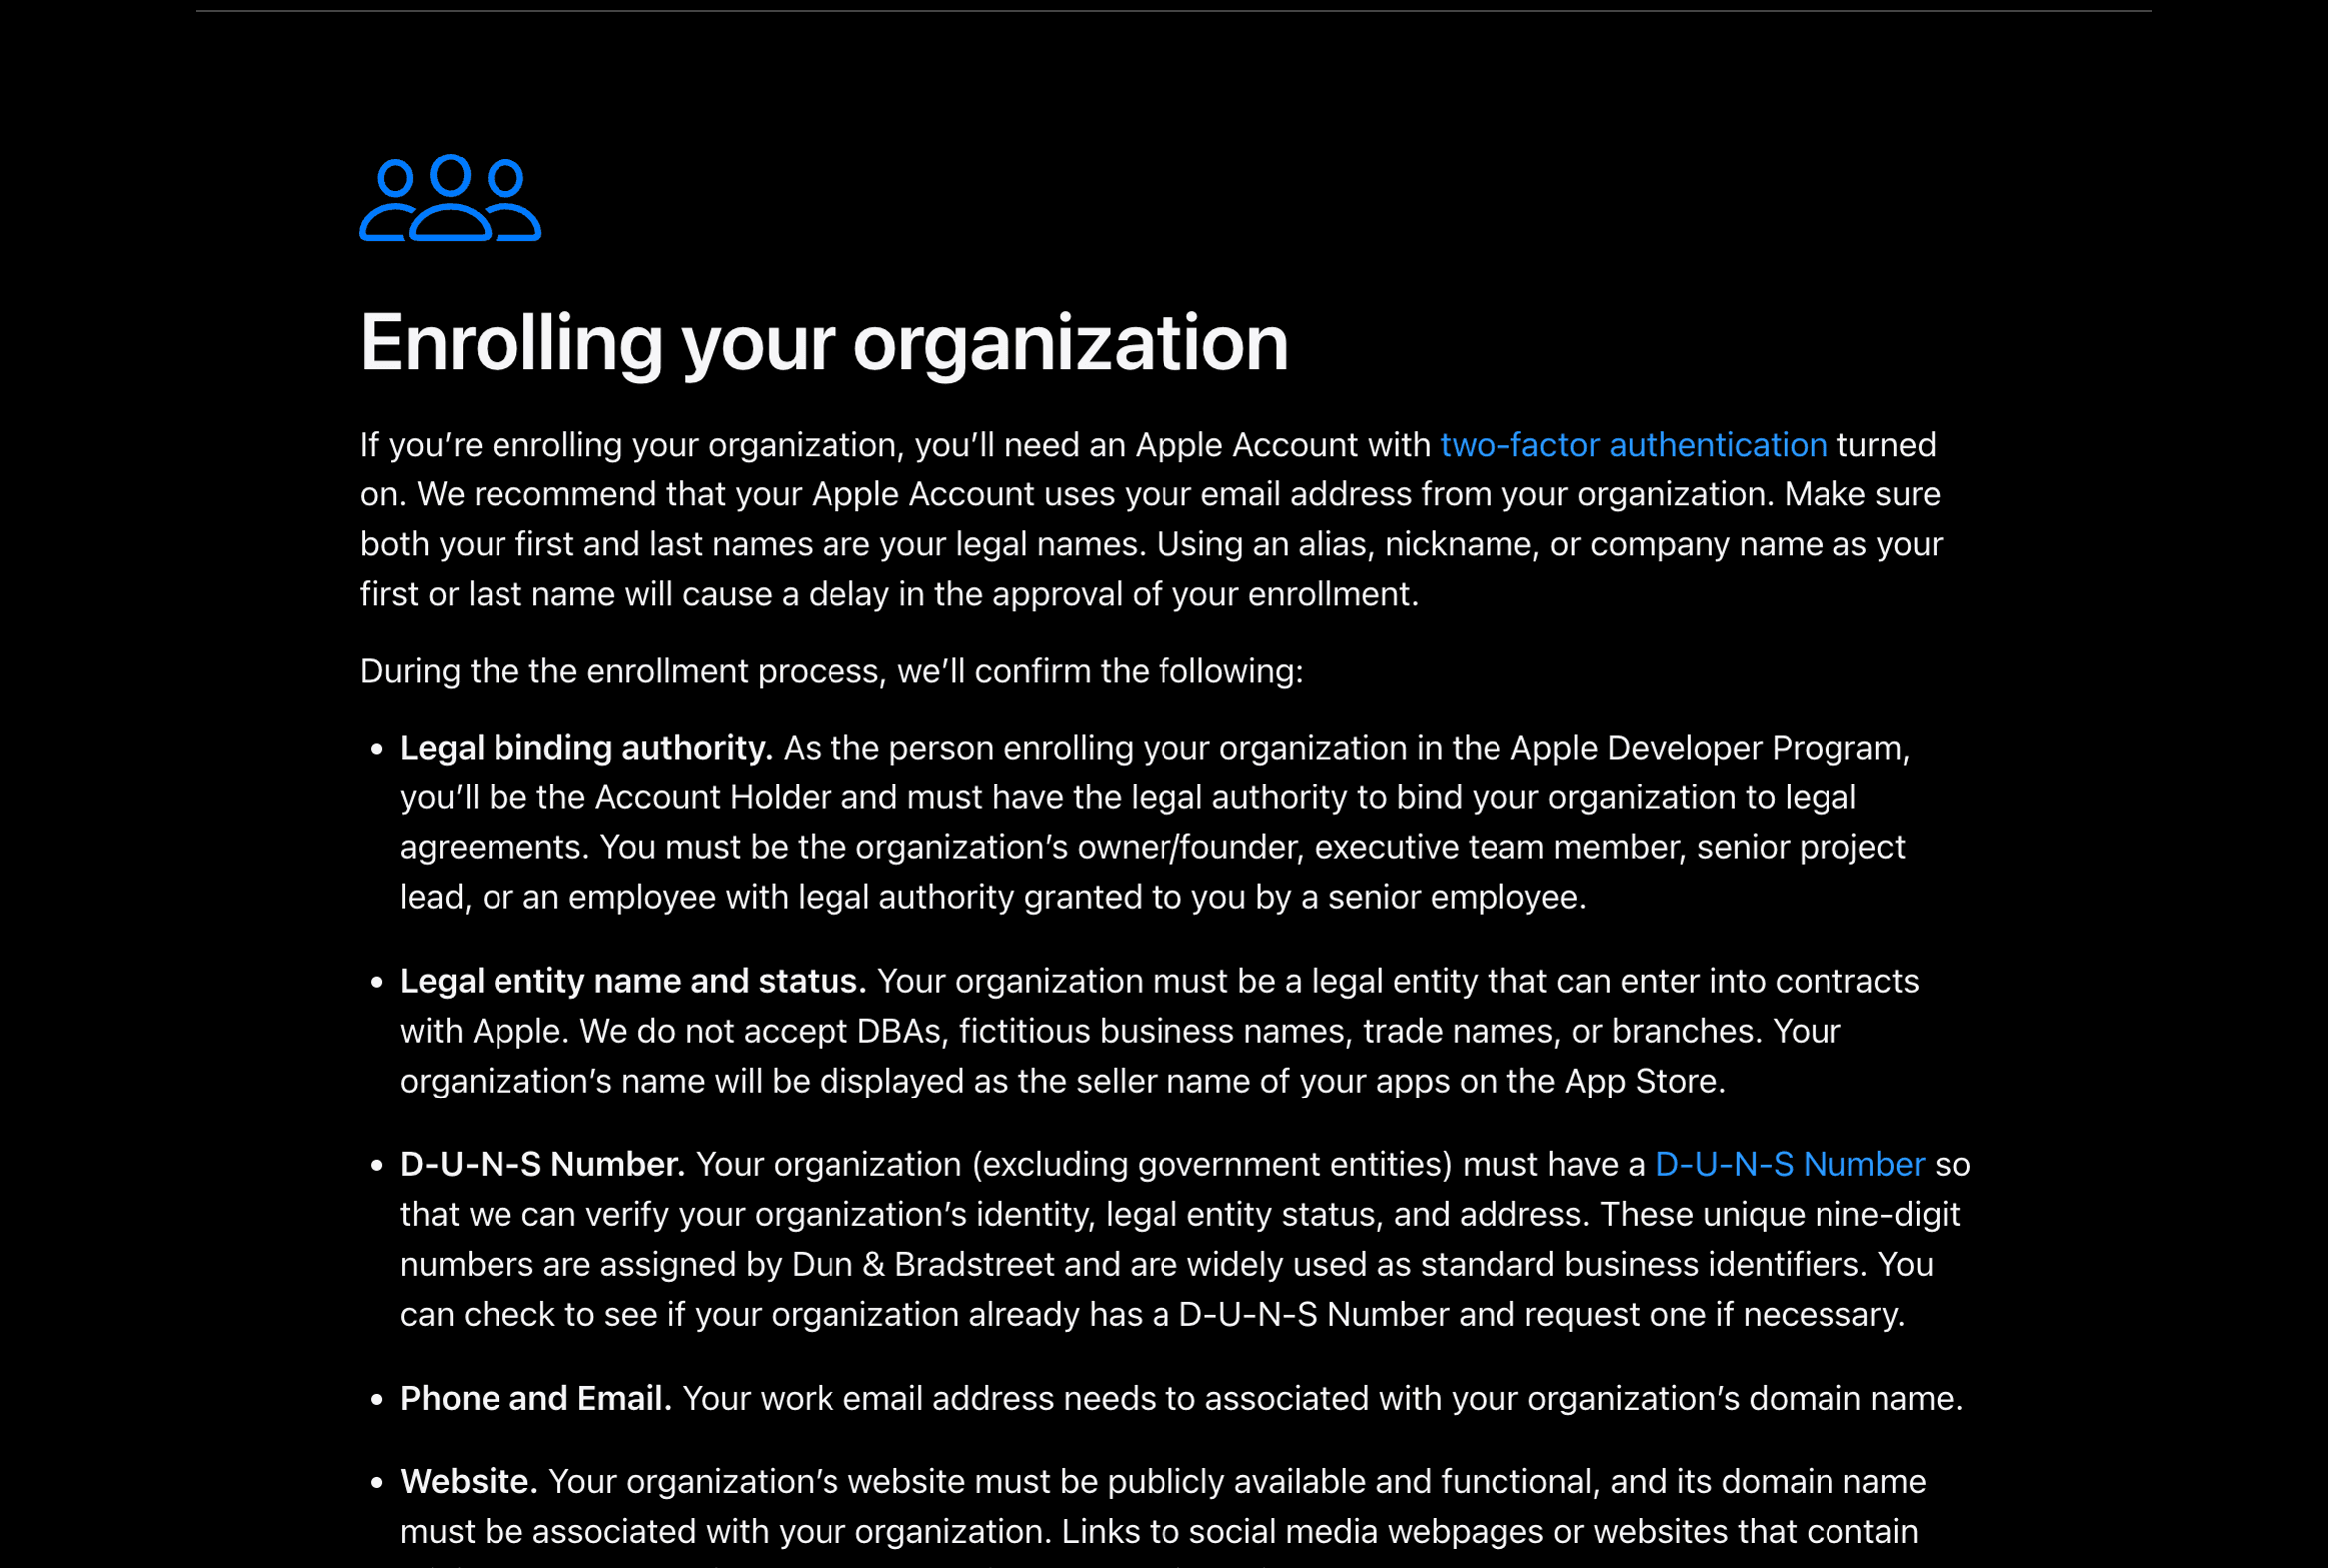
Enter your company's legal entity name and nine-digit D-U-N-S Number. These must match your Dun & Bradstreet record exactly -- even small differences in spelling or punctuation can cause problems.
You'll also need to provide your registered address, website, phone number, and the type of entity your company is (Apple will give you options to choose from).
Step 6: Confirm Authority to Act for the Company
Apple needs to know that the Account Holder is authorized to make decisions on behalf of the company. You'll be asked whether the Account Holder is the owner or founder.
If the Account Holder isn't the owner or founder, you'll need to provide the name and contact details of a senior person (like a director) who Apple can reach out to for confirmation.
Step 7: Accept the Agreement and Pay
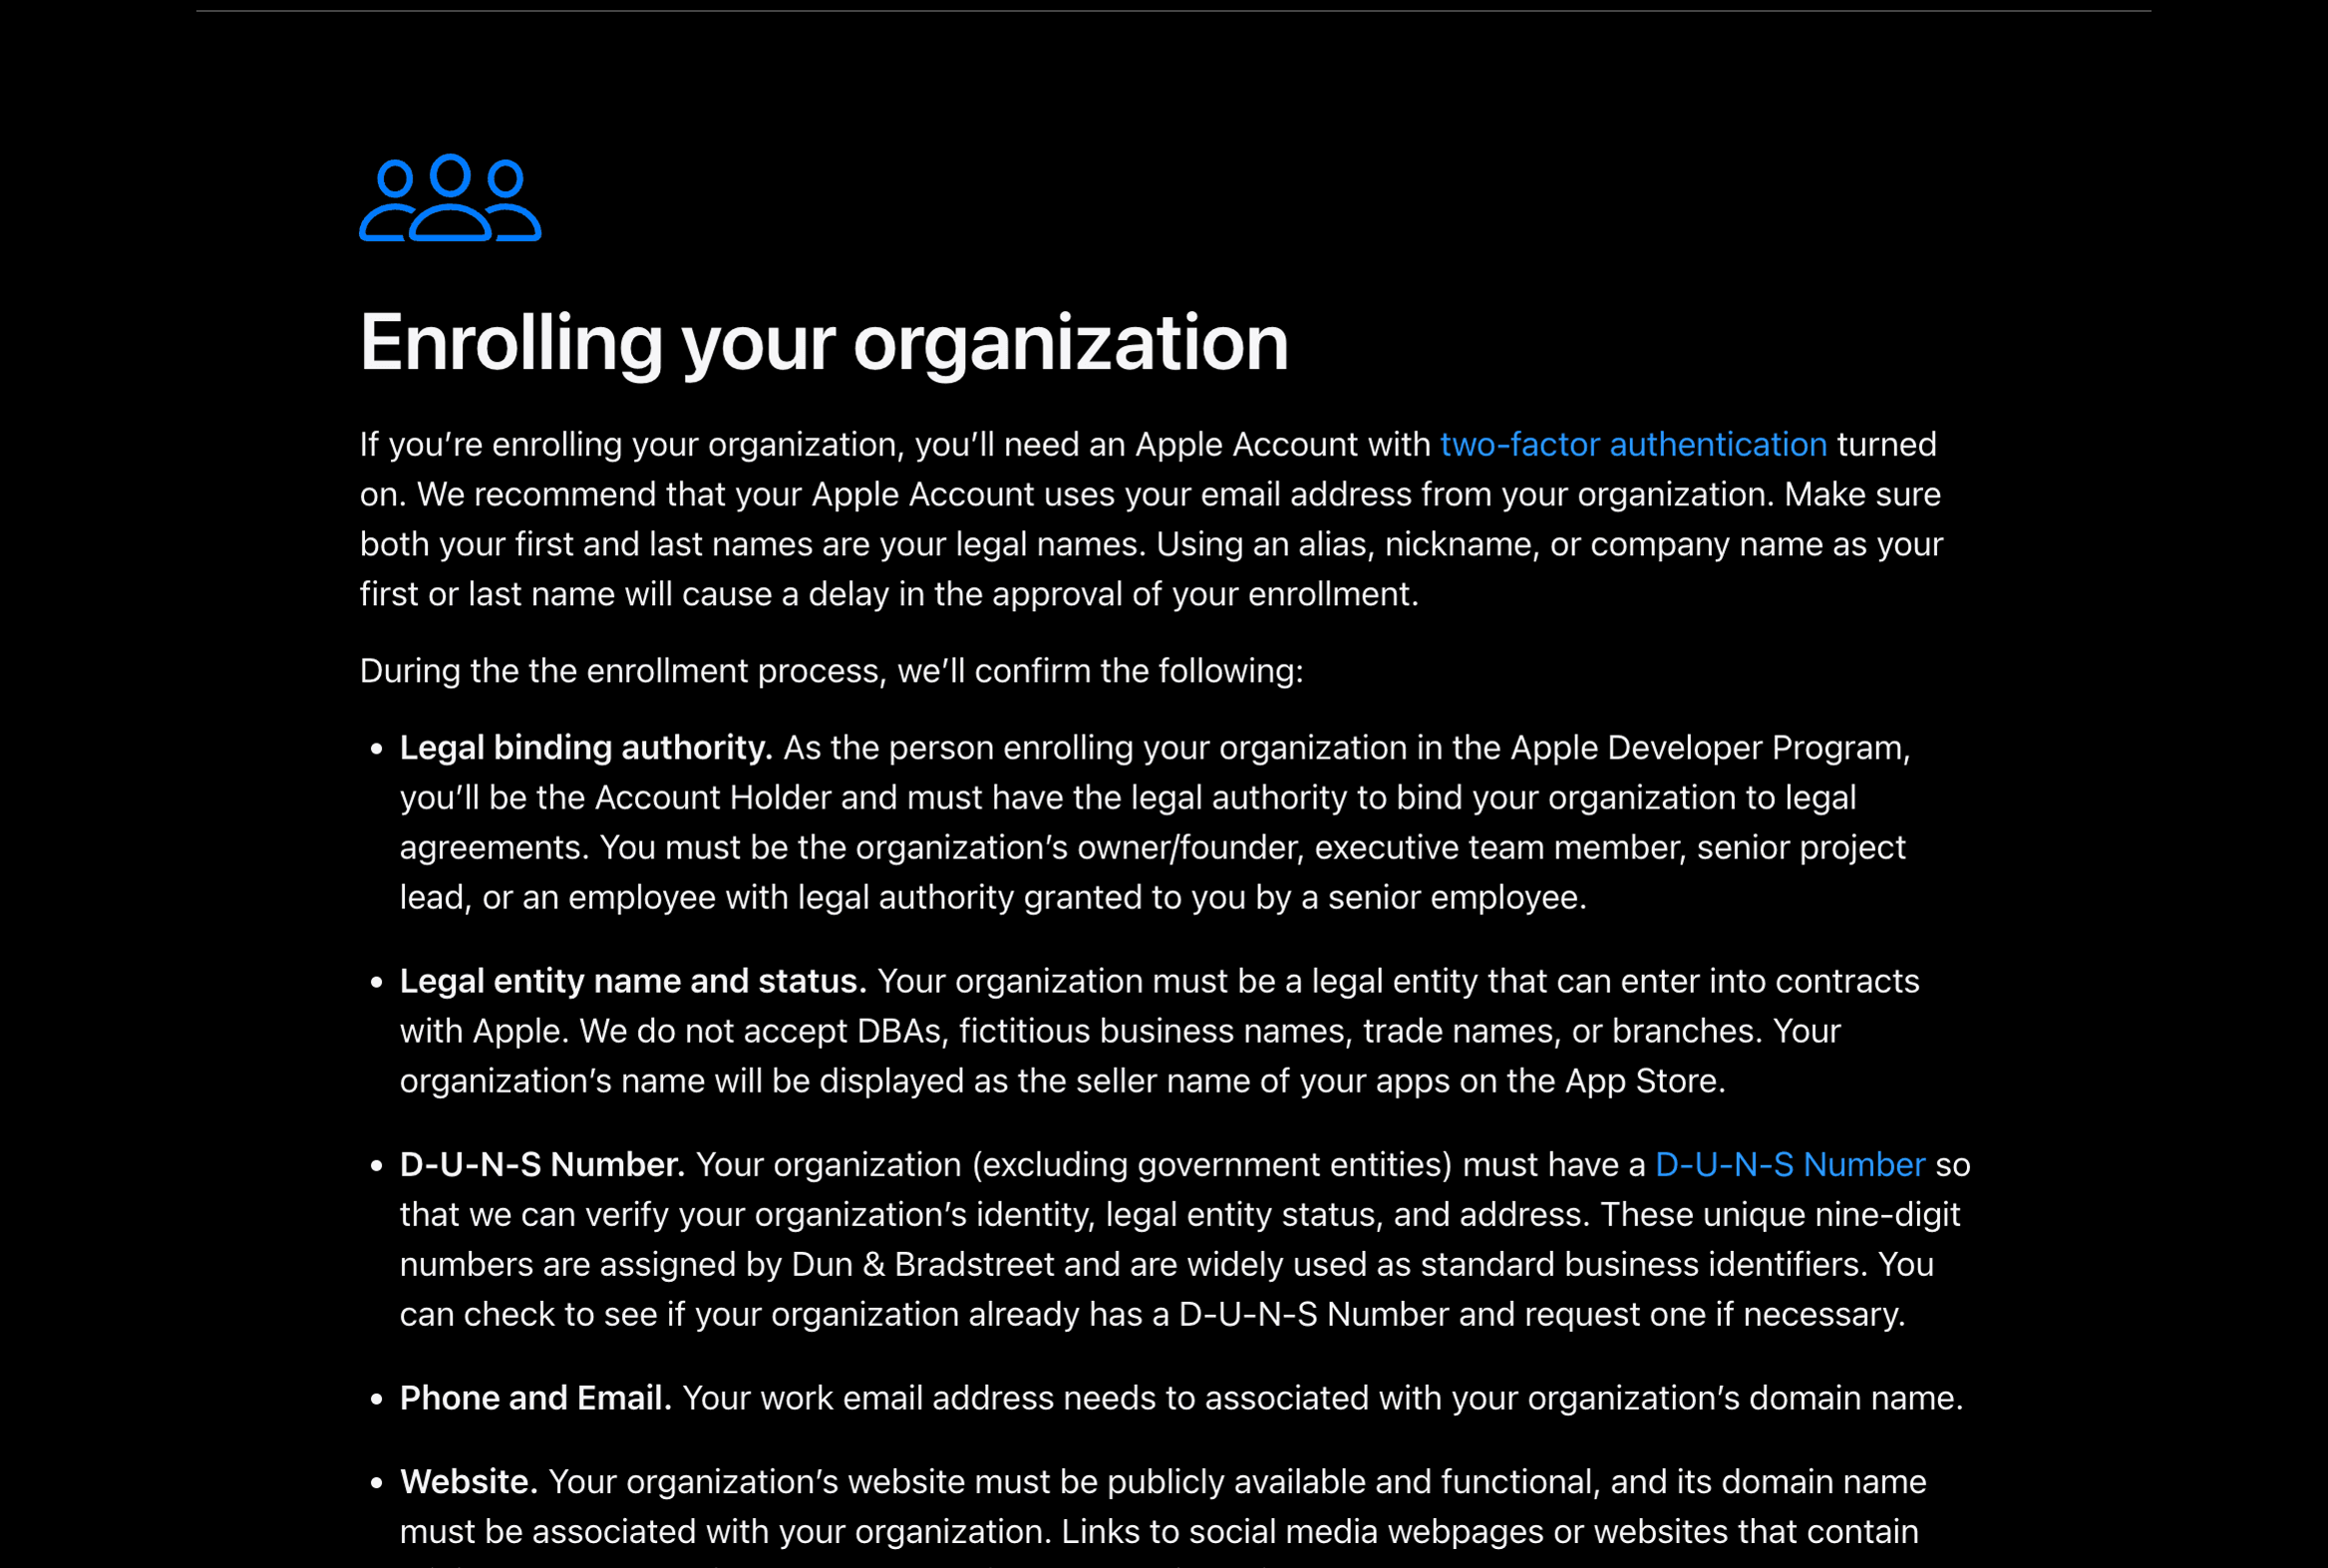
Review the Apple Developer Program License Agreement, accept it on behalf of your company, and pay the annual membership fee. Take a moment to check the price, any applicable tax, the currency, and the auto-renewal terms Apple shows you before confirming.
Step 8: Wait for Apple's Verification
After you submit your enrollment, Apple may reach out by email or phone to the organization, the authority contact, or the Account Holder for additional verification. Keep an eye on your inbox and make sure you respond using your company contact details.
You're done with this part when you receive the Welcome to the Apple Developer Program email from Apple.
Review times vary -- it can take longer if Apple has trouble confirming your legal entity, D-U-N-S record, address, or authority contact. If Apple reaches out with questions, responding quickly helps move things along.
Step 9: Open Users and Access
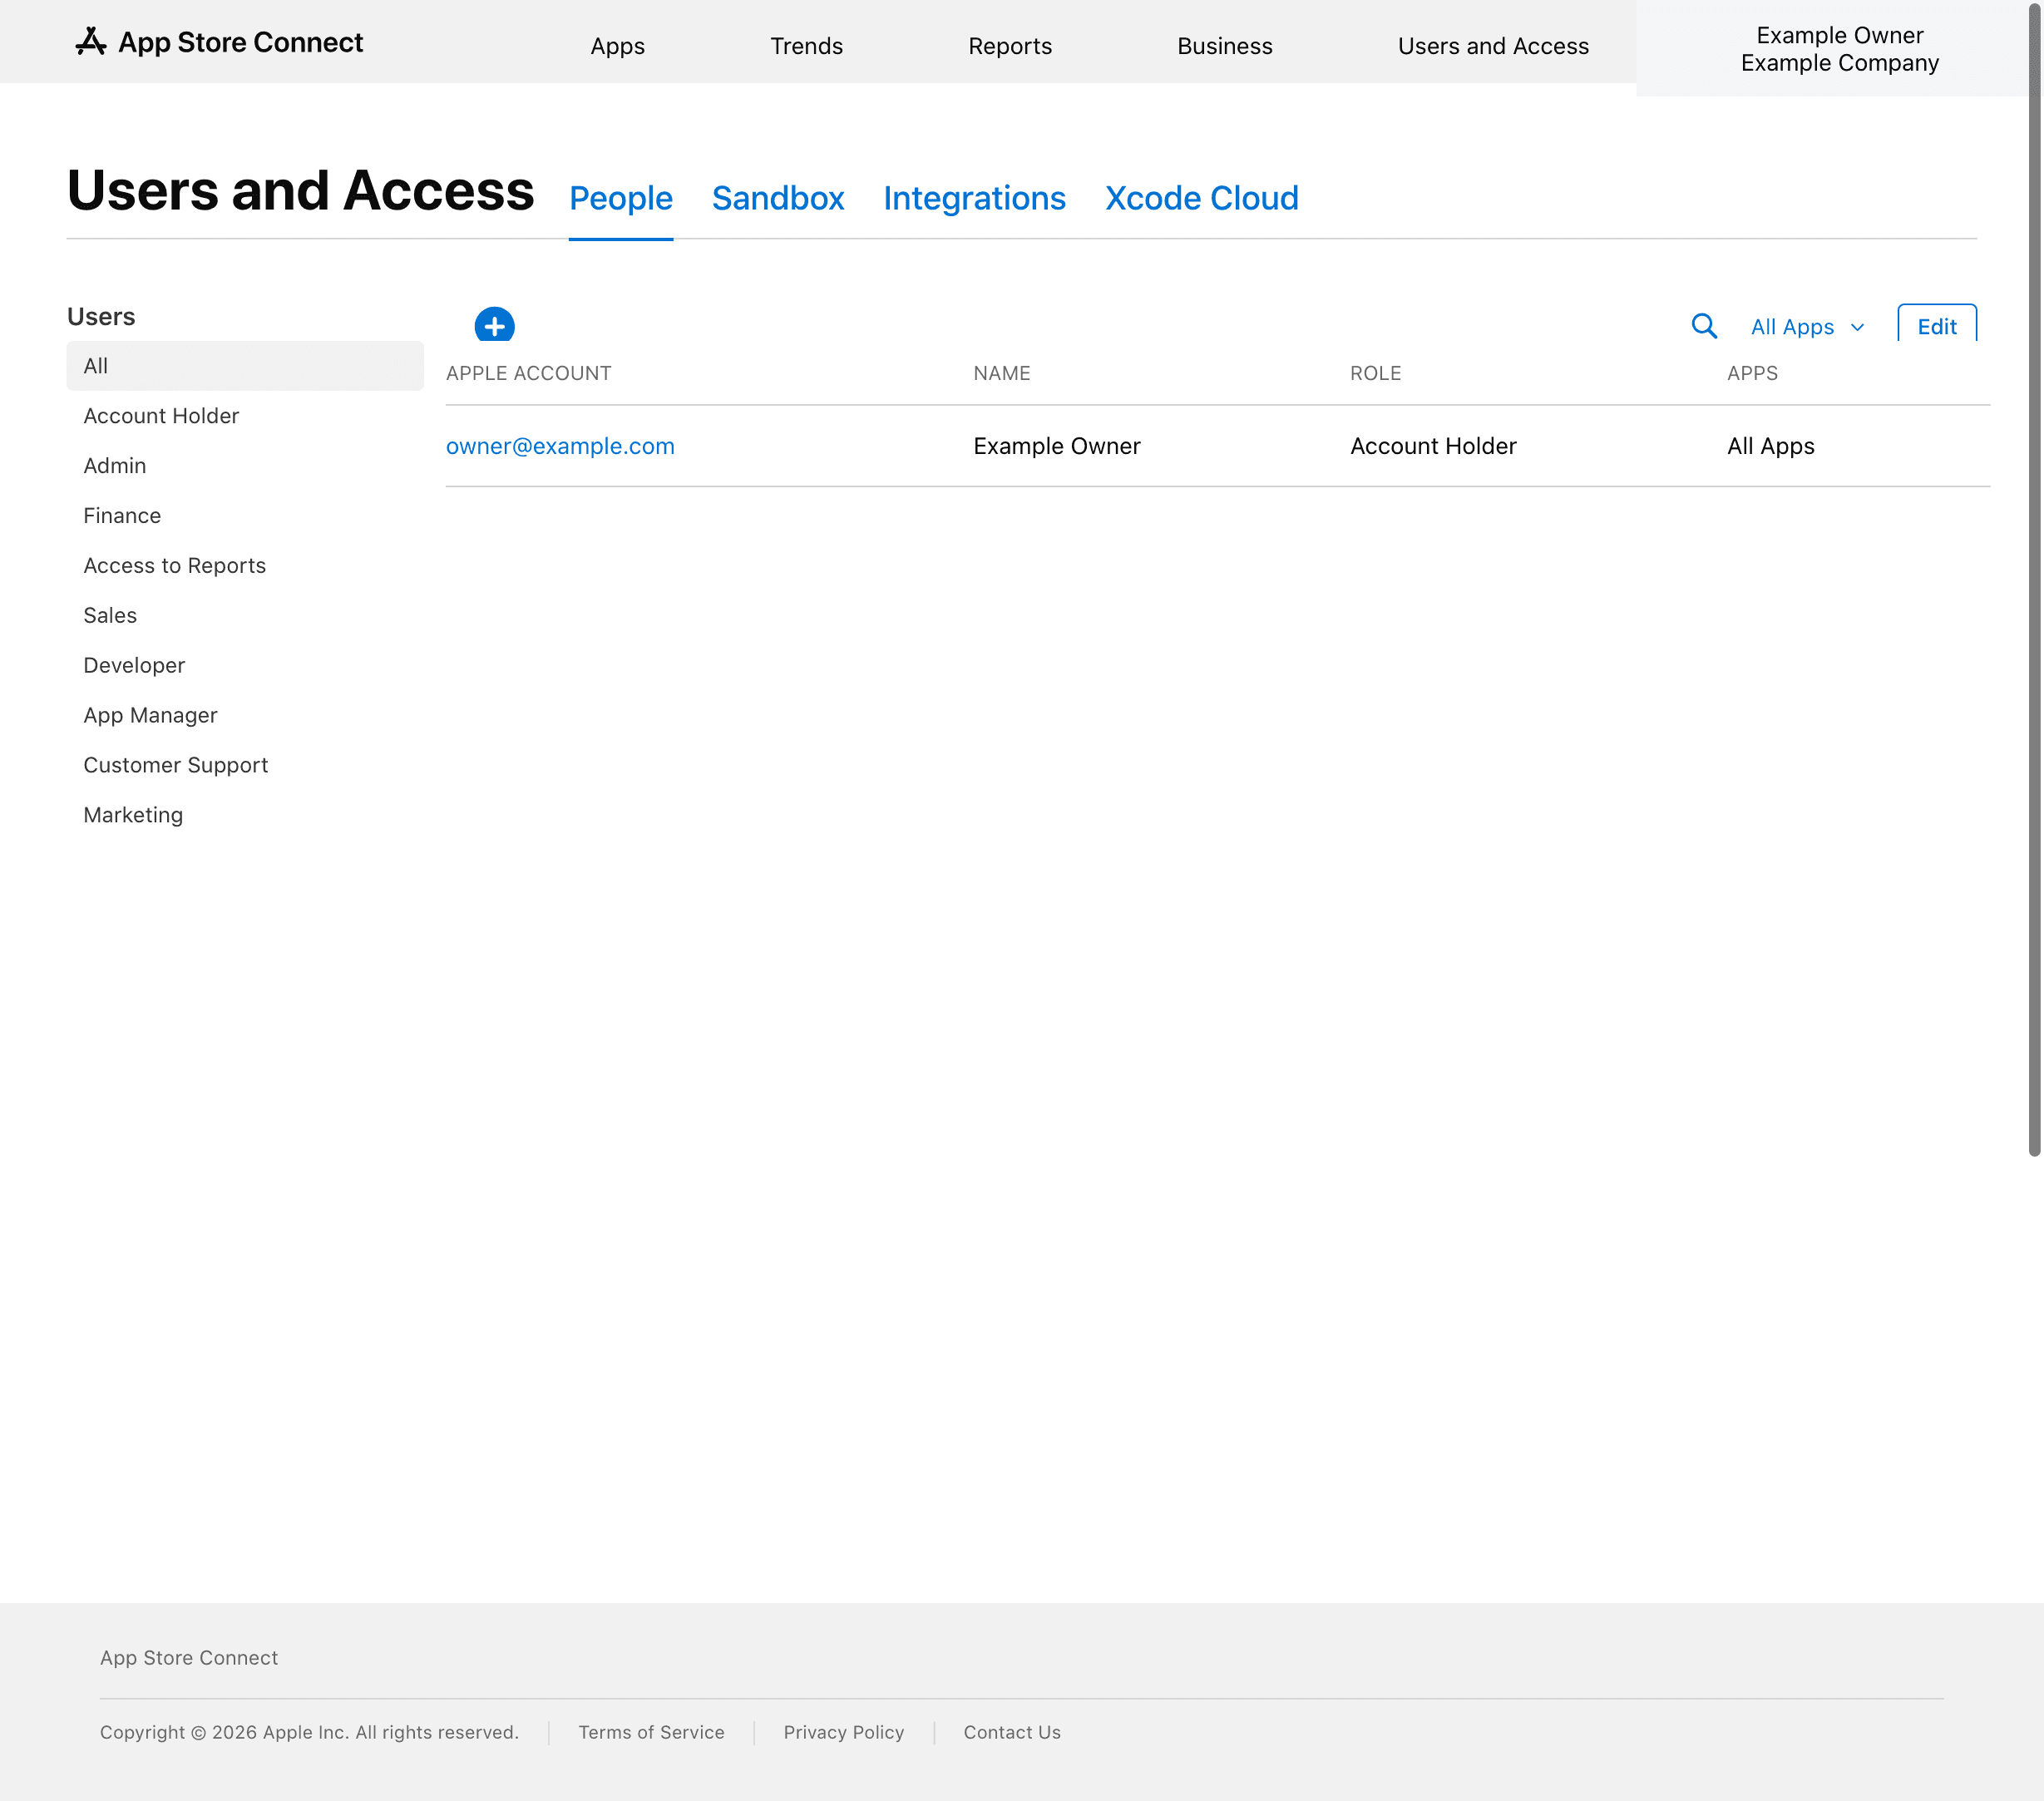
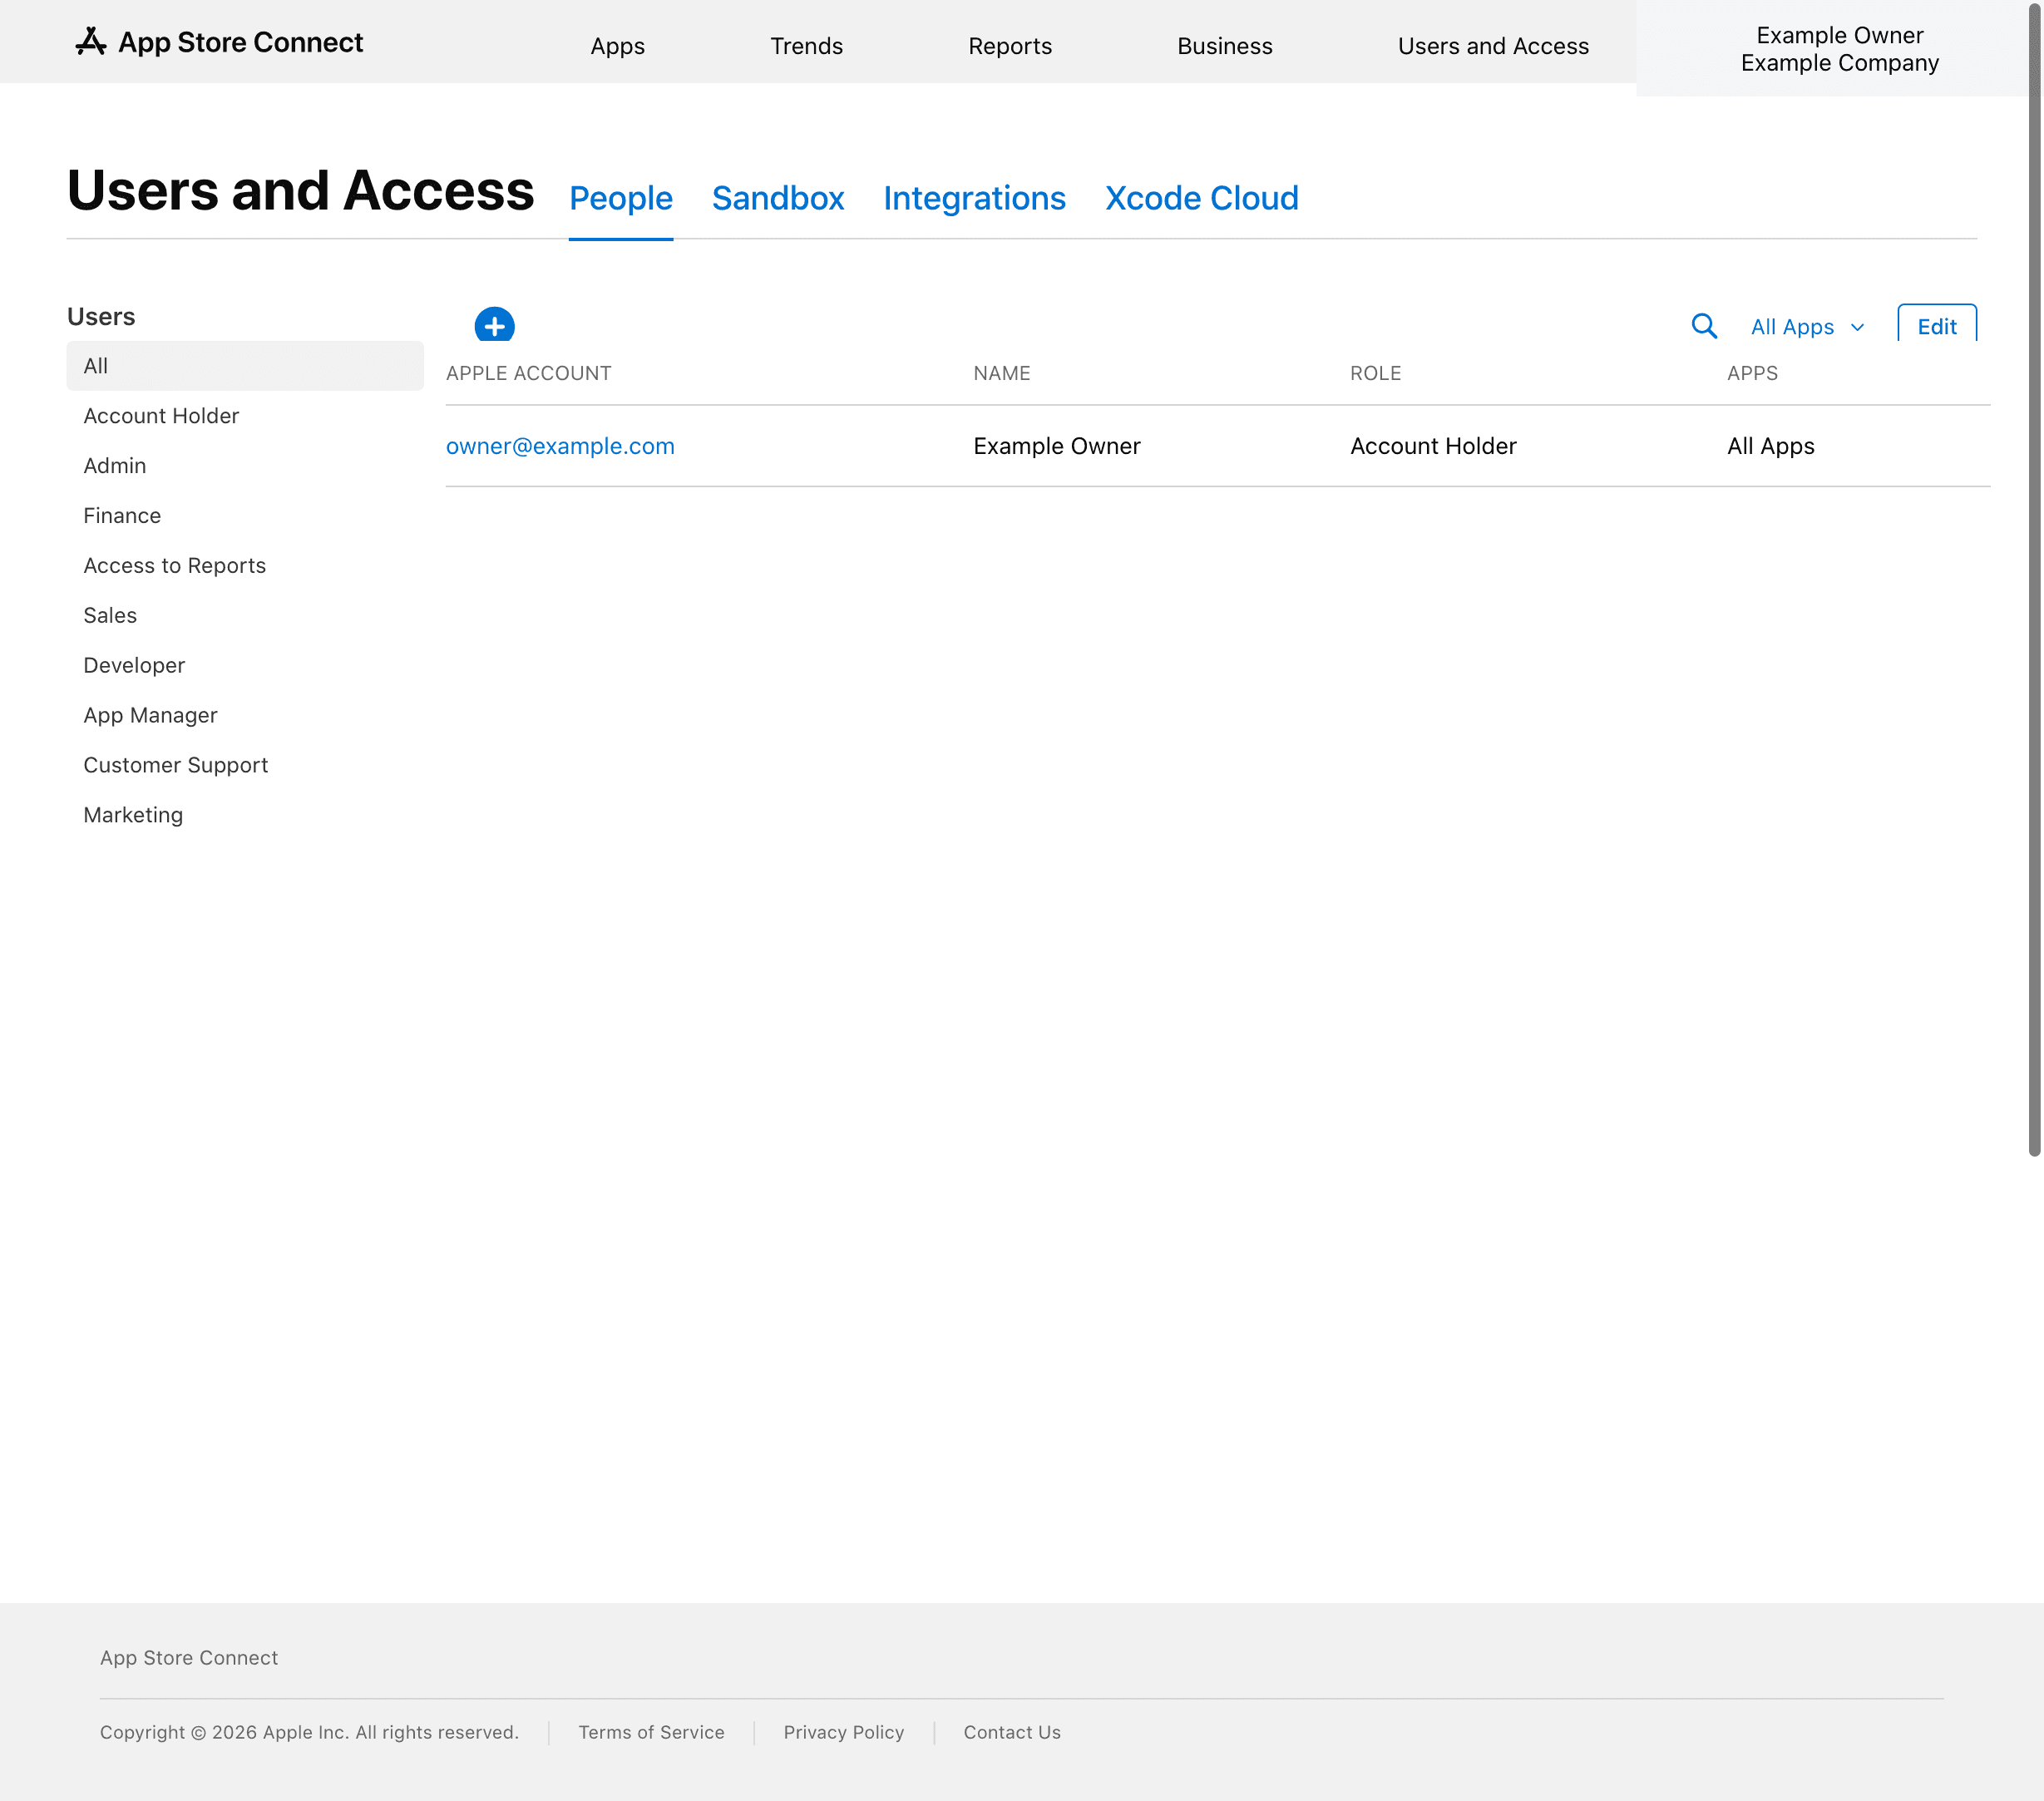
Once your enrollment is approved, sign in to App Store Connect. This is the dashboard where you'll manage your apps, team members, and agreements. Open Users and Access and click the add-user button.
Step 10: Invite the First Dev3 Studio Team Member as Admin
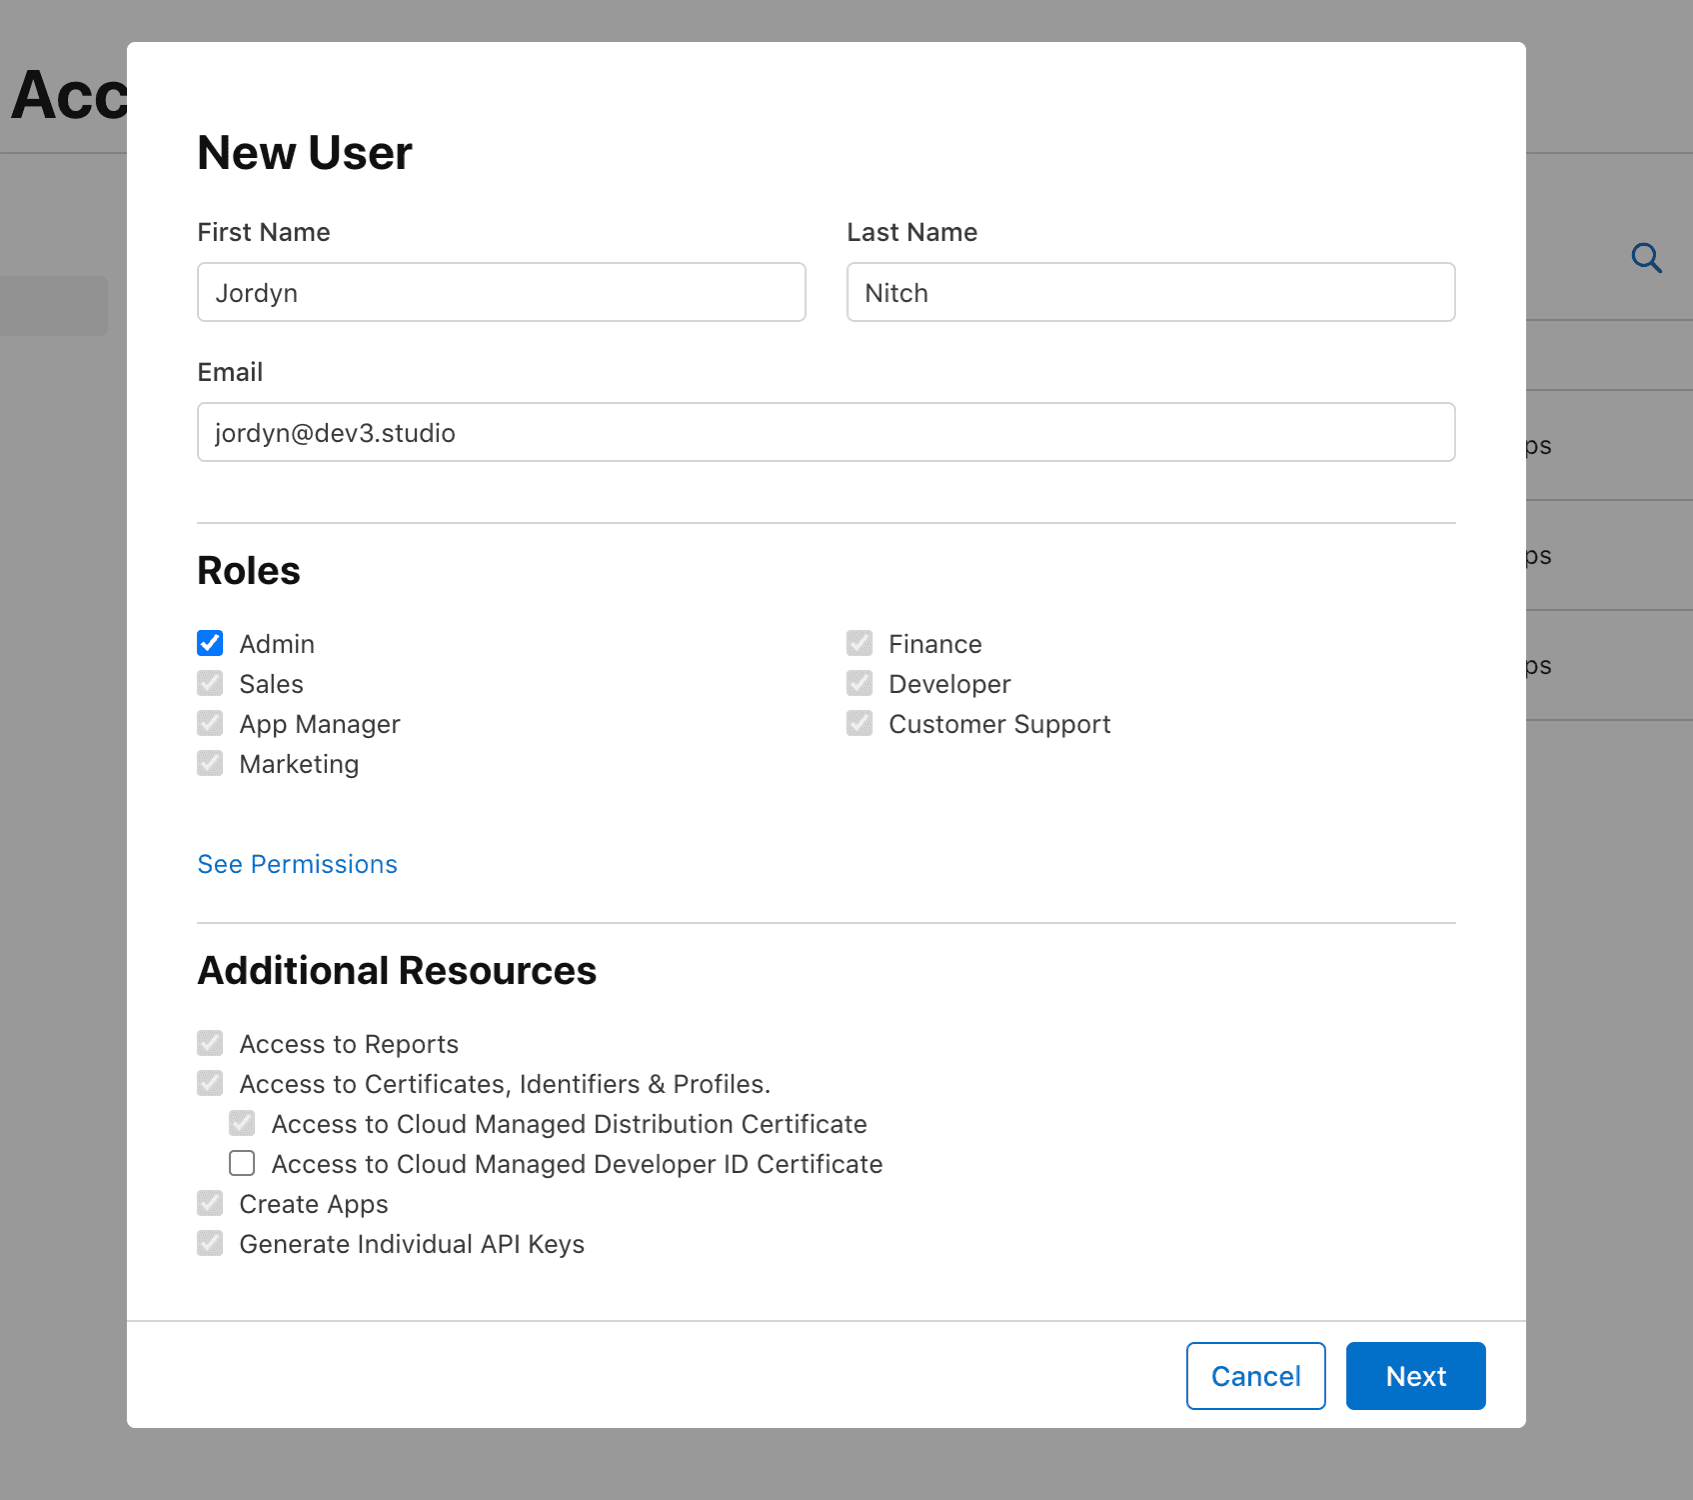
Enter the name and email address of the first Dev3 Studio team member we've asked you to add, select the Admin role, give access to all apps, and enable Certificates, Identifiers & Profiles under additional resources if Apple shows the option. Then send the invitation. If you don't have our team's names and email addresses to hand, just ask and we'll send them through.
This gives Dev3 Studio the technical access needed to build, sign, and submit your app on your behalf.
Step 11: Invite the Second Dev3 Studio Team Member as Admin
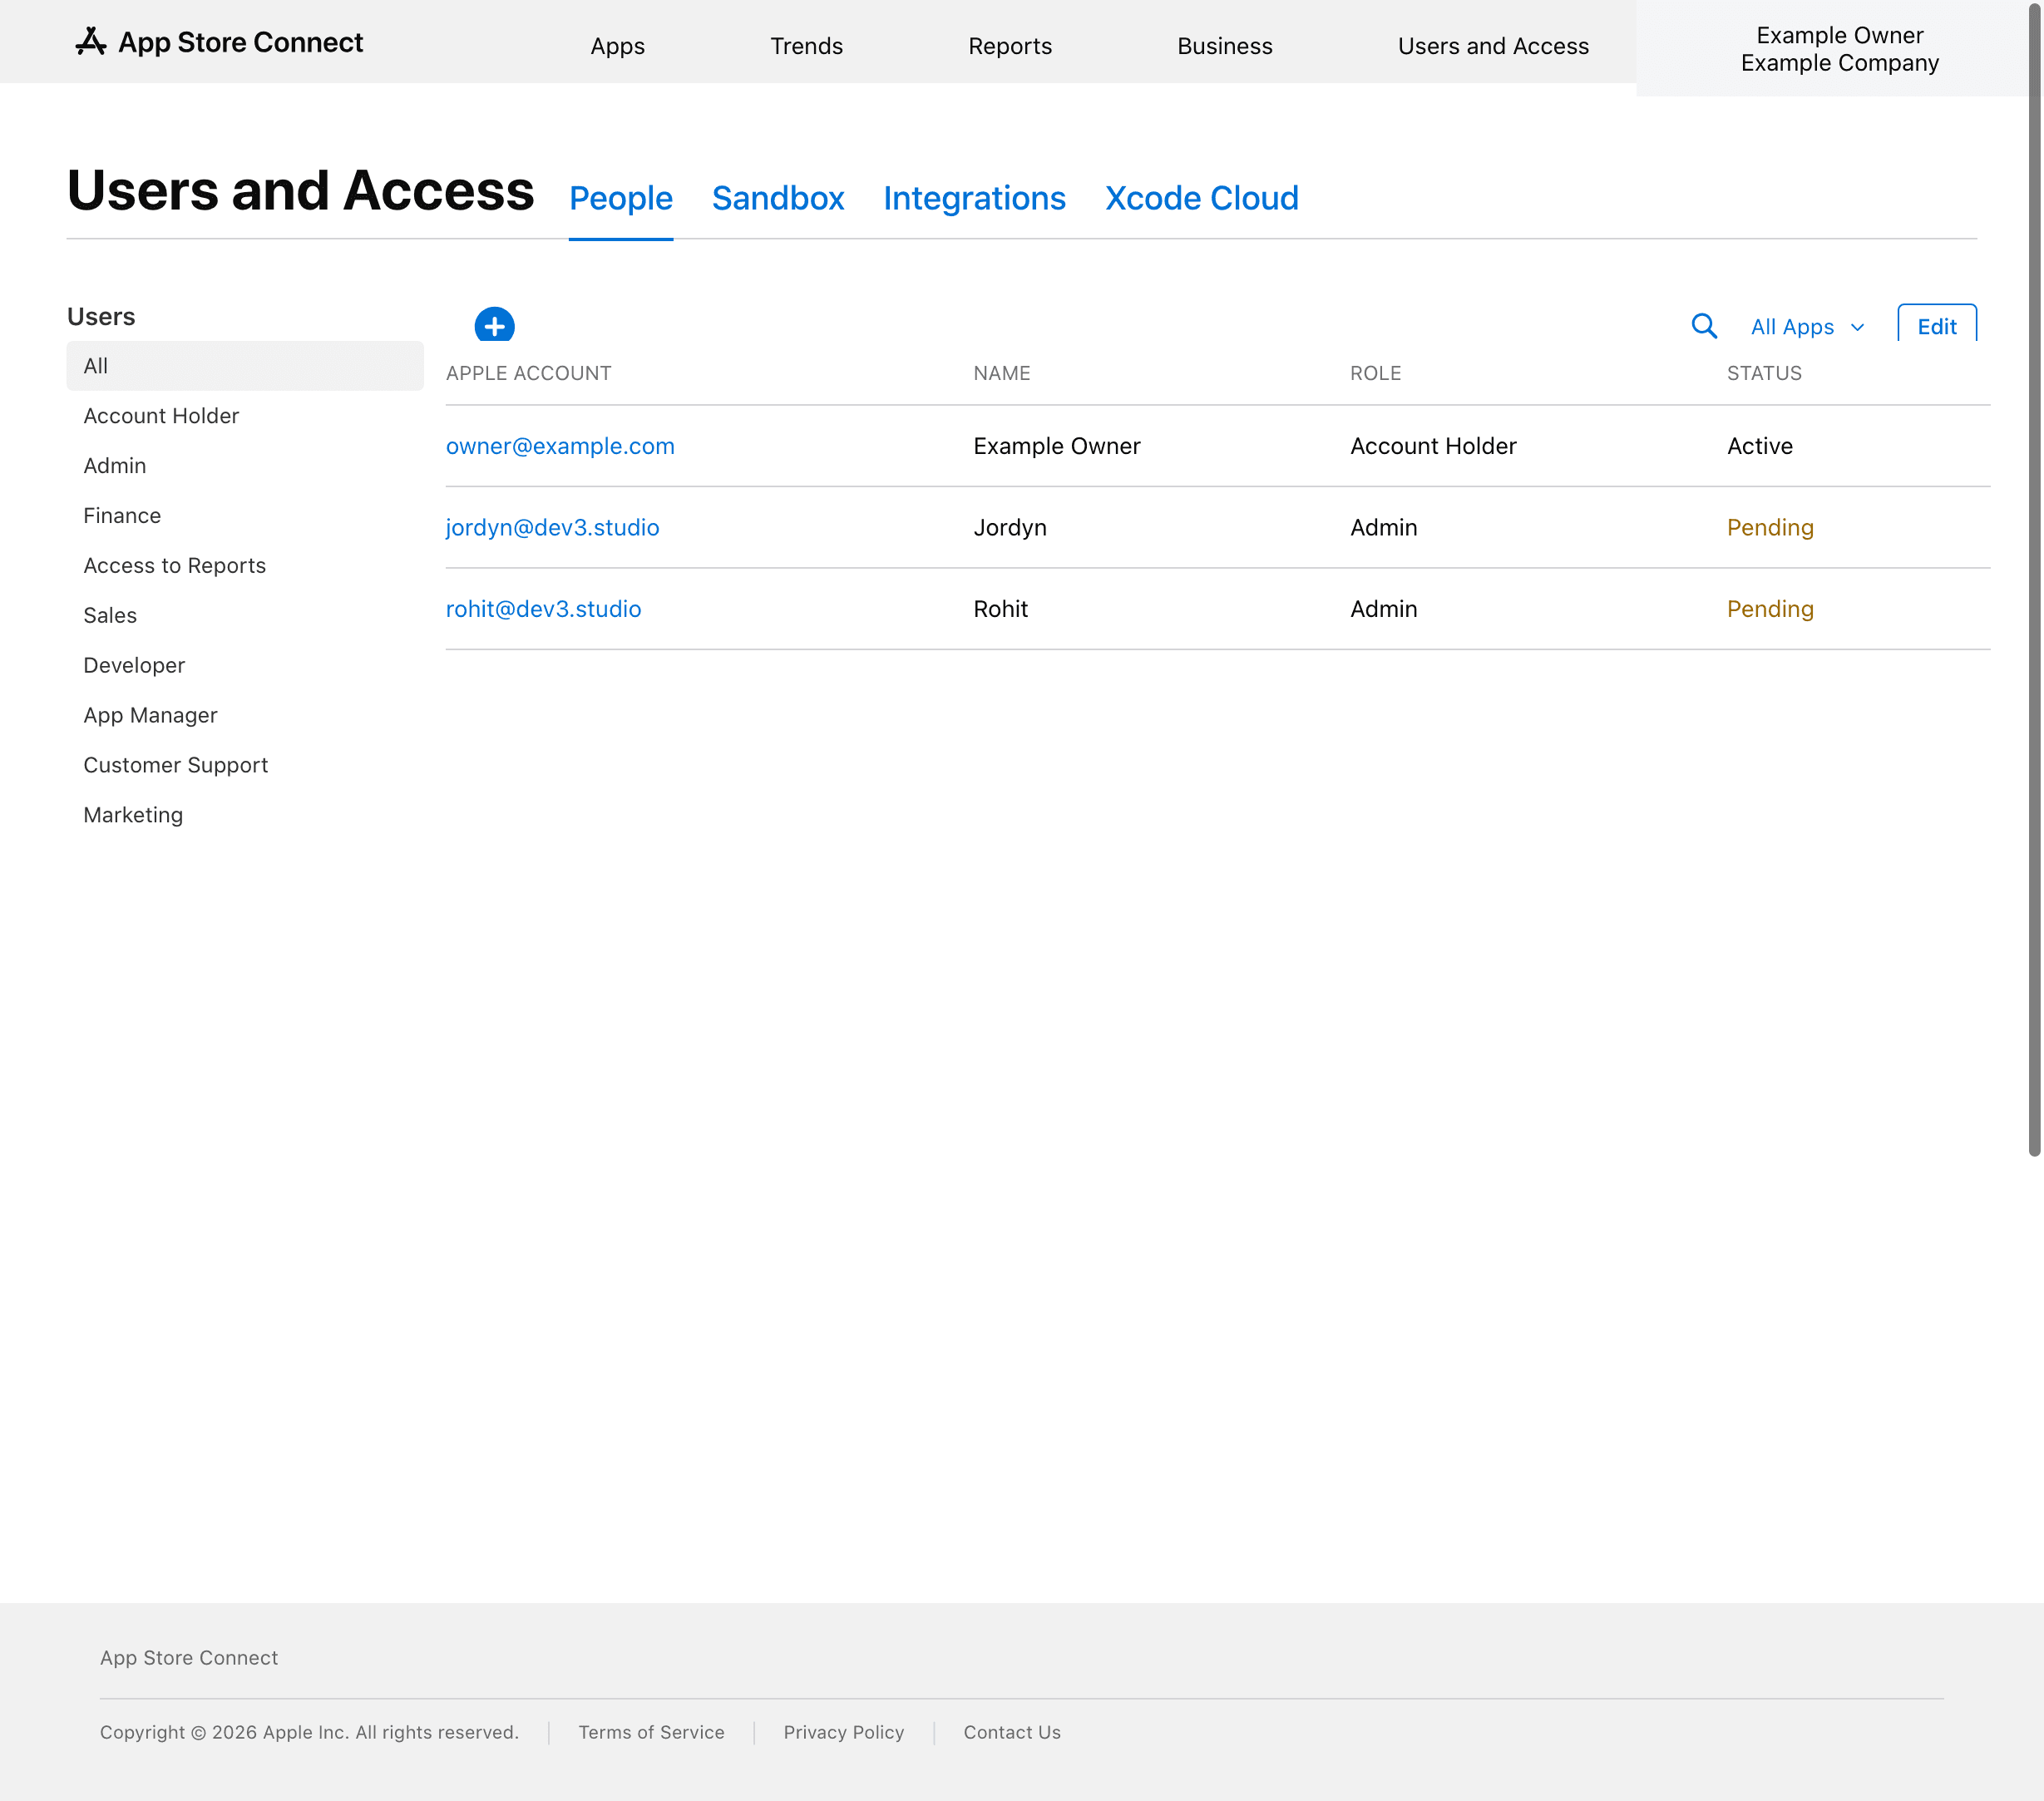
Repeat the same process for the second team member. Use the same settings: Admin role, all-app access, and Certificates, Identifiers & Profiles access.
Completion Checklist
Troubleshooting
- Apple says your legal name doesn't match: Update your D-U-N-S record through Dun & Bradstreet (or TransUnion in South Africa) to reflect the correct registered name. Don't try to work around it by entering a trading name instead.
- Apple doesn't recognize your organization as a legal entity: Check that your D-U-N-S record shows a registered company, not a branch, trade name, or sole proprietorship.
- A Dev3 Studio team member can't manage certificates: Go back into their user profile in App Store Connect and confirm that Certificates, Identifiers & Profiles access is turned on.
- Apple says you need to accept an agreement before app work can continue: Updated agreements can only be accepted by the Account Holder -- Admins can't do this on the company's behalf. Sign in and accept the agreement in App Store Connect.
Security Reminder
You're in full control of this account. Only the Account Holder should handle identity documents, payment details, legal agreements, Apple Account passwords, two-factor codes, and recovery keys. Dev3 Studio only needs Admin access to do the technical work -- we never need your login credentials.
It's a good idea to review your team list in App Store Connect periodically and remove anyone who no longer works on the app.