How to Create a Google Play Console Developer Account
To publish an Android app on Google Play, your company needs a Google Play Console developer account. This is the dashboard where apps are registered, tested, reviewed, and published -- it's the Android equivalent of Apple's App Store Connect.
We recommend creating an Organization account rather than a personal one. An Organization account ties your apps to your registered business, so your company name appears as the developer on Google Play. It also means your business legally owns the apps, the public developer identity, and the payments relationship -- not an individual person.
You'll remain the account owner throughout. Dev3 Studio joins as Play Console Admins so we can handle the technical side of building and publishing your app. We won't have access to your Google Payments Center or billing details.
Before You Begin
Make sure you have the following ready:
- A permanent Google Account you control, with 2-Step Verification turned on.
- A registered legal entity with a matching D-U-N-S Number -- Google requires this for Organization enrollment.
- Your company's legal name, registered address, phone number, and website.
- Public developer contact details (an email address and phone number that Google may display to app users).
- Access to your website's Google Search Console property -- Google uses this to verify you control the site.
- A current business-registration document and government-issued ID, in case Google requests them during verification.
- A supported payment card for Google's one-time registration fee.
Expected Costs and Timing
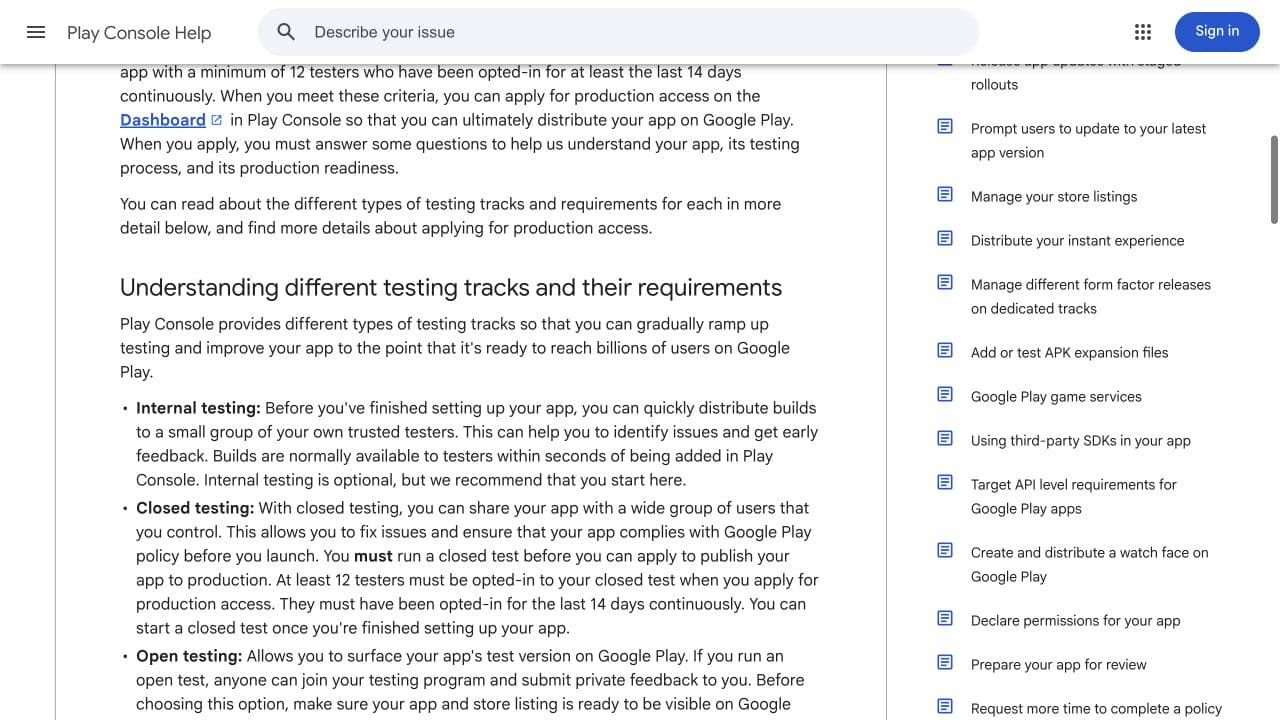
Google charges a one-time US$25 registration fee to set up a Play Console account. Unlike Apple's annual fee, you pay this once and the account stays active.
After you pay, Google will verify your identity, organization details, D-U-N-S Number, phone, email, payment profile, and website. There's no guaranteed timeline for this -- it can take anywhere from a few days to a couple of weeks depending on how smoothly the verification goes.
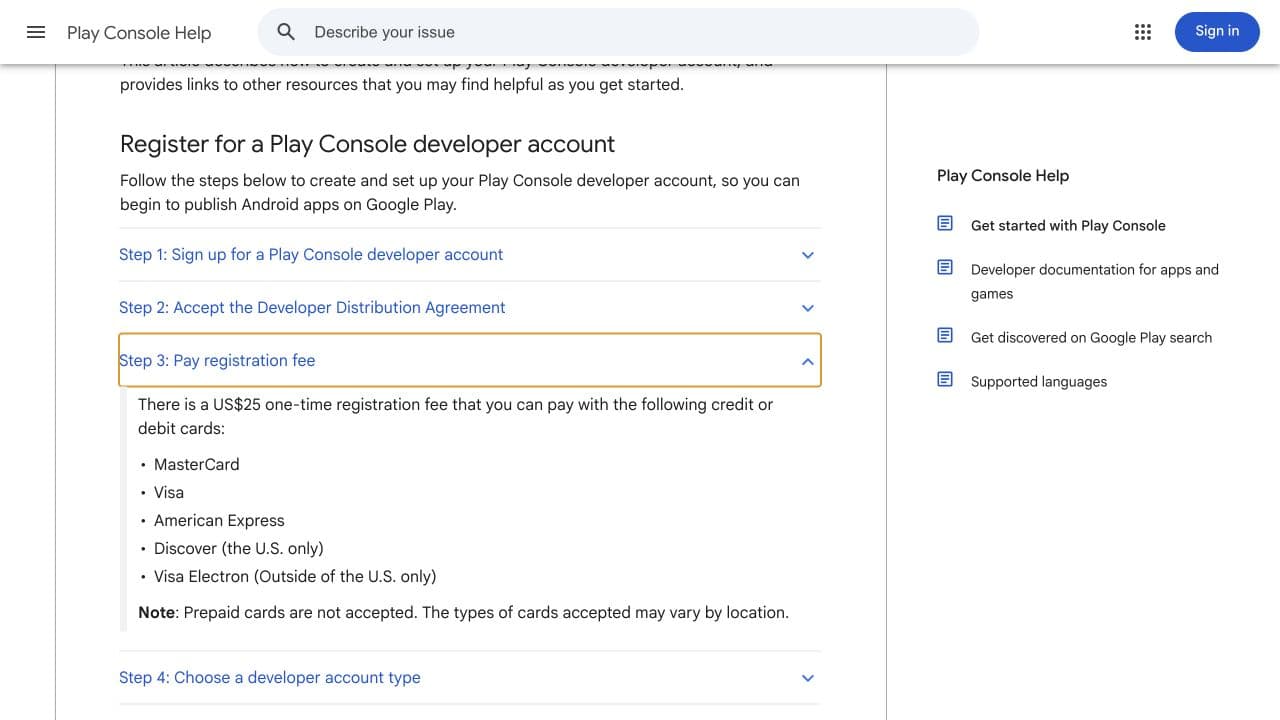
A note about the 12-tester requirement: You may have heard that Google requires 12 testers for 14 continuous days before you can publish an app. This rule applies to new personal developer accounts, not to the Organization account you're creating in this guide. We'll cover this in more detail at the end.
Step 1: Start Play Console Registration
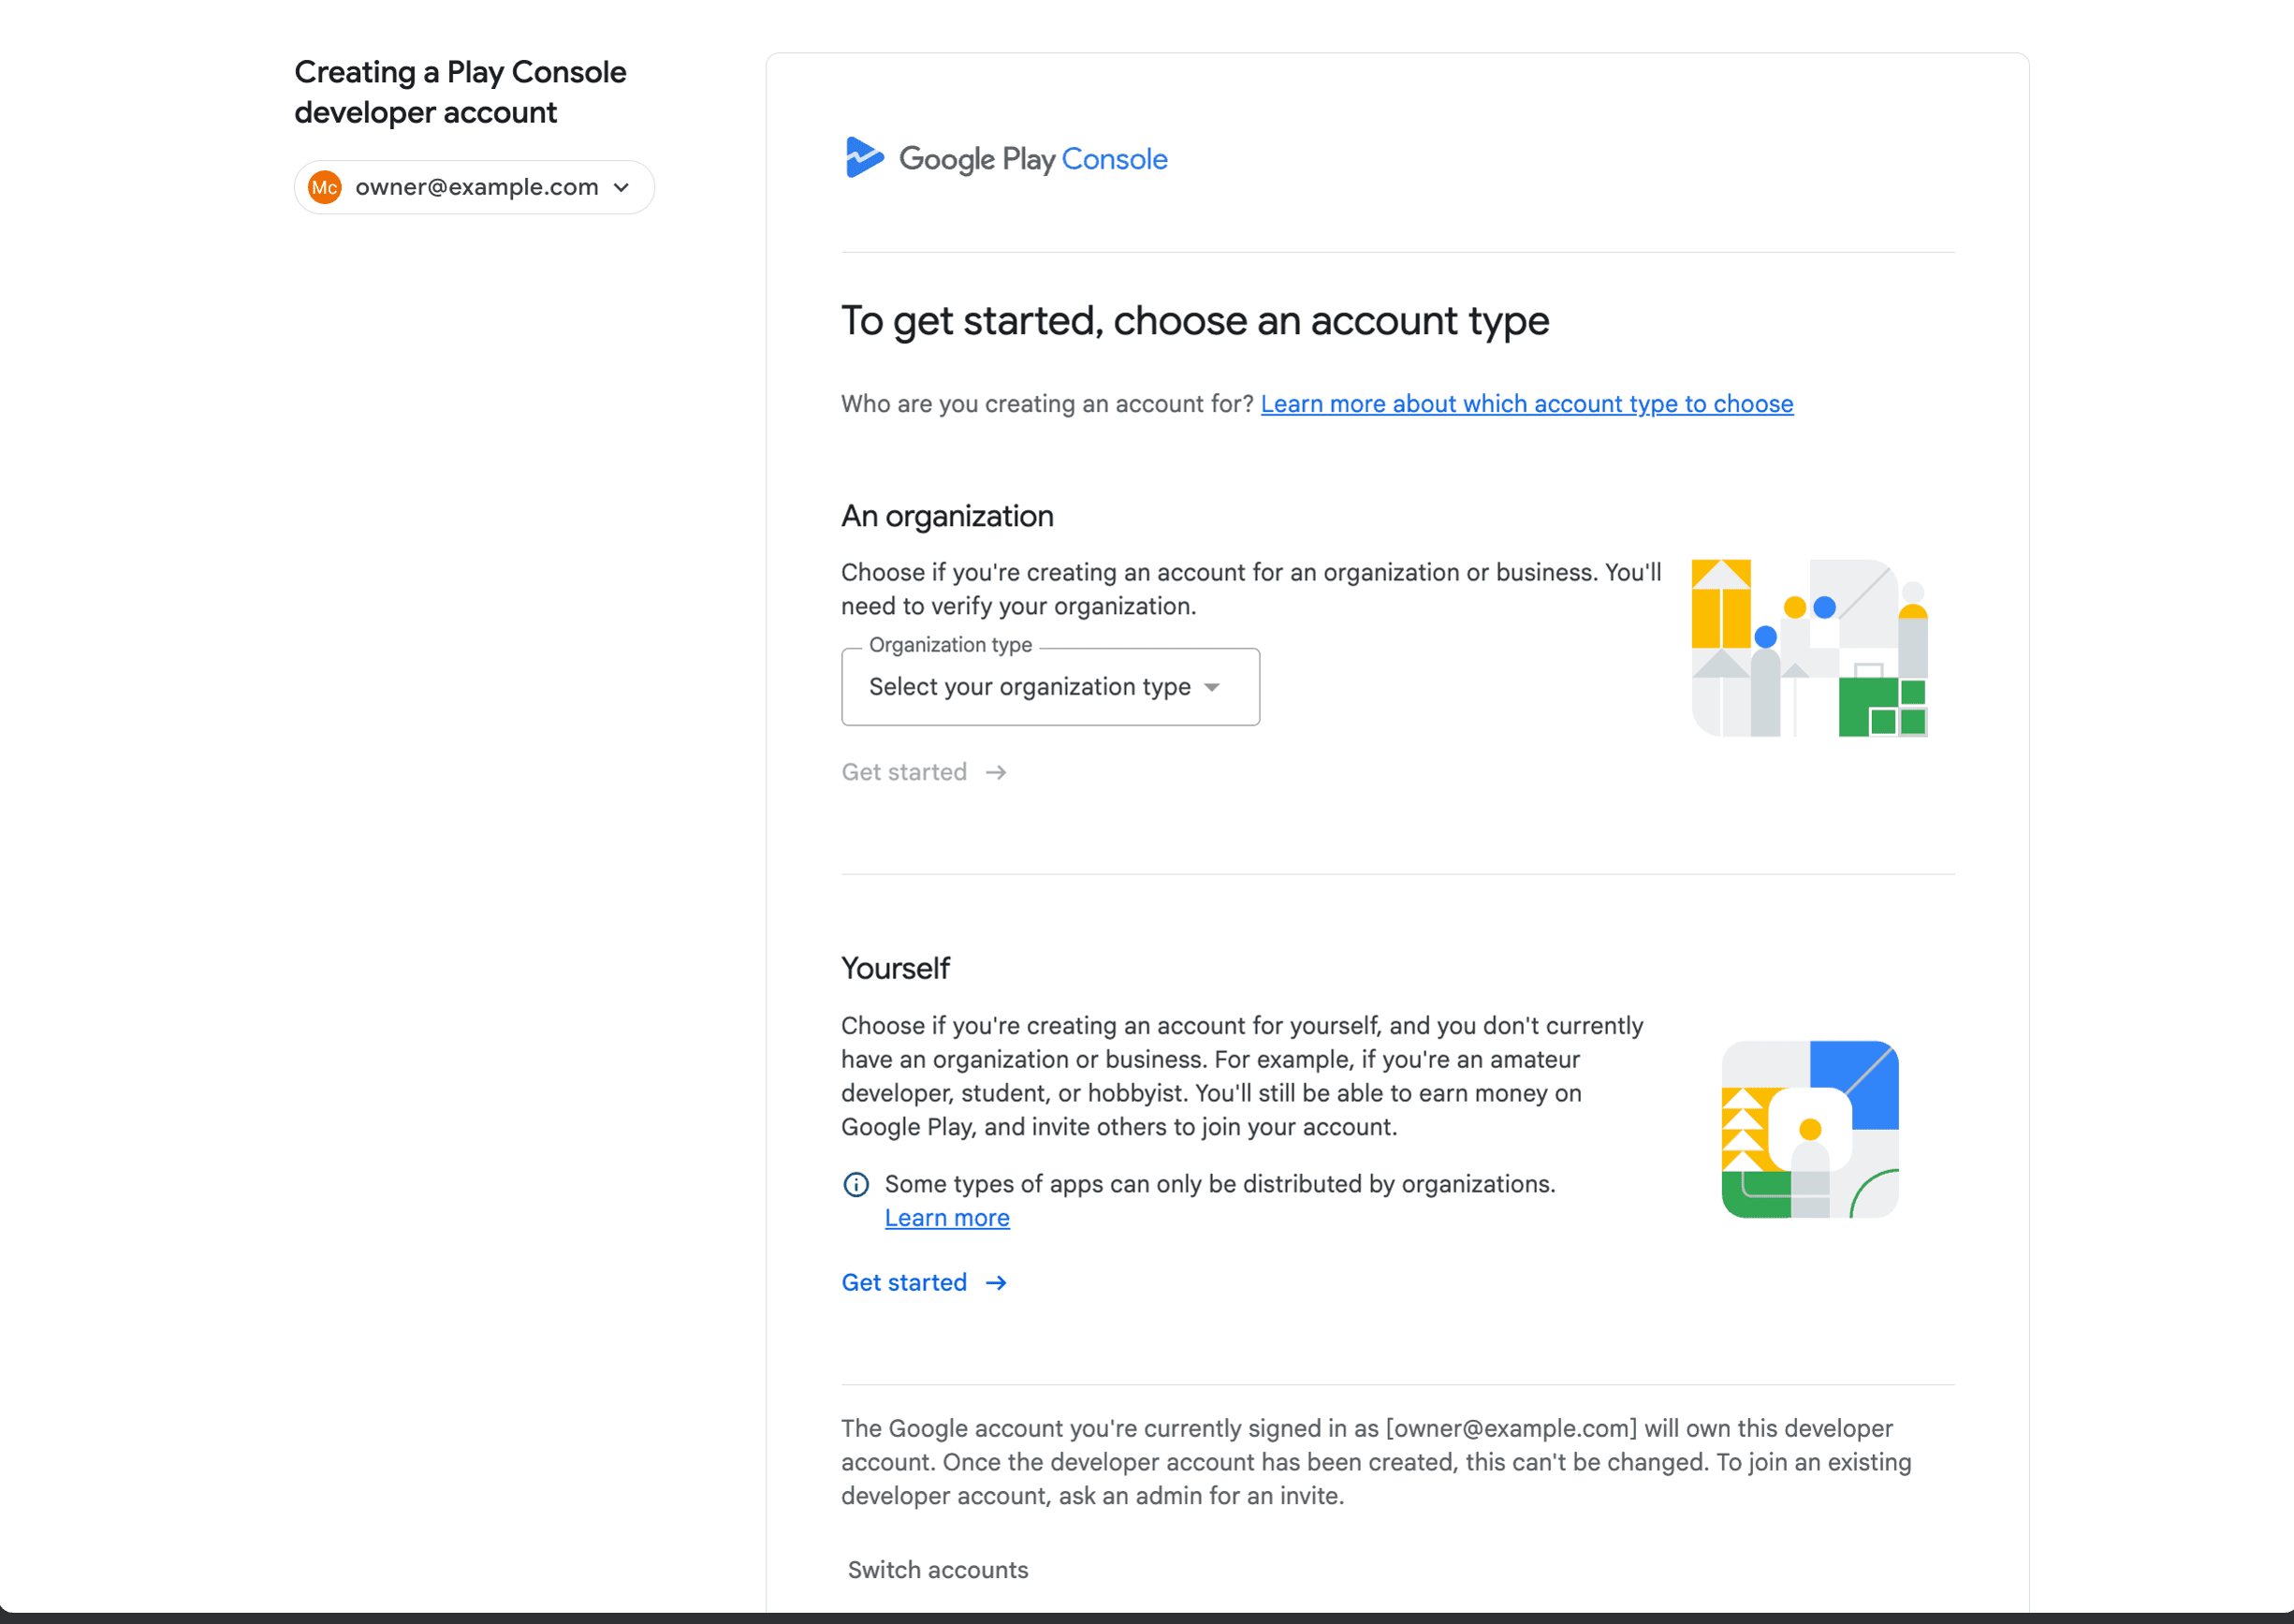
Go to Play Console sign-up. If you're not already signed in, use your Google Account and make sure the correct identity appears at the top of the page before continuing.
Step 2: Choose an Organization Account
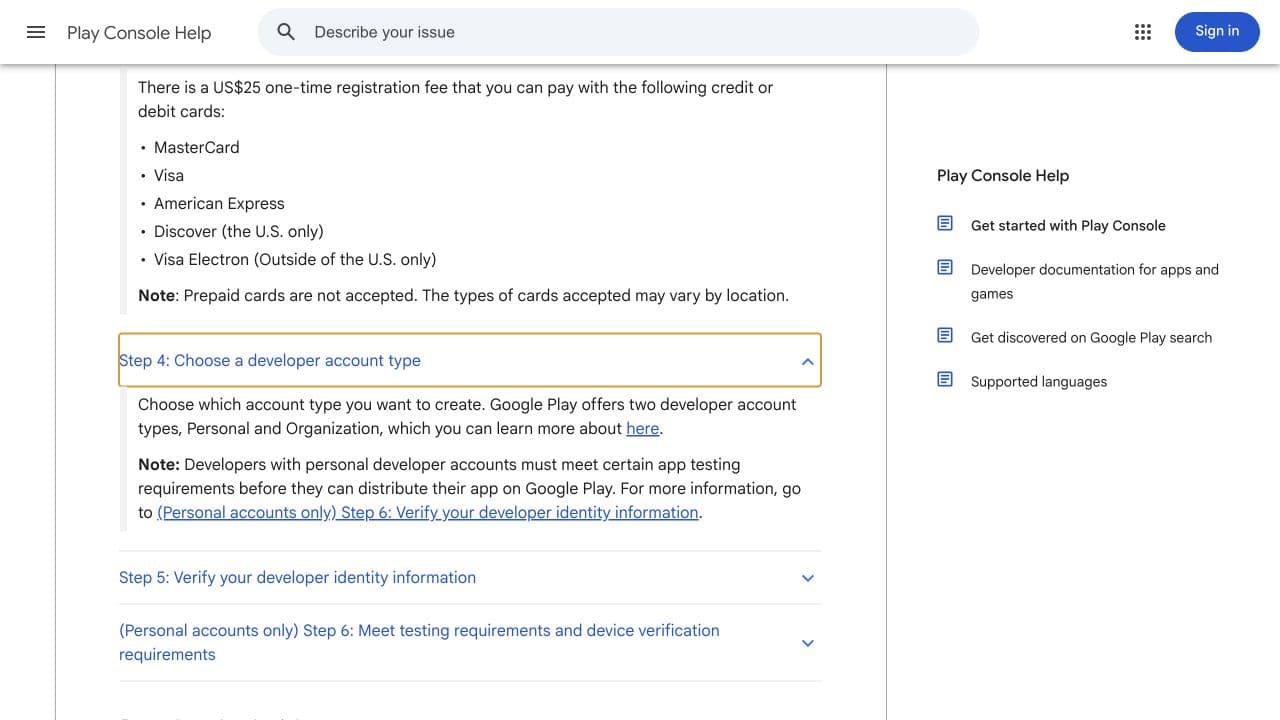
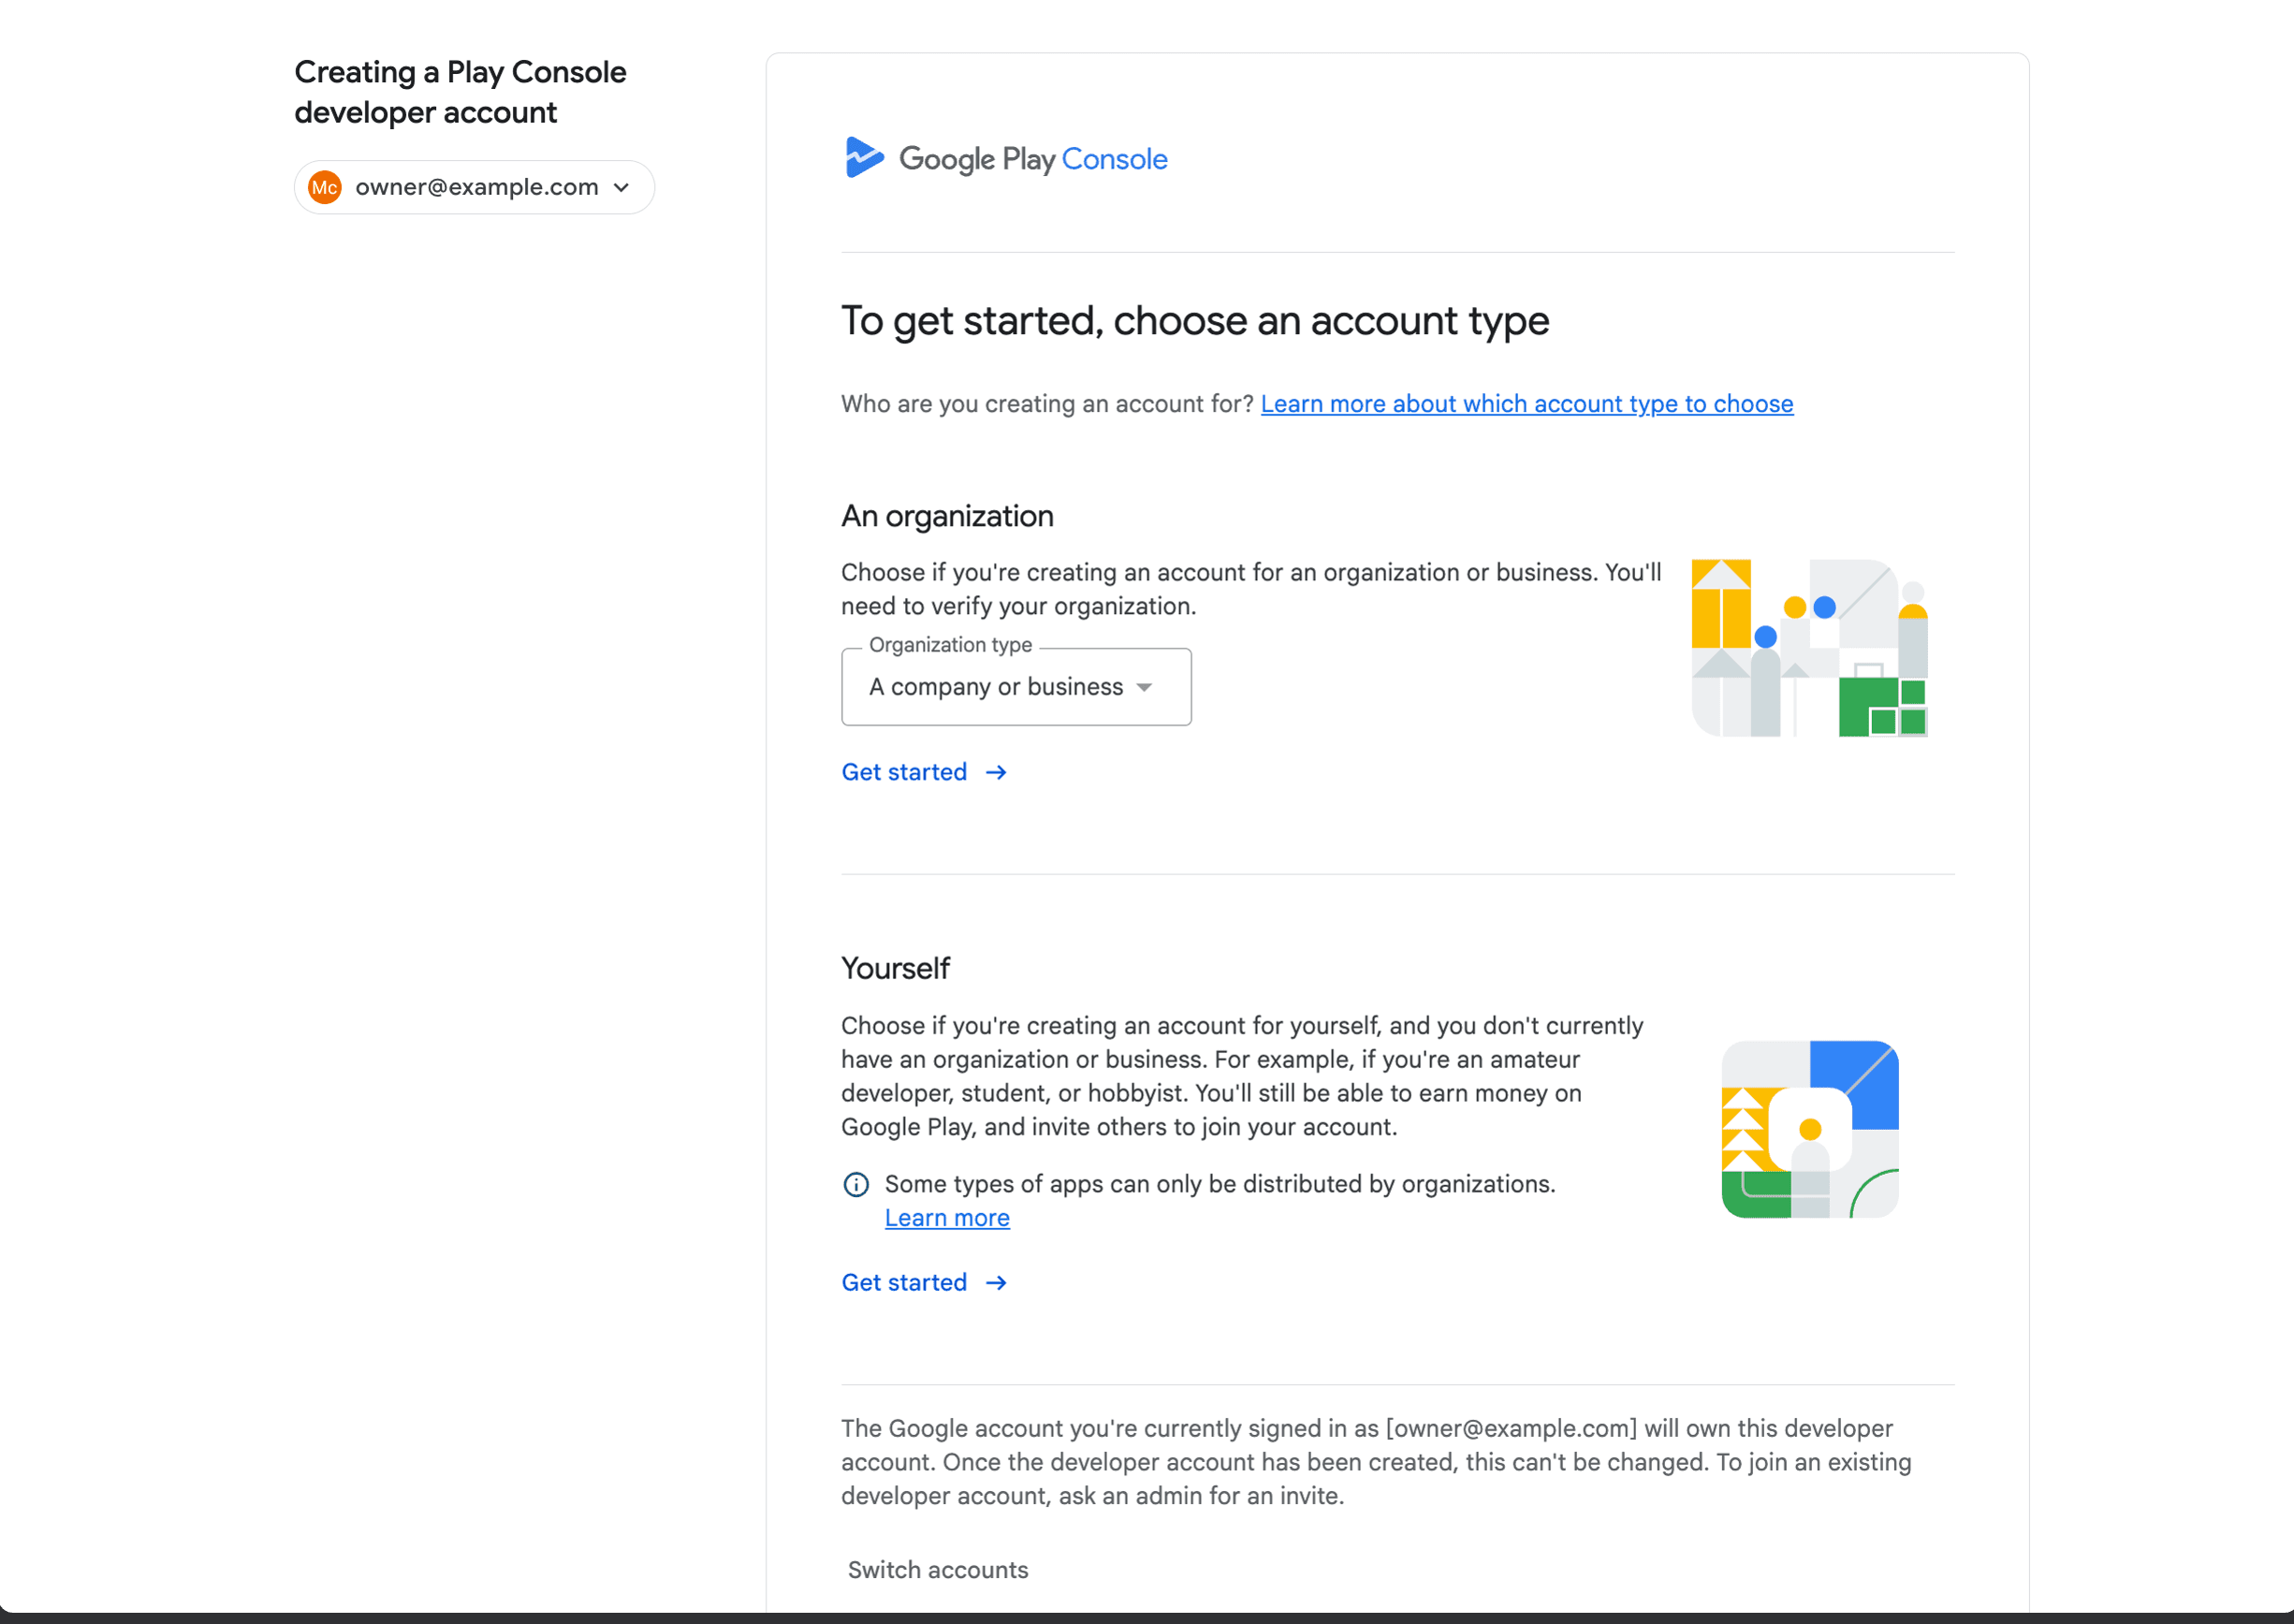
When Google asks what type of developer account you'd like, select Organization. This is the right choice for any registered business that wants to publish apps commercially.
Google will require a D-U-N-S Number for organization enrollment, so make sure you have yours ready. If you haven't obtained one yet, see our guide to getting a D-U-N-S Number.
Step 3: Set Up the Organization Payments Profile
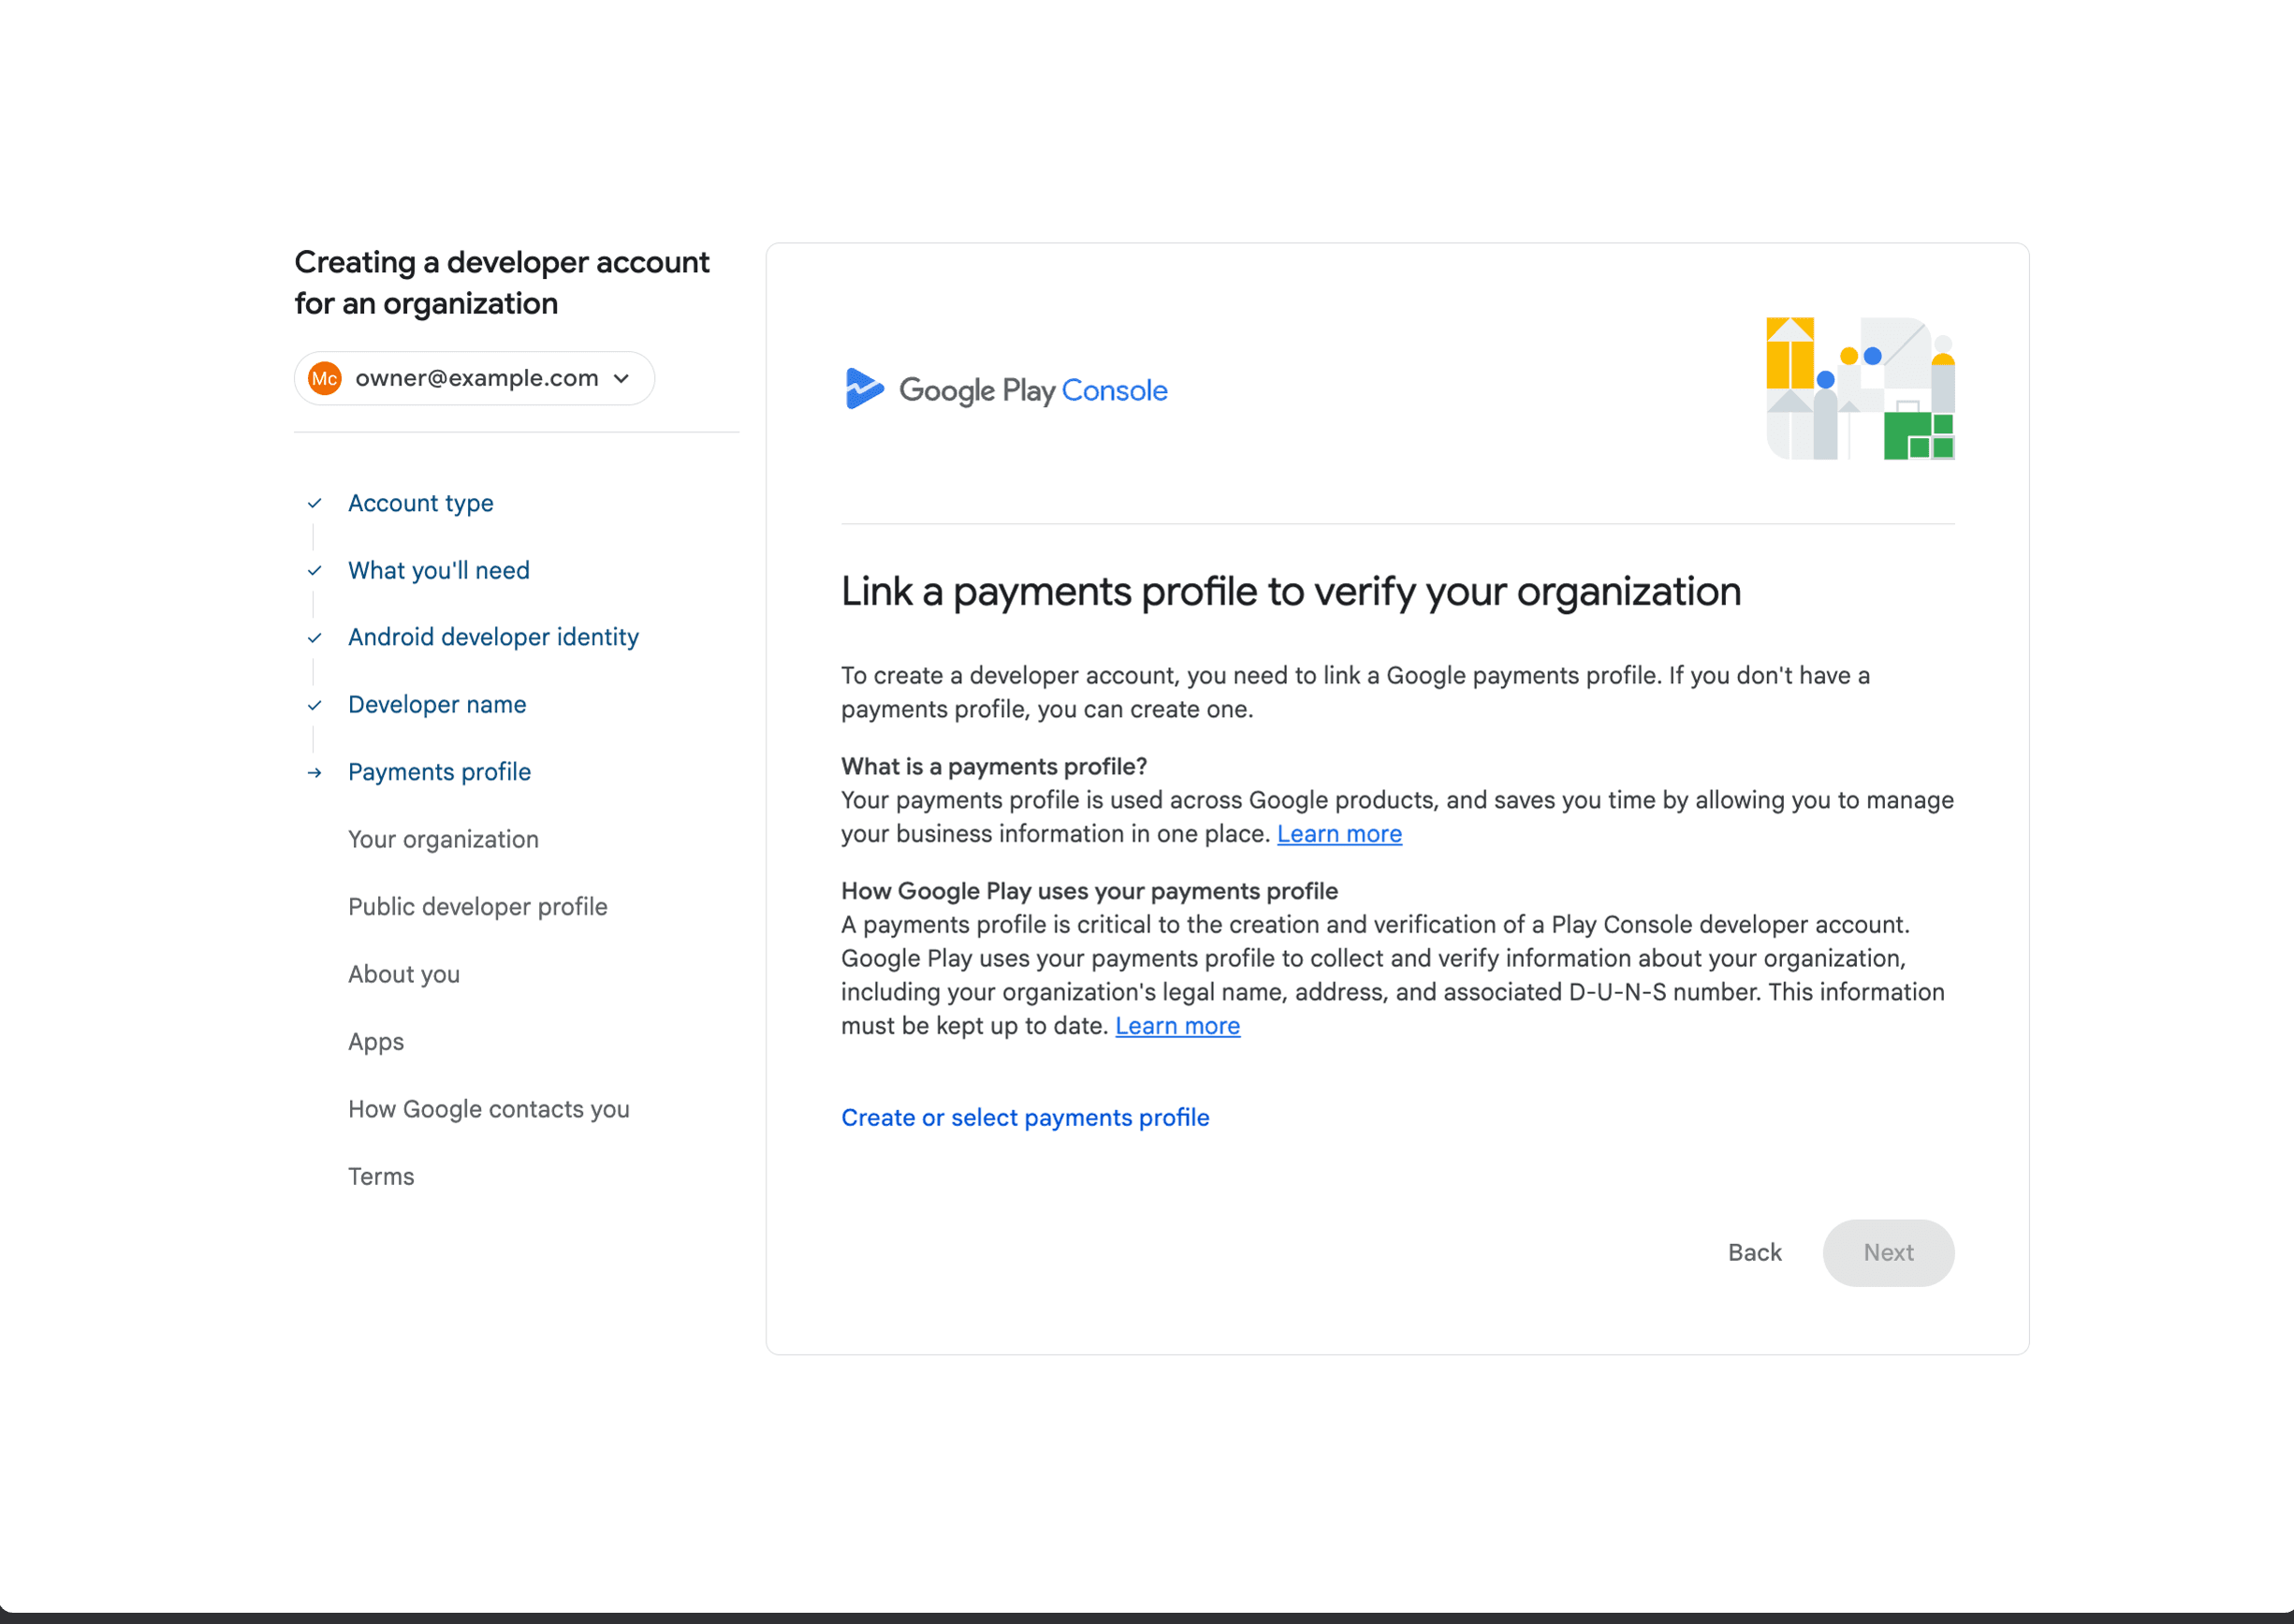
Create or select a Google Payments profile using your company's exact legal name, registered address, and tax details. This information needs to match your business registration documents and your D-U-N-S record.
Getting this right the first time saves a lot of hassle -- mismatches between your payments profile and your other records are one of the most common causes of verification delays.
Step 4: Enter Developer and Organization Details
Fill in your public developer name (what app users will see), organization type and size, D-U-N-S Number, business phone, website, and any other contact details Google asks for. You'll need to verify your email address and phone number using codes that Google sends.
Take a moment to review what Google plans to display publicly -- depending on your account's activities and where you distribute apps, Google may show your verified legal name, address, email, and phone number to users.
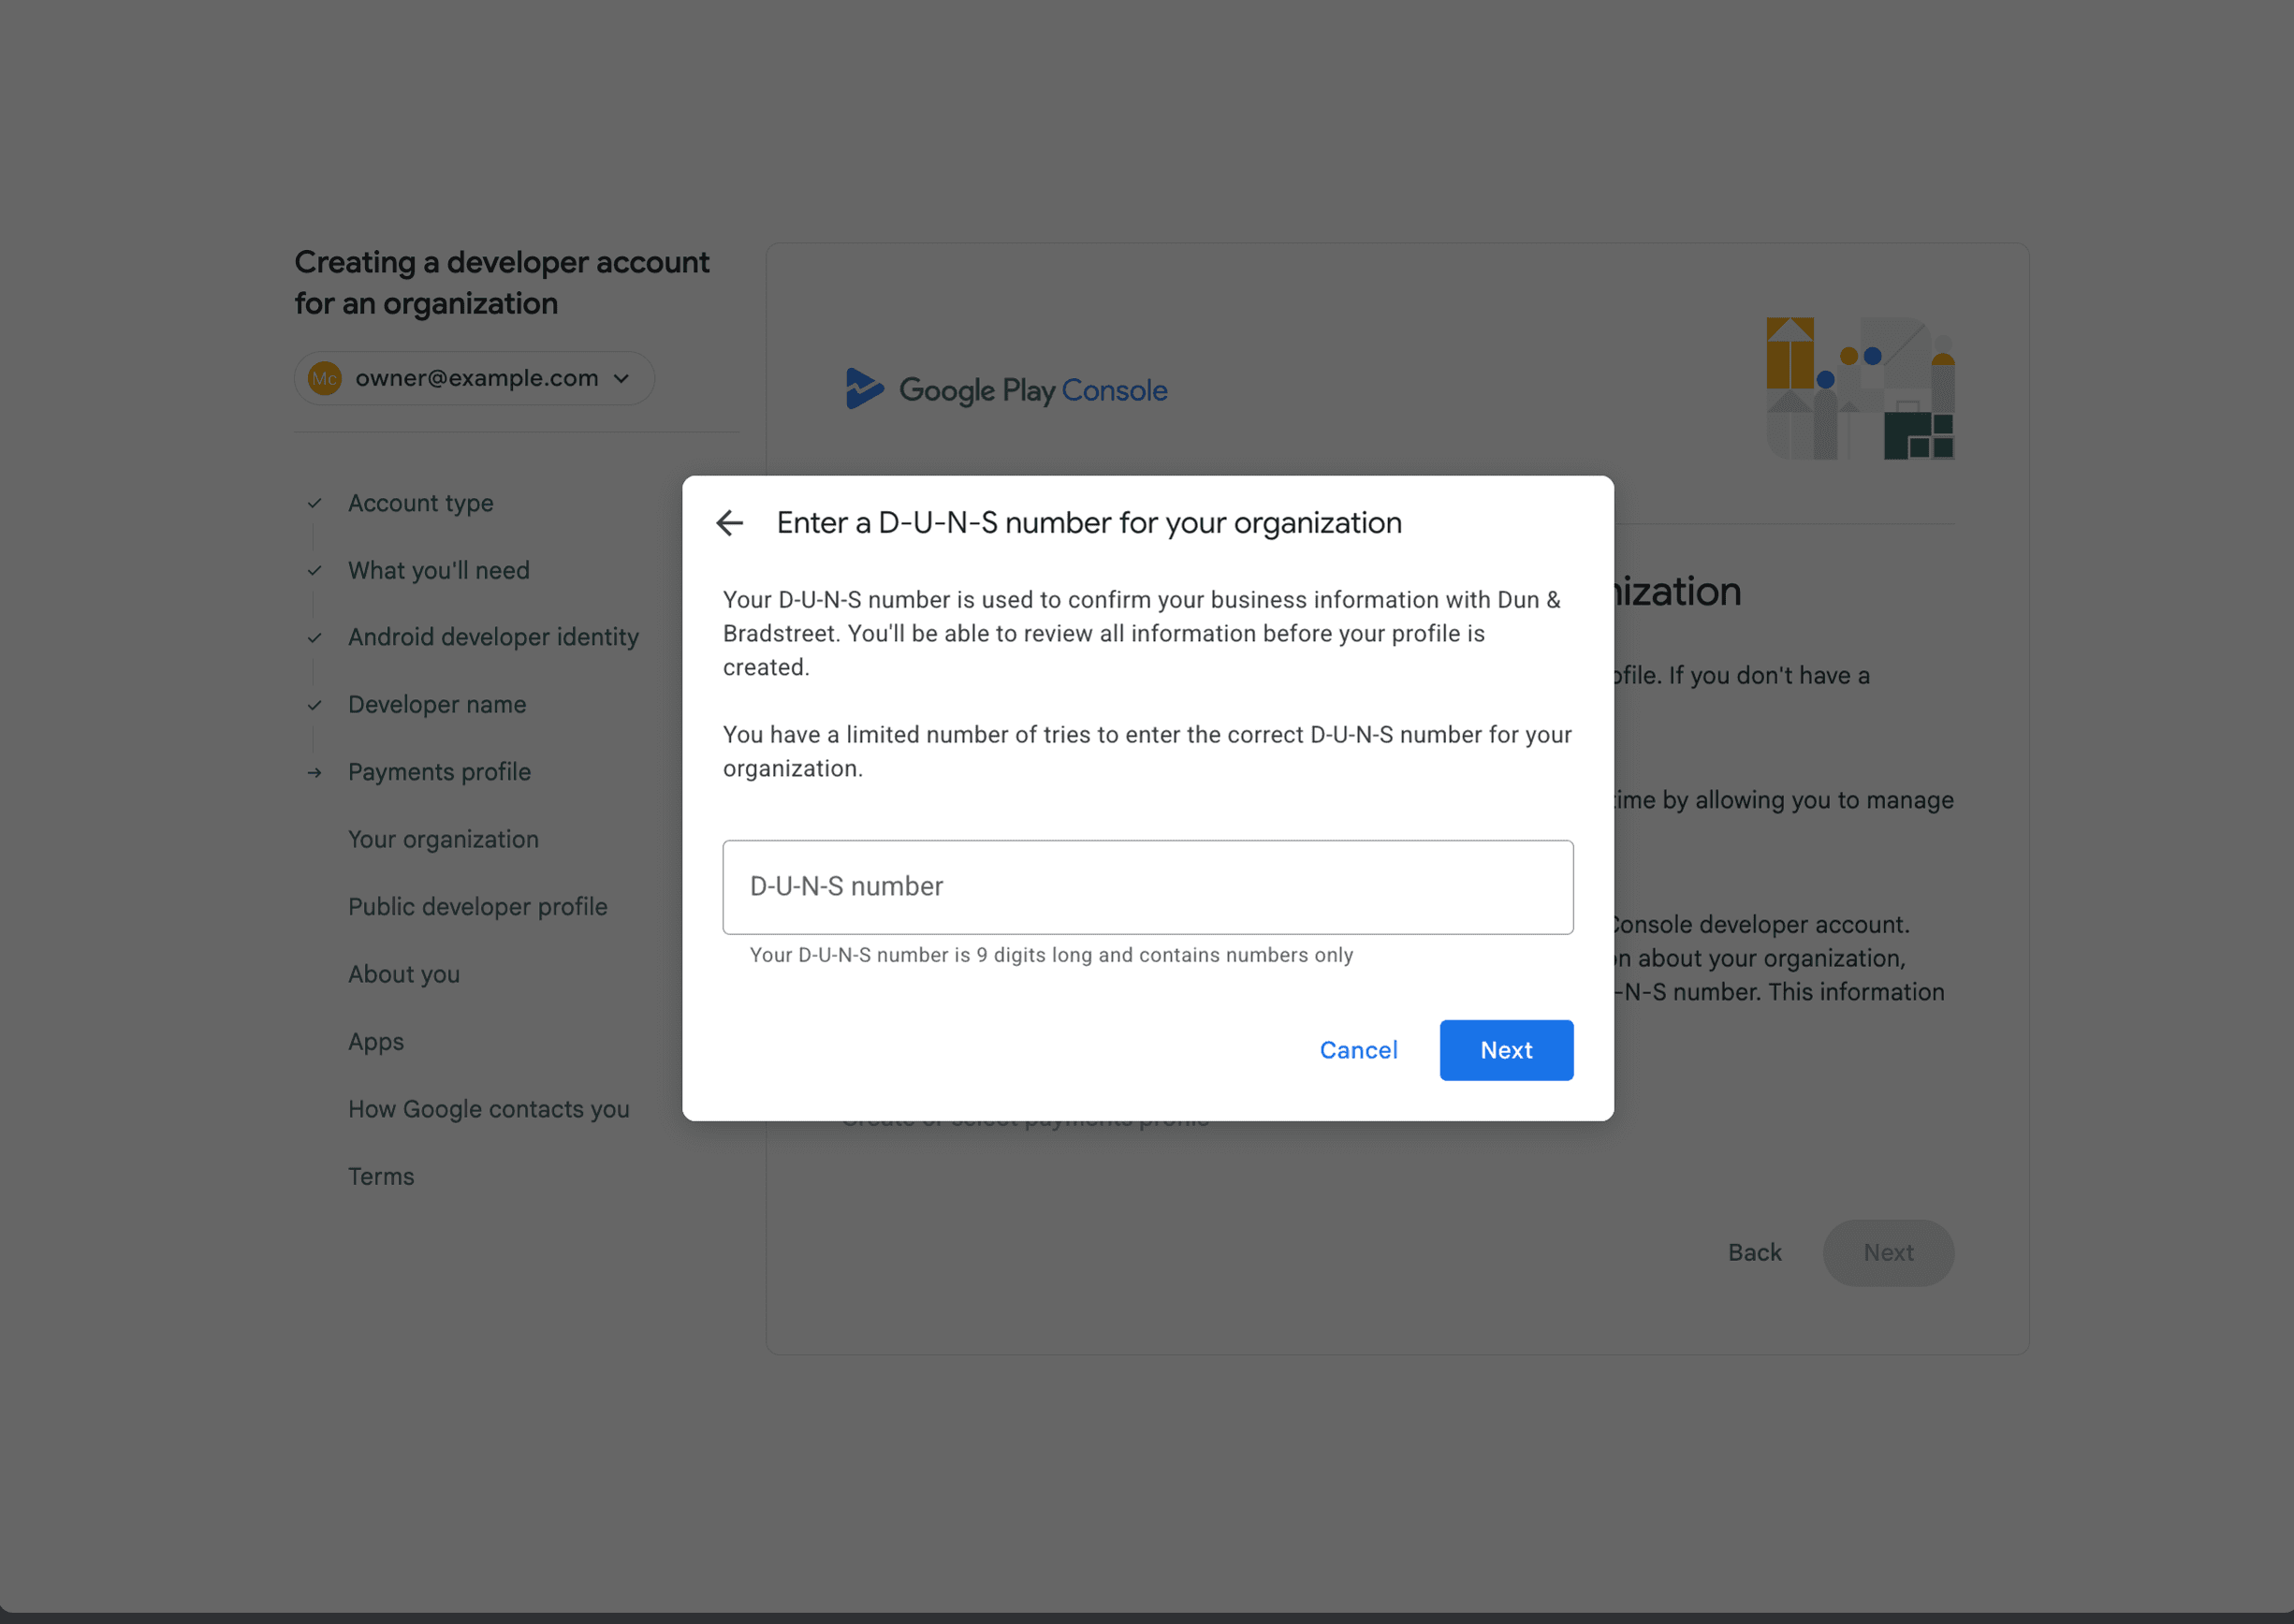
Step 5: Verify Your Company Website
Enter your company's website URL and follow Google's instructions to verify it through Google Search Console. This step proves that your organization actually controls the website you've listed.
Both your Play Console account and your Google Search Console account need sufficient access for this verification to work. If you're not sure about Search Console access, Dev3 Studio can help you sort this out -- just let us know.
Step 6: Accept the Agreement and Pay
Review the Google Play Developer Distribution Agreement and accept it on behalf of your organization. Then pay the one-time US$25 registration fee.
One thing to note: prepaid cards generally aren't accepted. Use one of the supported card types that Google shows during checkout.
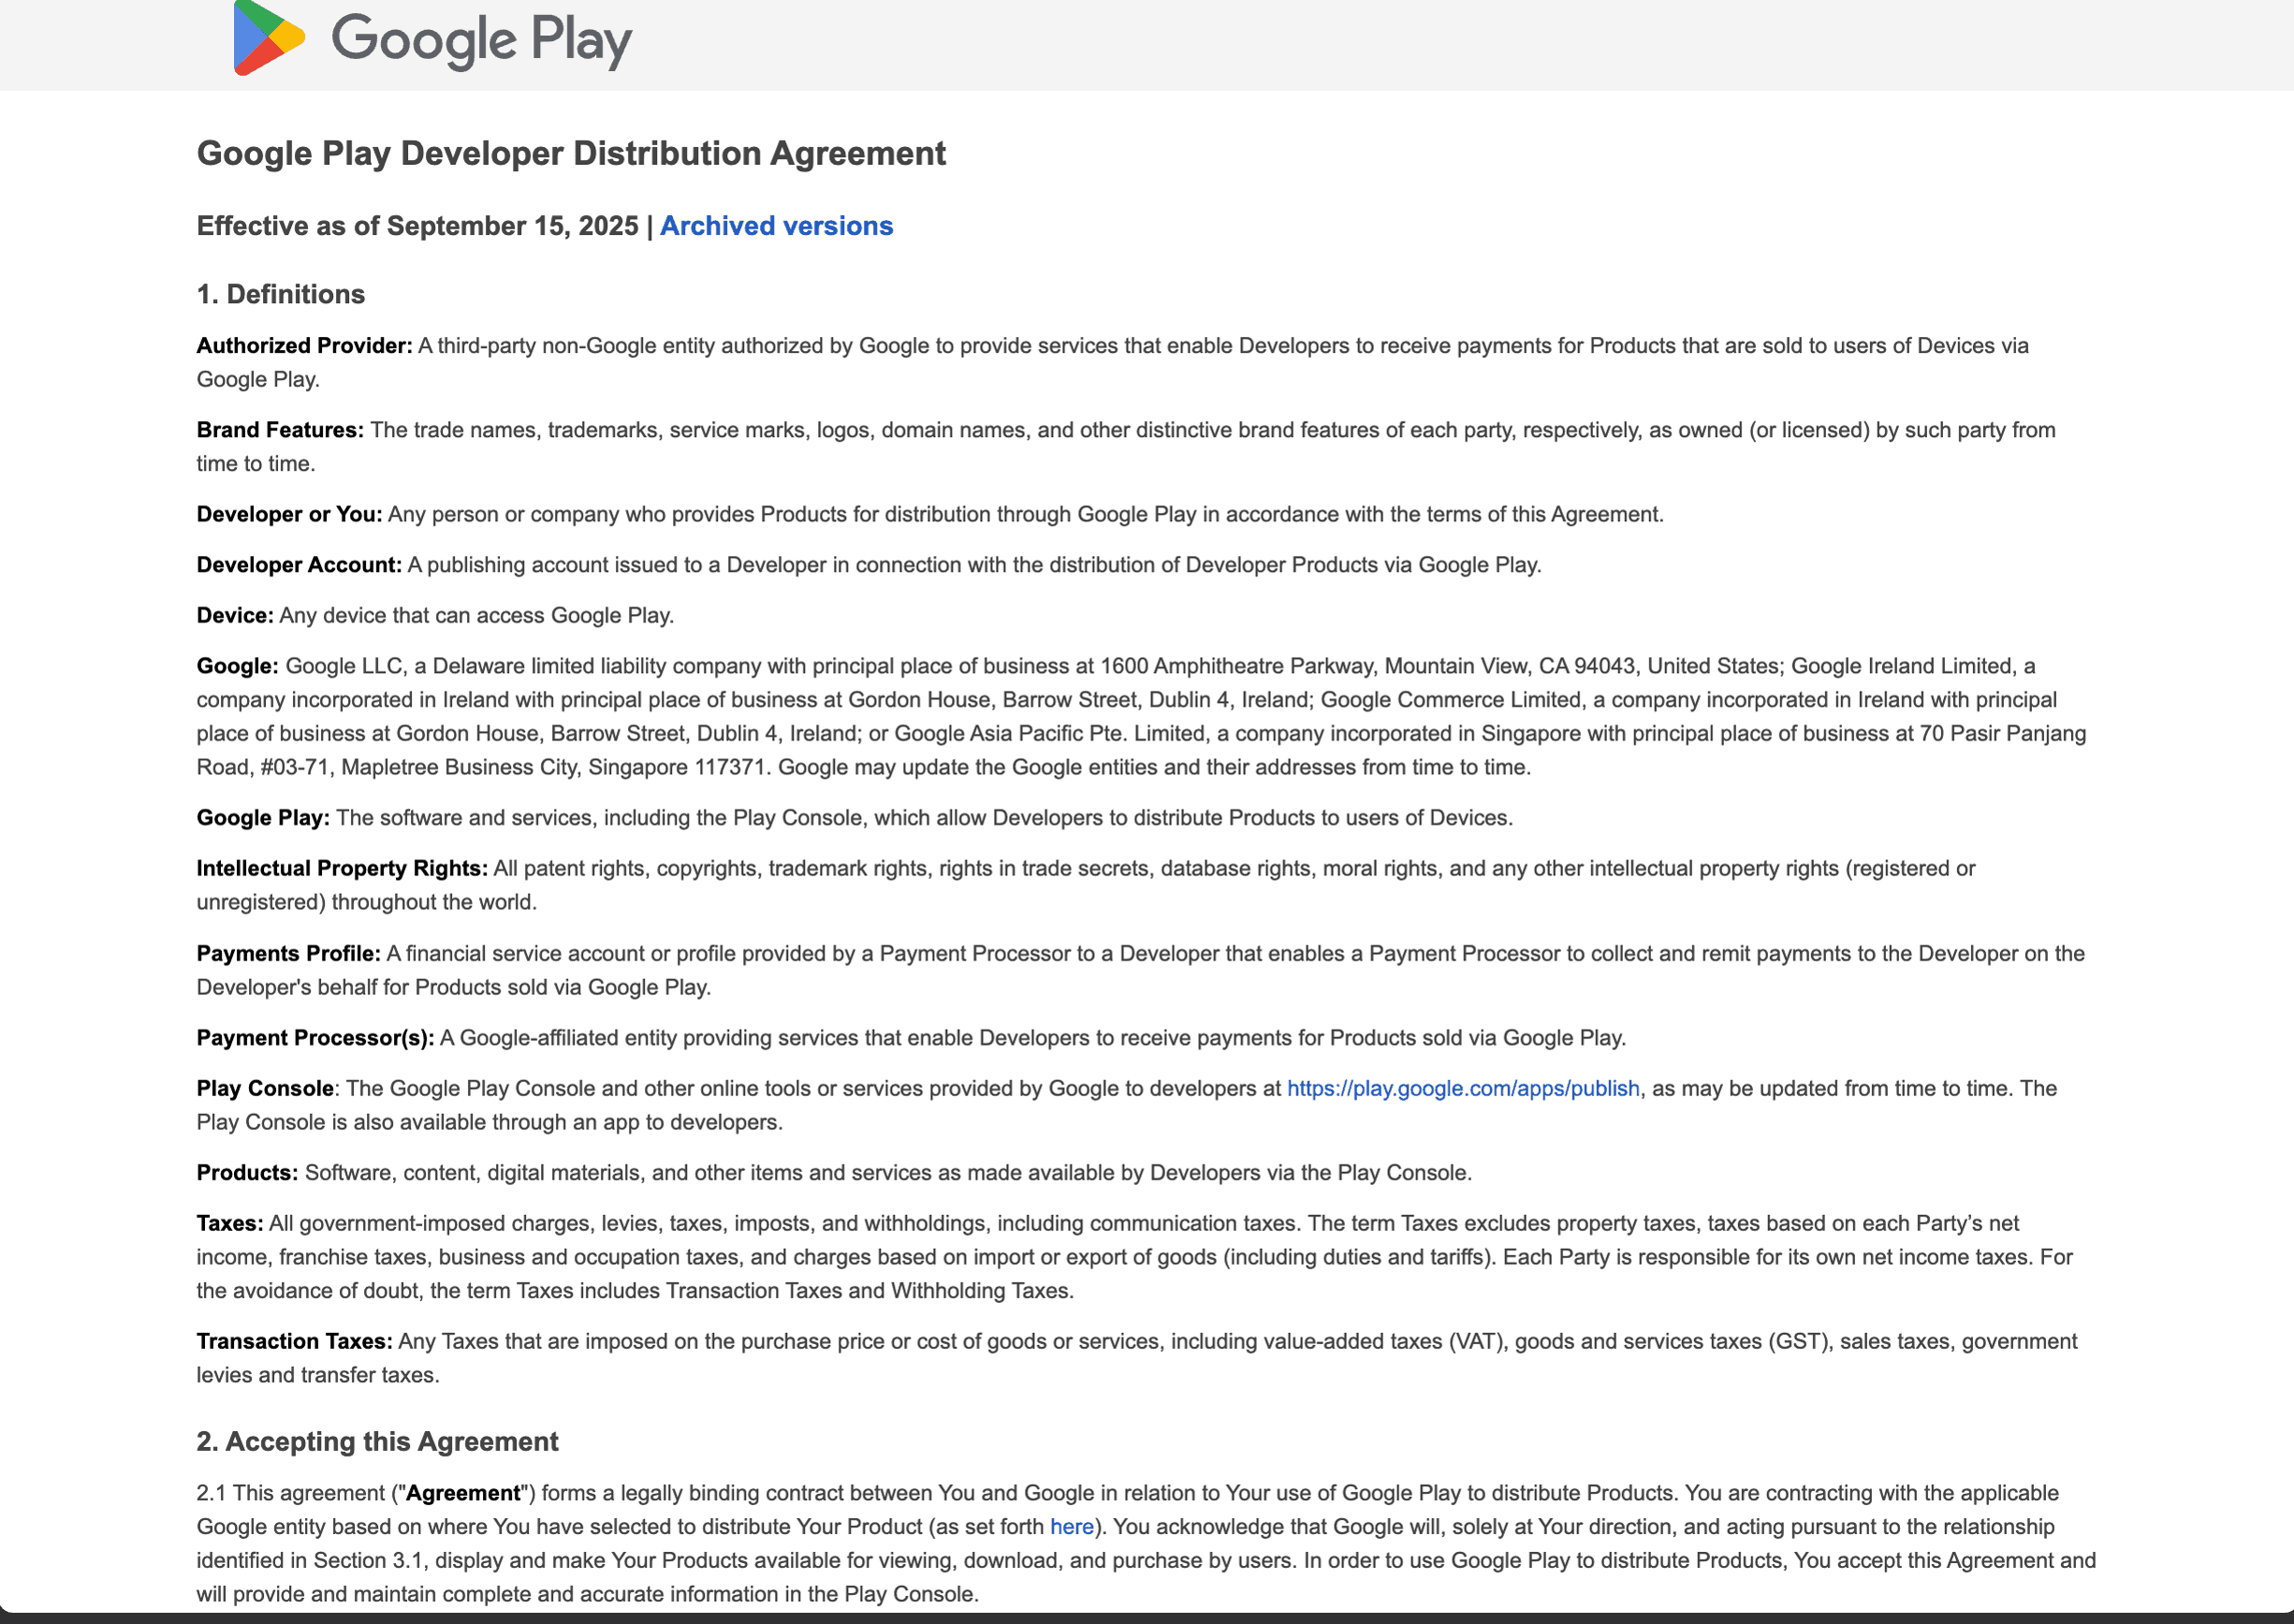
Step 7: Complete Identity and Organization Verification
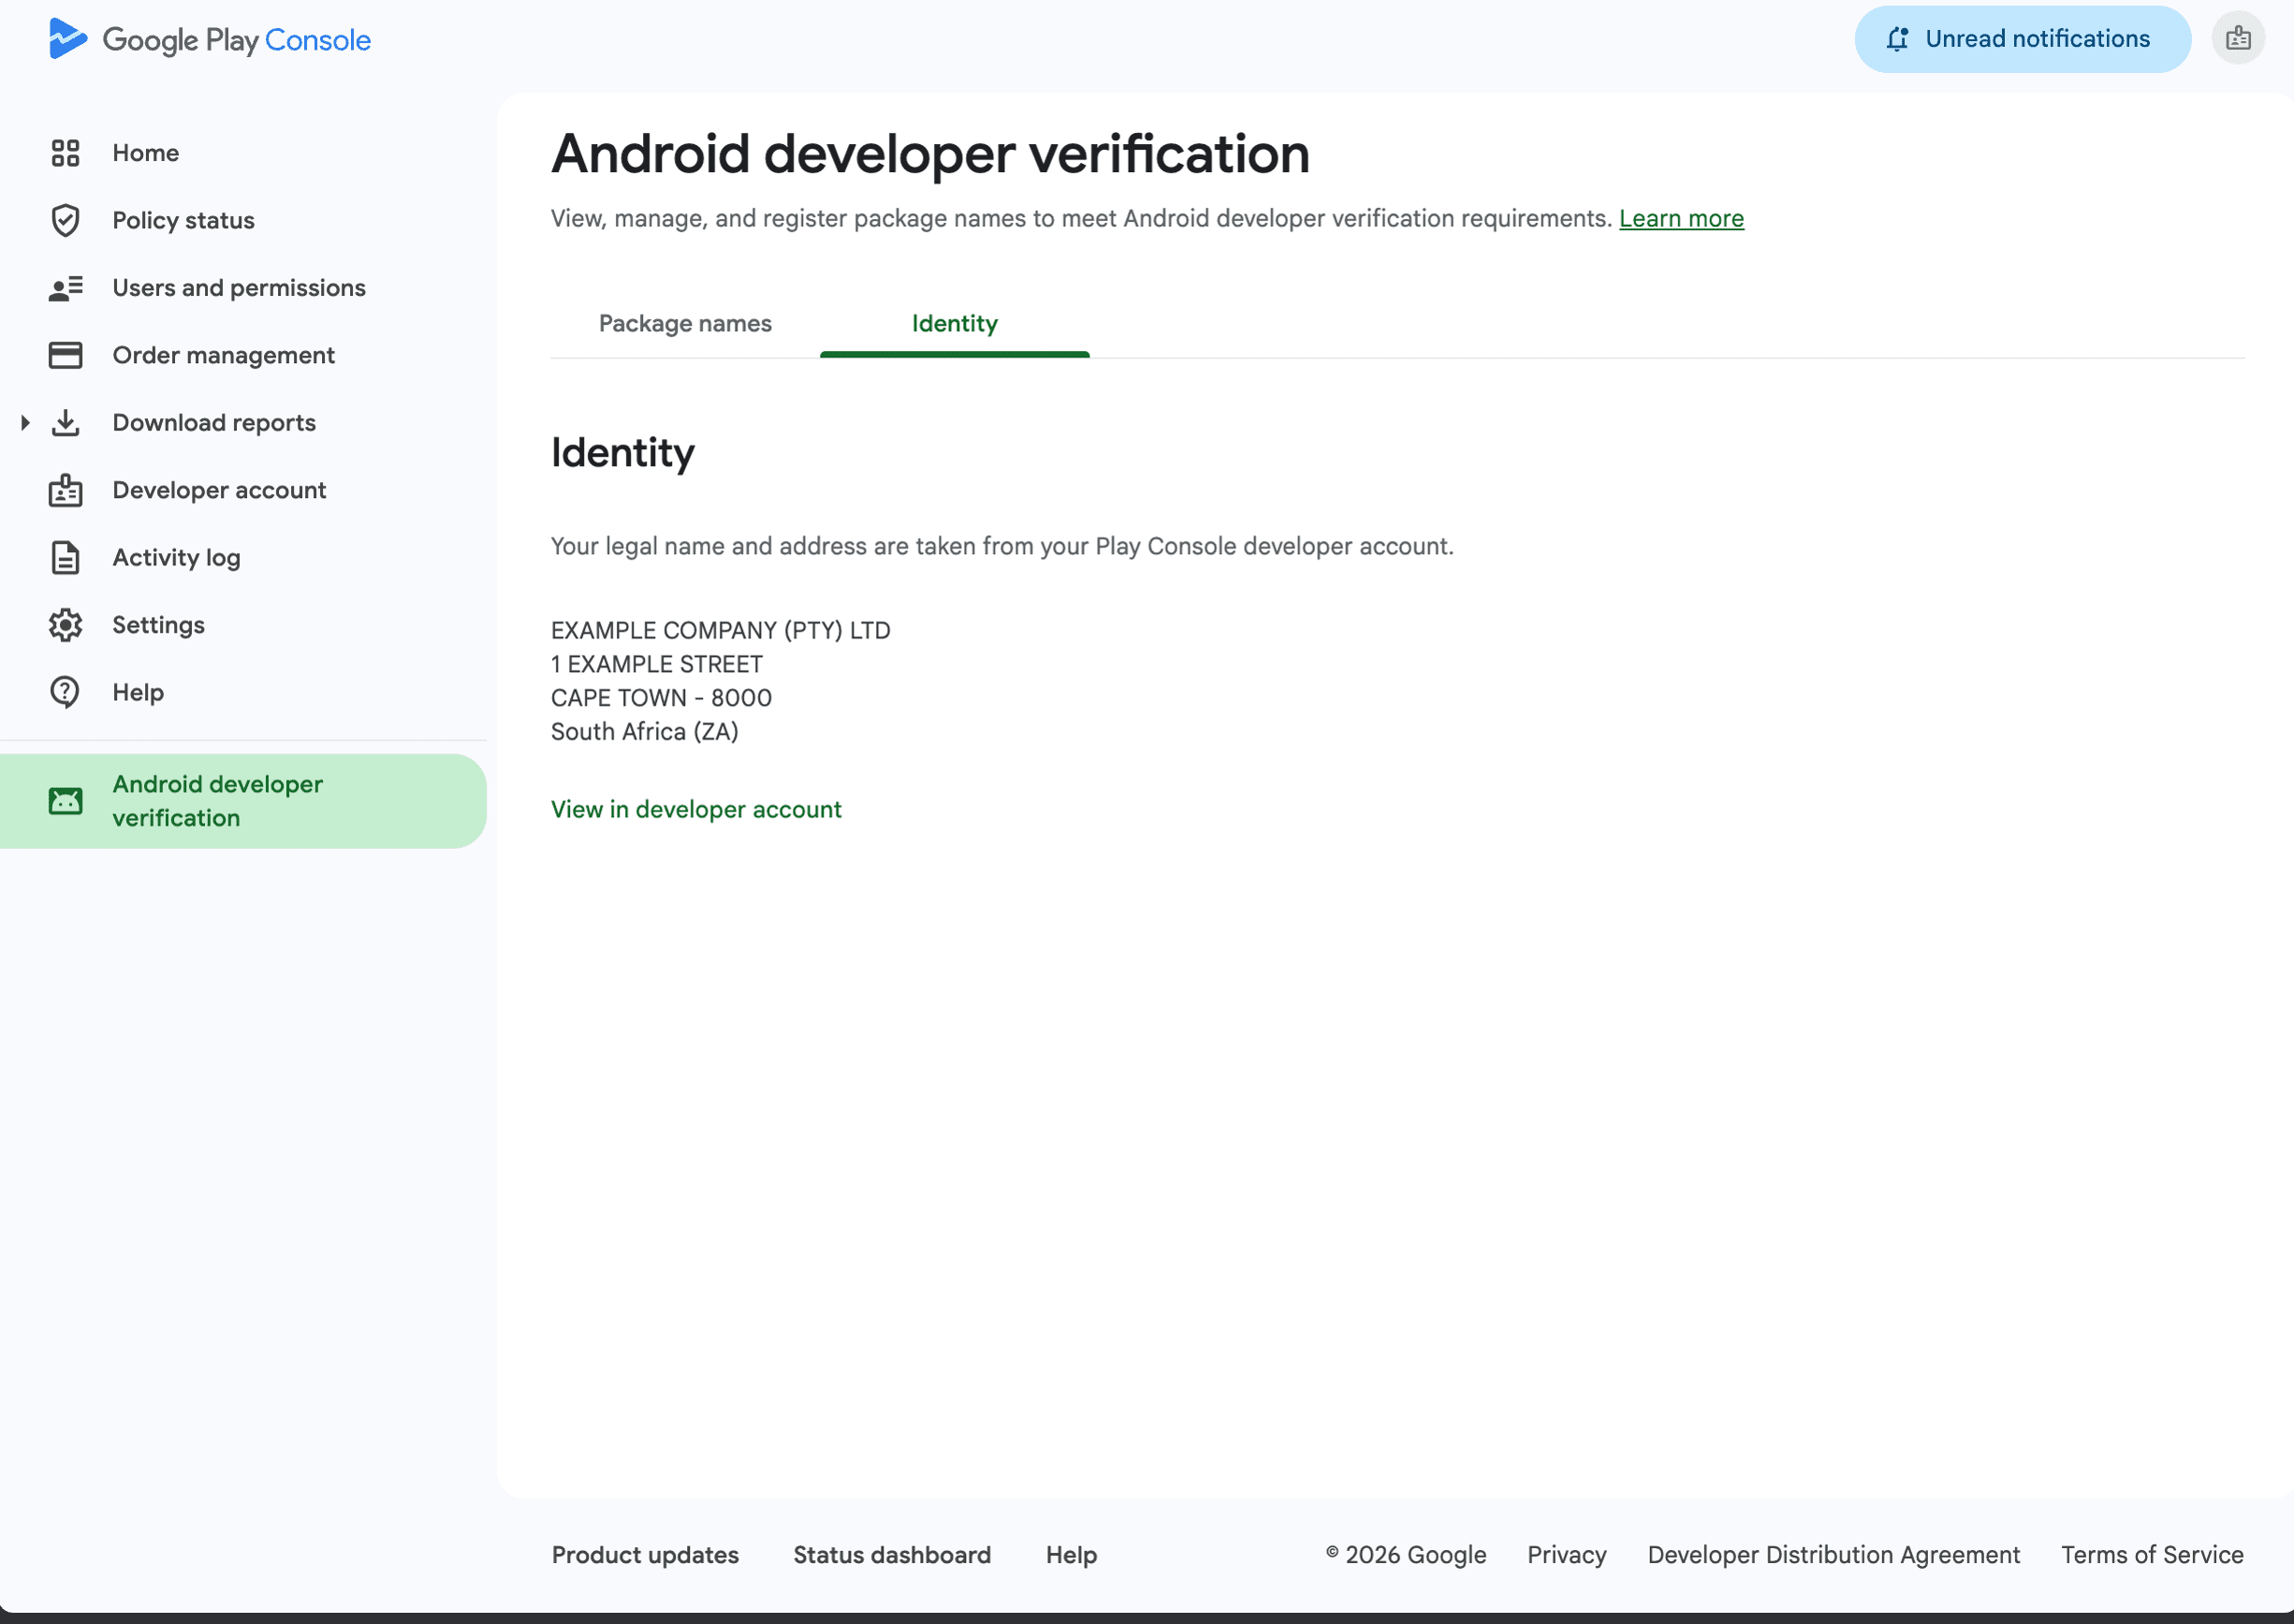
After payment, open the verification tasks in your Play Console dashboard. Google will ask you to provide an organization document (like your company registration certificate) and the Account Holder's ID.
Make sure every detail -- legal name, address, registration number -- matches what's in your payments profile and your D-U-N-S record. Consistency across all your records is what makes verification go smoothly.
Google will review your submission and email you when verification is complete. Your account can't publish apps until these checks pass.
Step 8: Open Users and Permissions
Once your account is fully active, open Users and permissions in Play Console and click Invite new users. This is where you'll add the Dev3 Studio team so we can start working on your app.
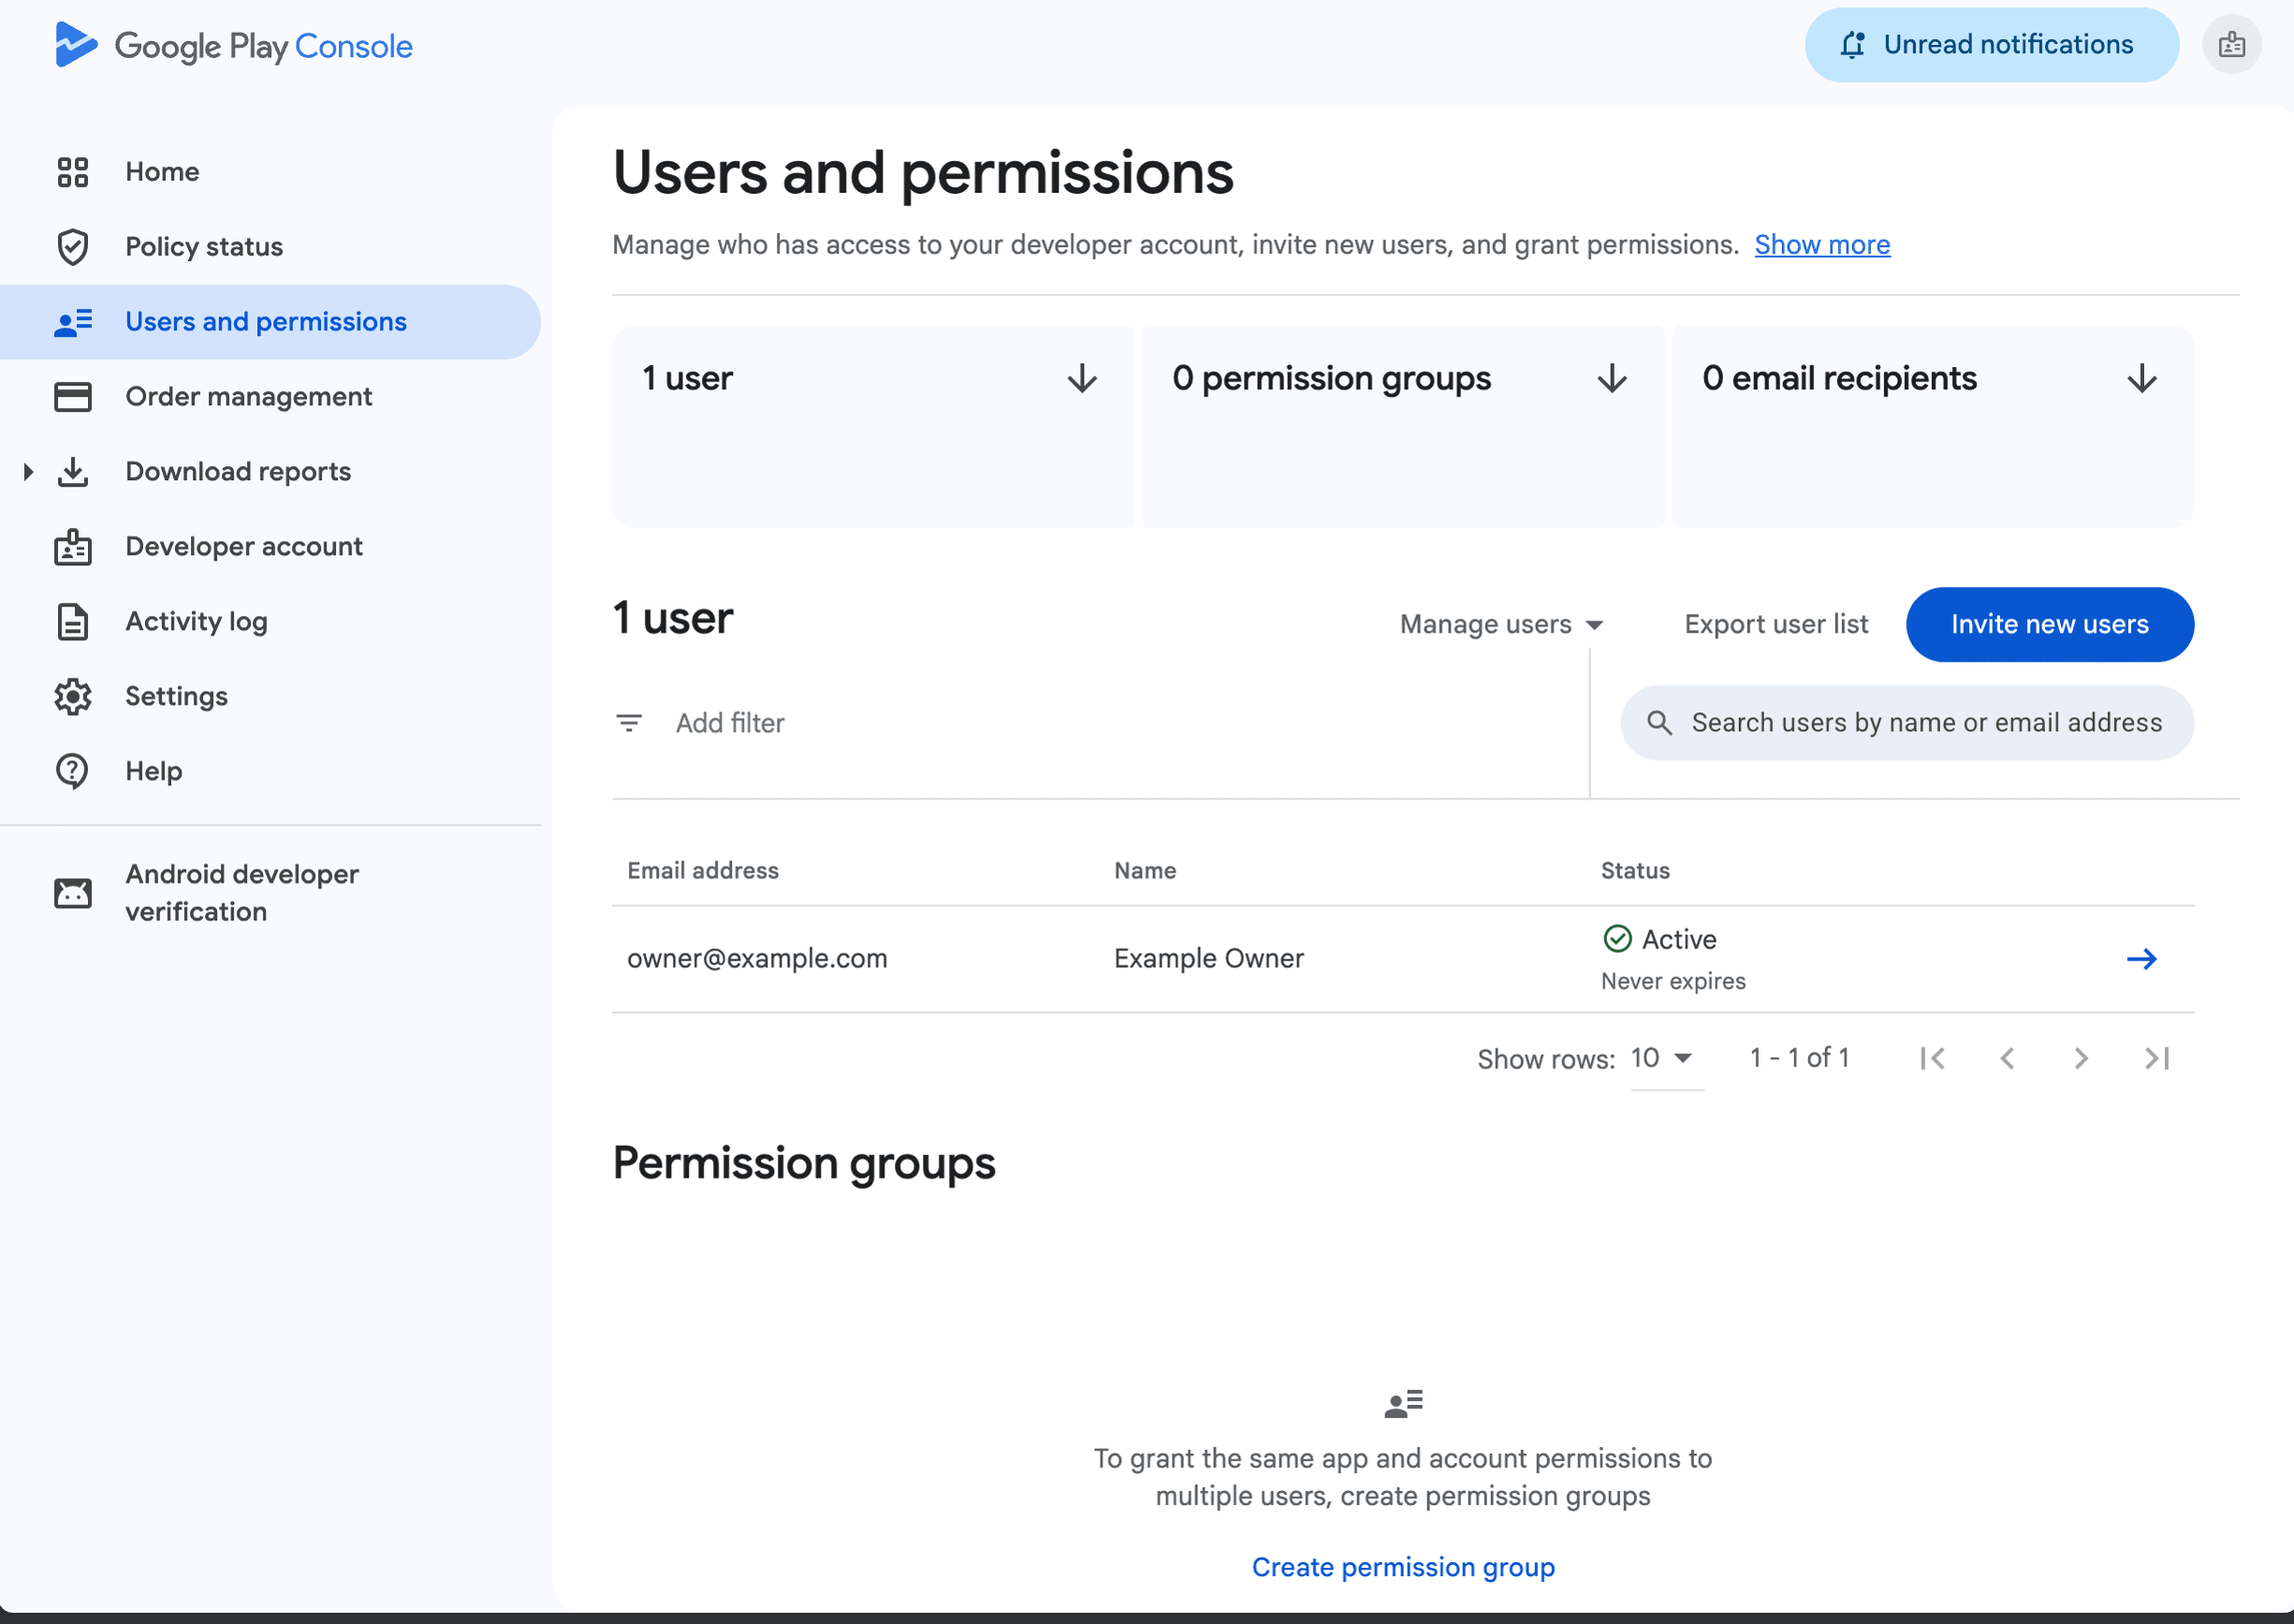
Step 9: Invite the First Dev3 Studio Team Member as an Account Admin
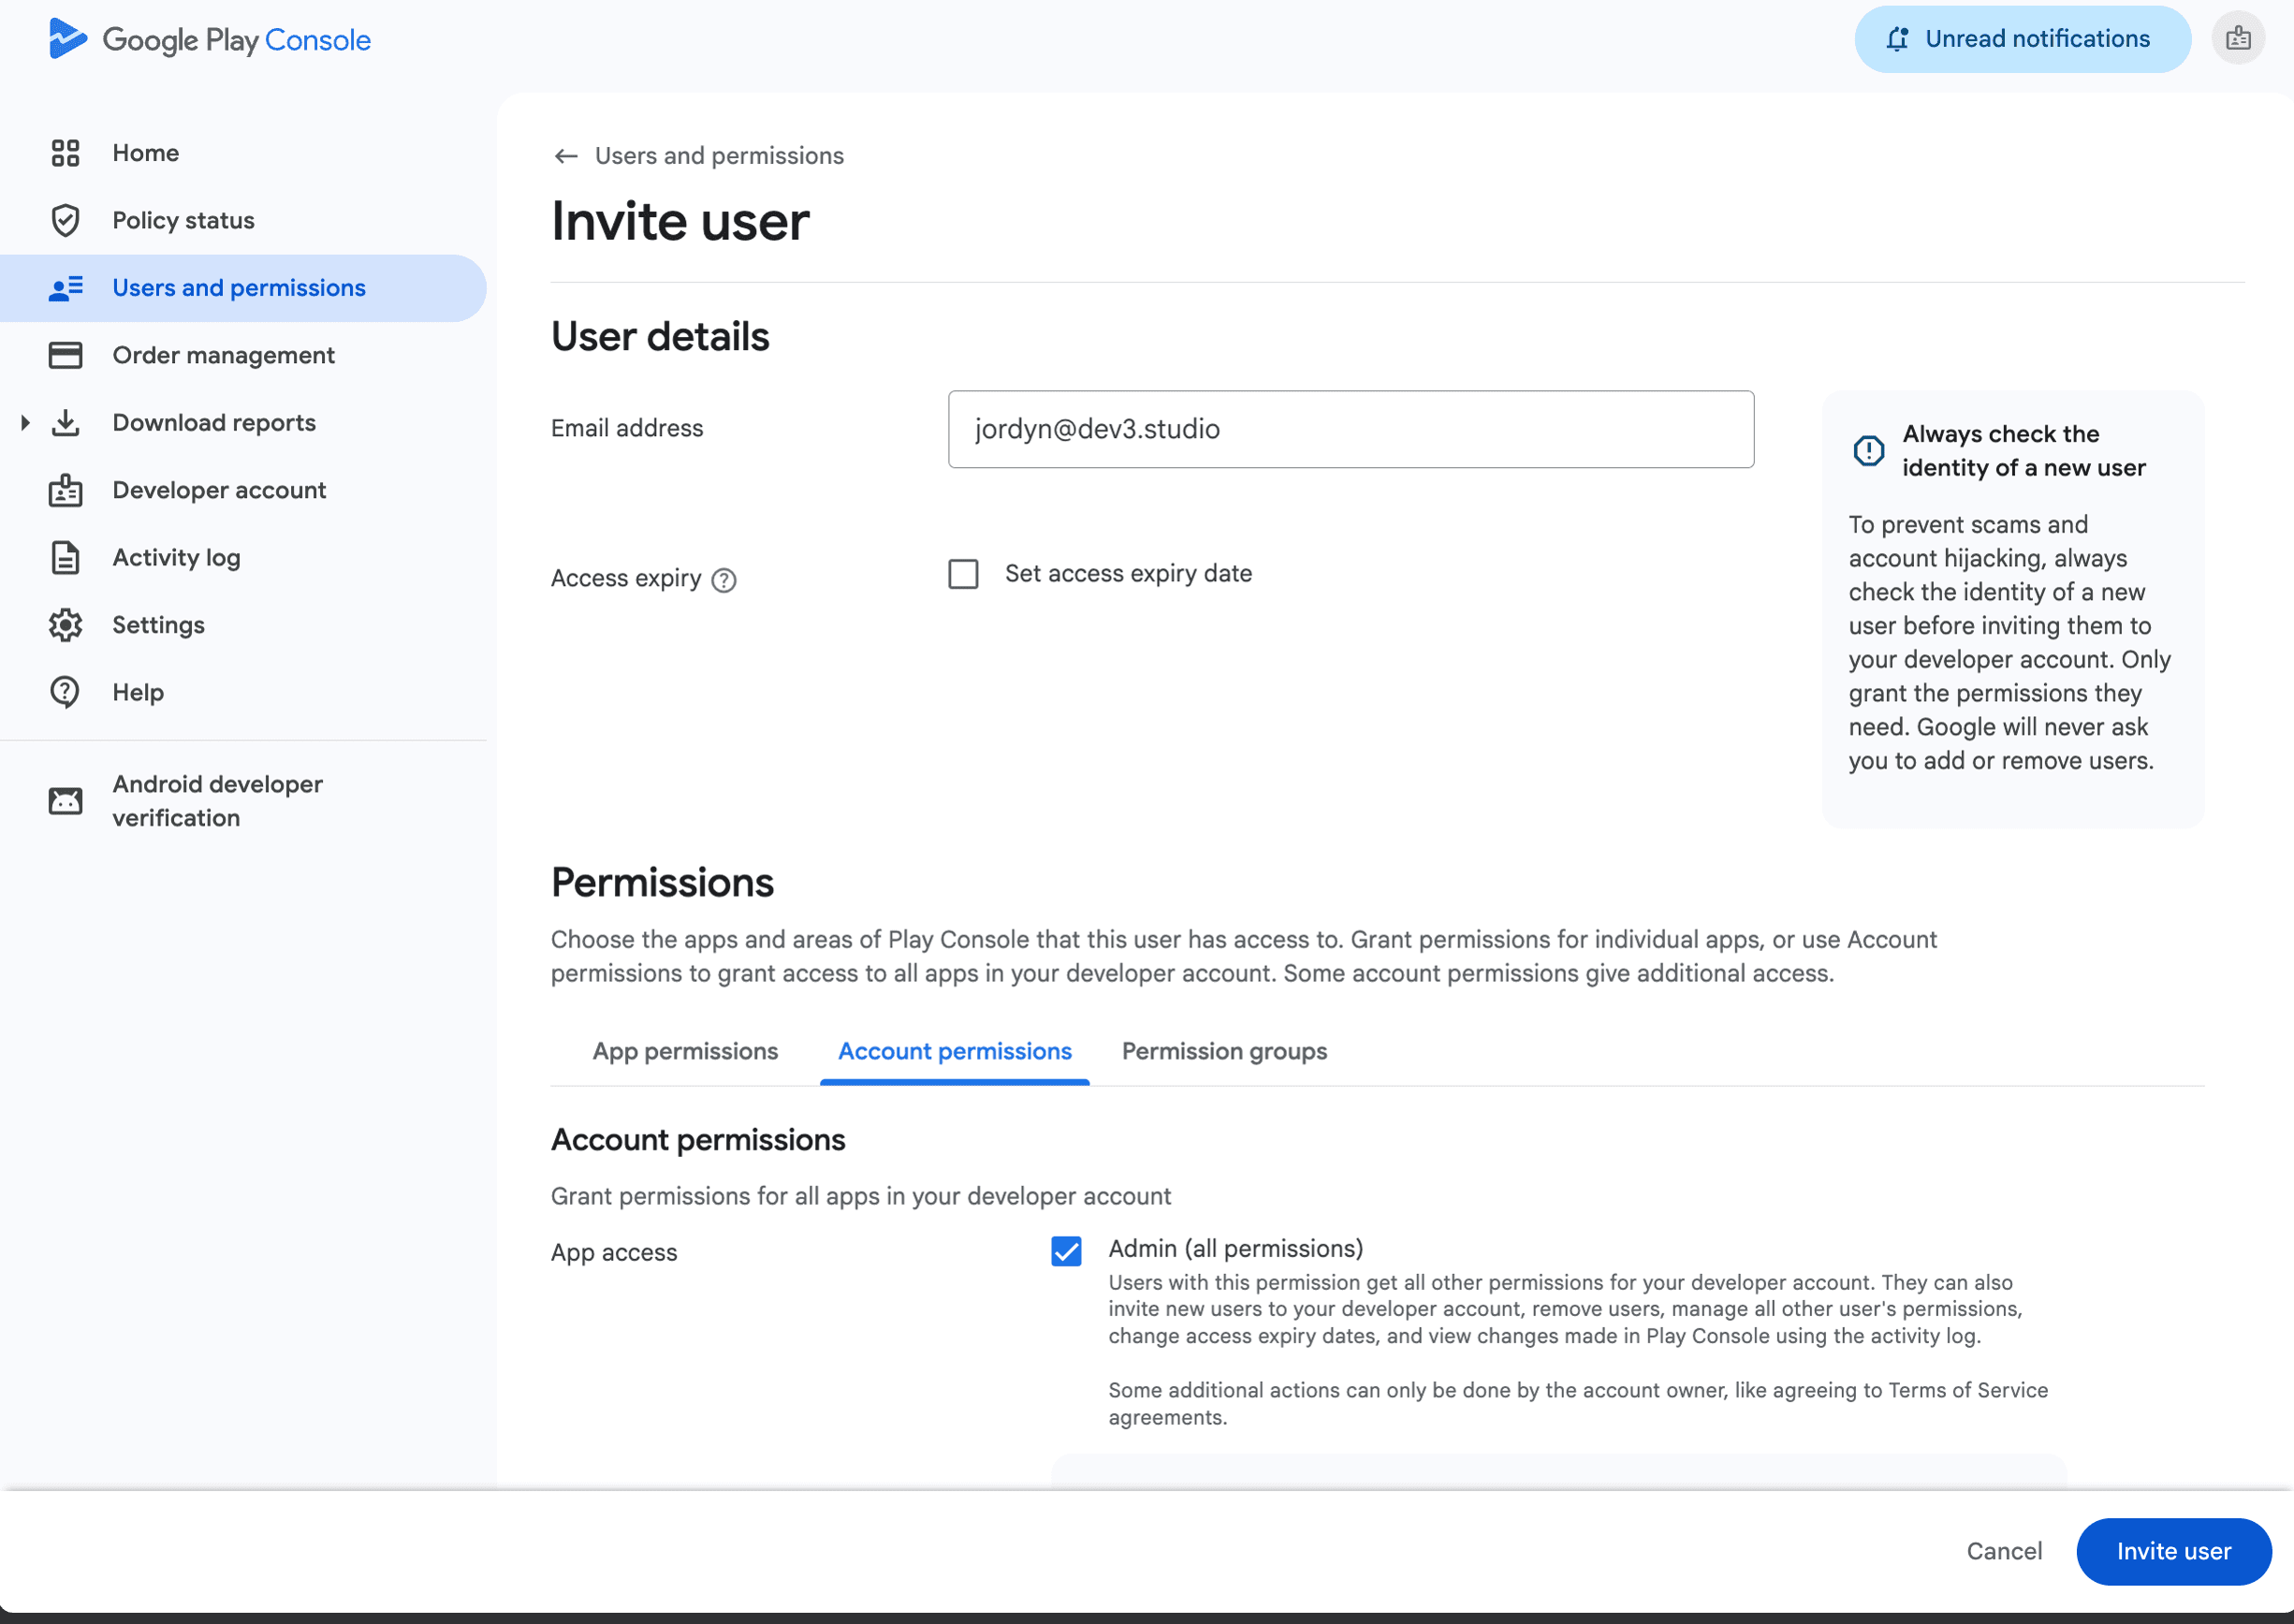
Enter the first of the two Dev3 Studio email addresses we've given you, choose account-level access, and select Admin (all permissions). Leave the access expiry unset (so it doesn't accidentally expire mid-project) and send the invitation. If you don't have our team's email addresses to hand, just ask and we'll send them through.
Step 10: Invite the Second Dev3 Studio Team Member as an Account Admin
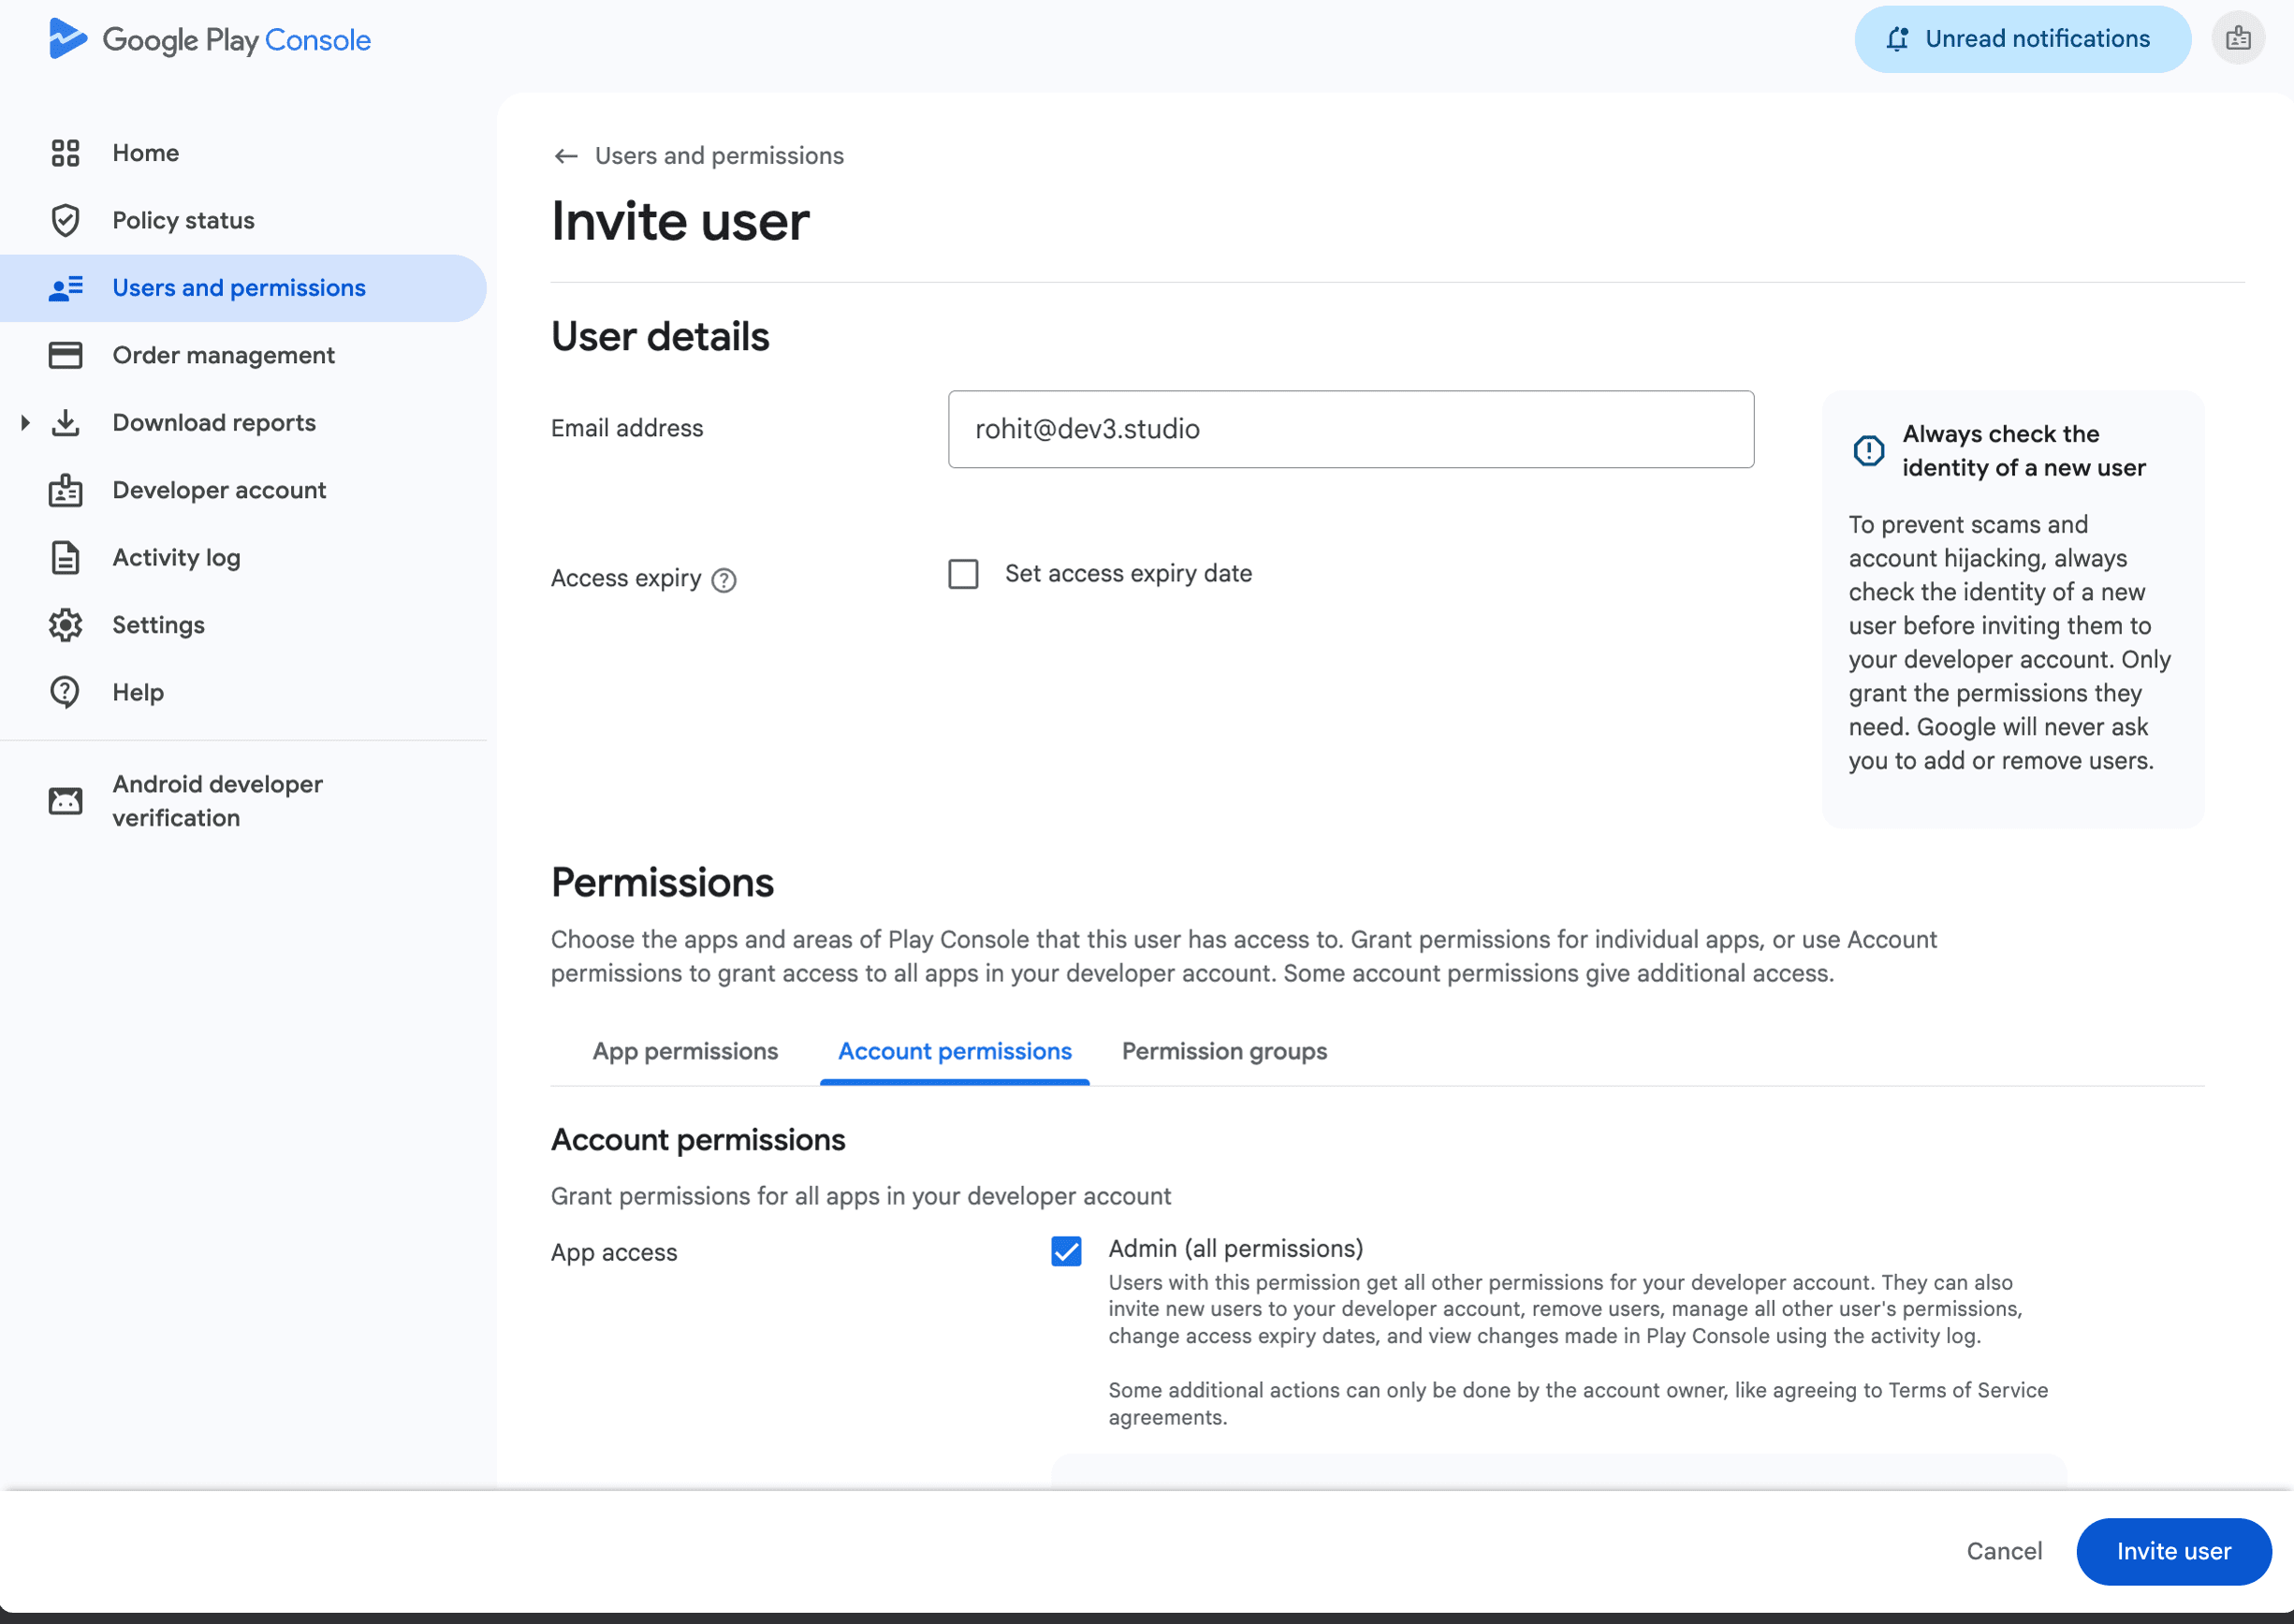
Repeat the same process for the second address with Admin (all permissions).
One important note: please don't separately add either Dev3 Studio team member in Google Payments Center. We only need Play Console access -- keeping payments separate is better for everyone's security.
A Note About the 12-Tester Requirement
New personal Play Console accounts created after 13 November 2023 generally need to run a closed test with at least 12 opted-in testers for 14 continuous days before they can apply for production access. This is Google's way of encouraging thorough testing before apps go live.
This requirement does not apply to the Organization account you're creating by following this guide. That said, every app should still go through proper testing before release -- Dev3 Studio will handle this as part of the development process.
Completion Checklist
Troubleshooting
- Google says the organization details don't match: Correct your D-U-N-S record (through Dun & Bradstreet or TransUnion) and your Google Payments profile so they match exactly. Don't try entering an alternative spelling in Play Console to get around the mismatch.
- Website verification fails: Make sure your Google Account has sufficient access to the correct website property in Google Search Console. The property URL must match exactly (including whether it uses www or not).
- An invitation wasn't accepted: Check the pending user in Users and permissions, confirm the email address is correct, and resend the invitation if the option is available.
- A verification task is still pending: Open the Play Console verification dashboard and look at the specific request -- it will tell you whether it needs a document, ID, phone verification, email verification, or website verification.
Security Reminder
Your Google Account, payments profile, legal documents, identity documents, verification codes, and recovery methods should all stay private. Dev3 Studio needs Play Console Admin permissions to do our work -- we never need your Google Account password, and we shouldn't have separate access to your Google Payments Center.
If you ever need to remove a team member's access, you can do so at any time from the Users and permissions page.