
How to Create a MongoDB Atlas Account
MongoDB Atlas is a managed database service in the cloud. If your project uses a MongoDB database (a type of database that's great for flexible, fast-changing data), this is where it lives. You'll own the account and the overall organisation, while Dev3 Studio gets access to the specific project where we'll set up and manage the database.
What You'll Need
- A company email address — use one your business controls long-term, since this will be the permanent owner of the account.
- An authenticator app on your phone — like Google Authenticator or Authy. You'll use this for multi-factor authentication (an extra security step when logging in).
- A name for your organisation and project — your company name works well for the organisation. For the project, something like "Example Company Production" helps keep things clear.
Expected Costs and Timing
MongoDB Atlas has a free tier that's great for development and small projects — no payment method needed to get started. You only pay if and when we create a paid database, and you'll always see the cost estimate beforehand. The whole setup takes about 10 minutes. One thing to note: invitations expire after 30 days, so there's no rush, but don't forget about them.
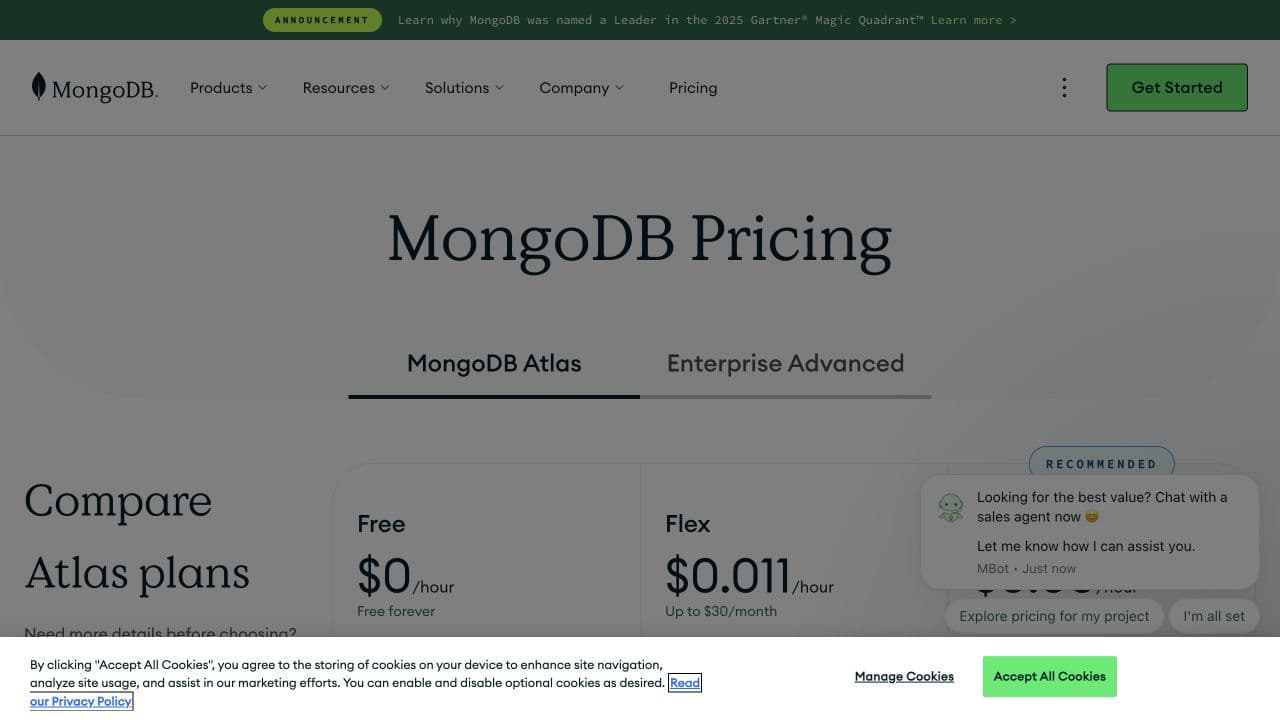
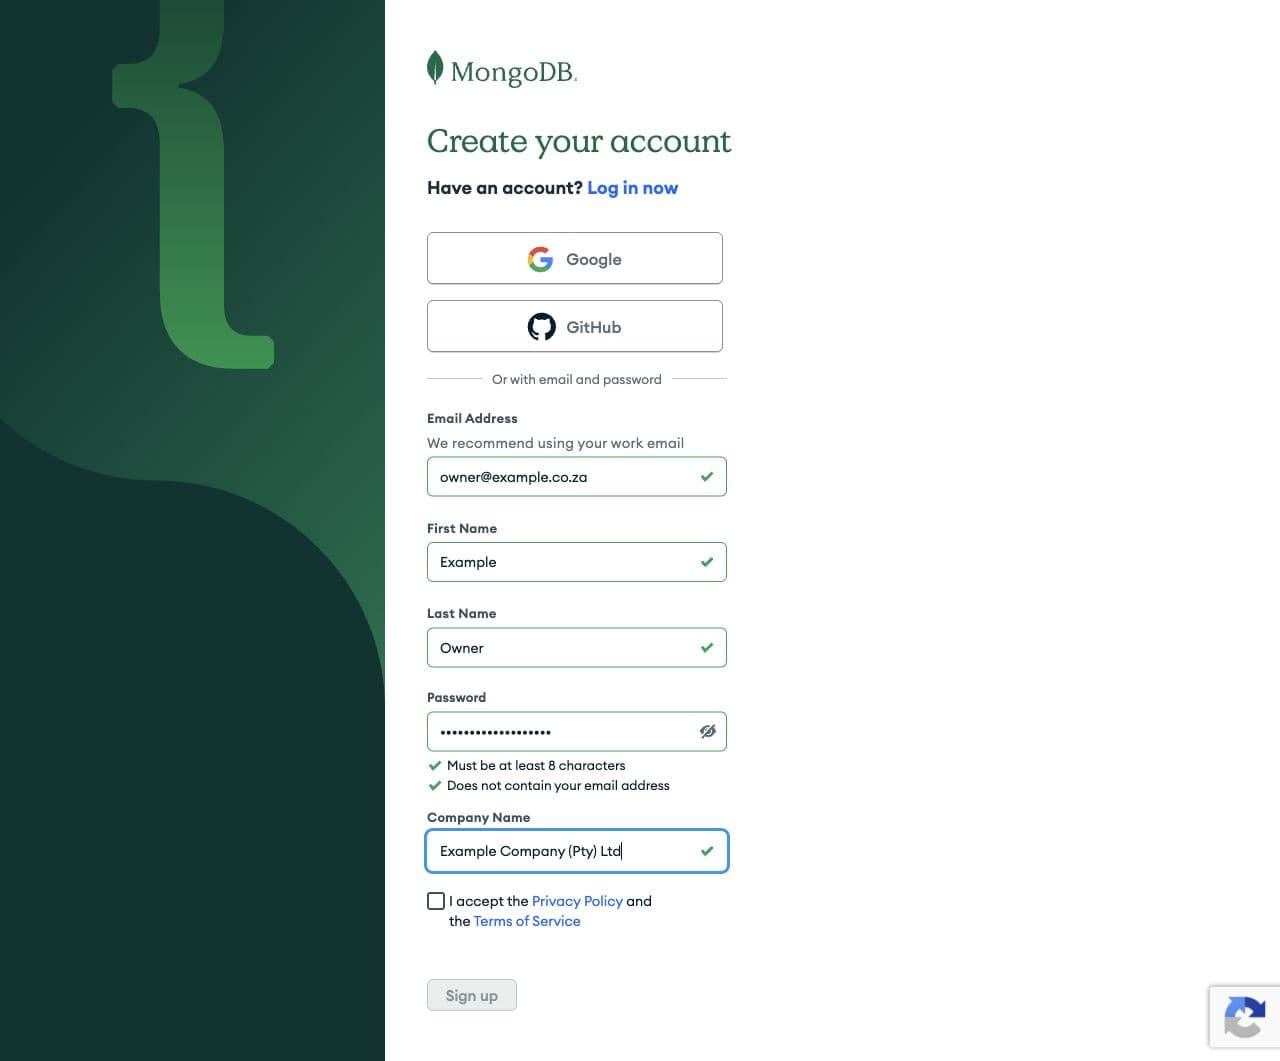
Step 1: Create Your MongoDB Atlas Account
Go to the MongoDB Atlas sign-up page and register using your company email. Complete the email verification step before moving on.
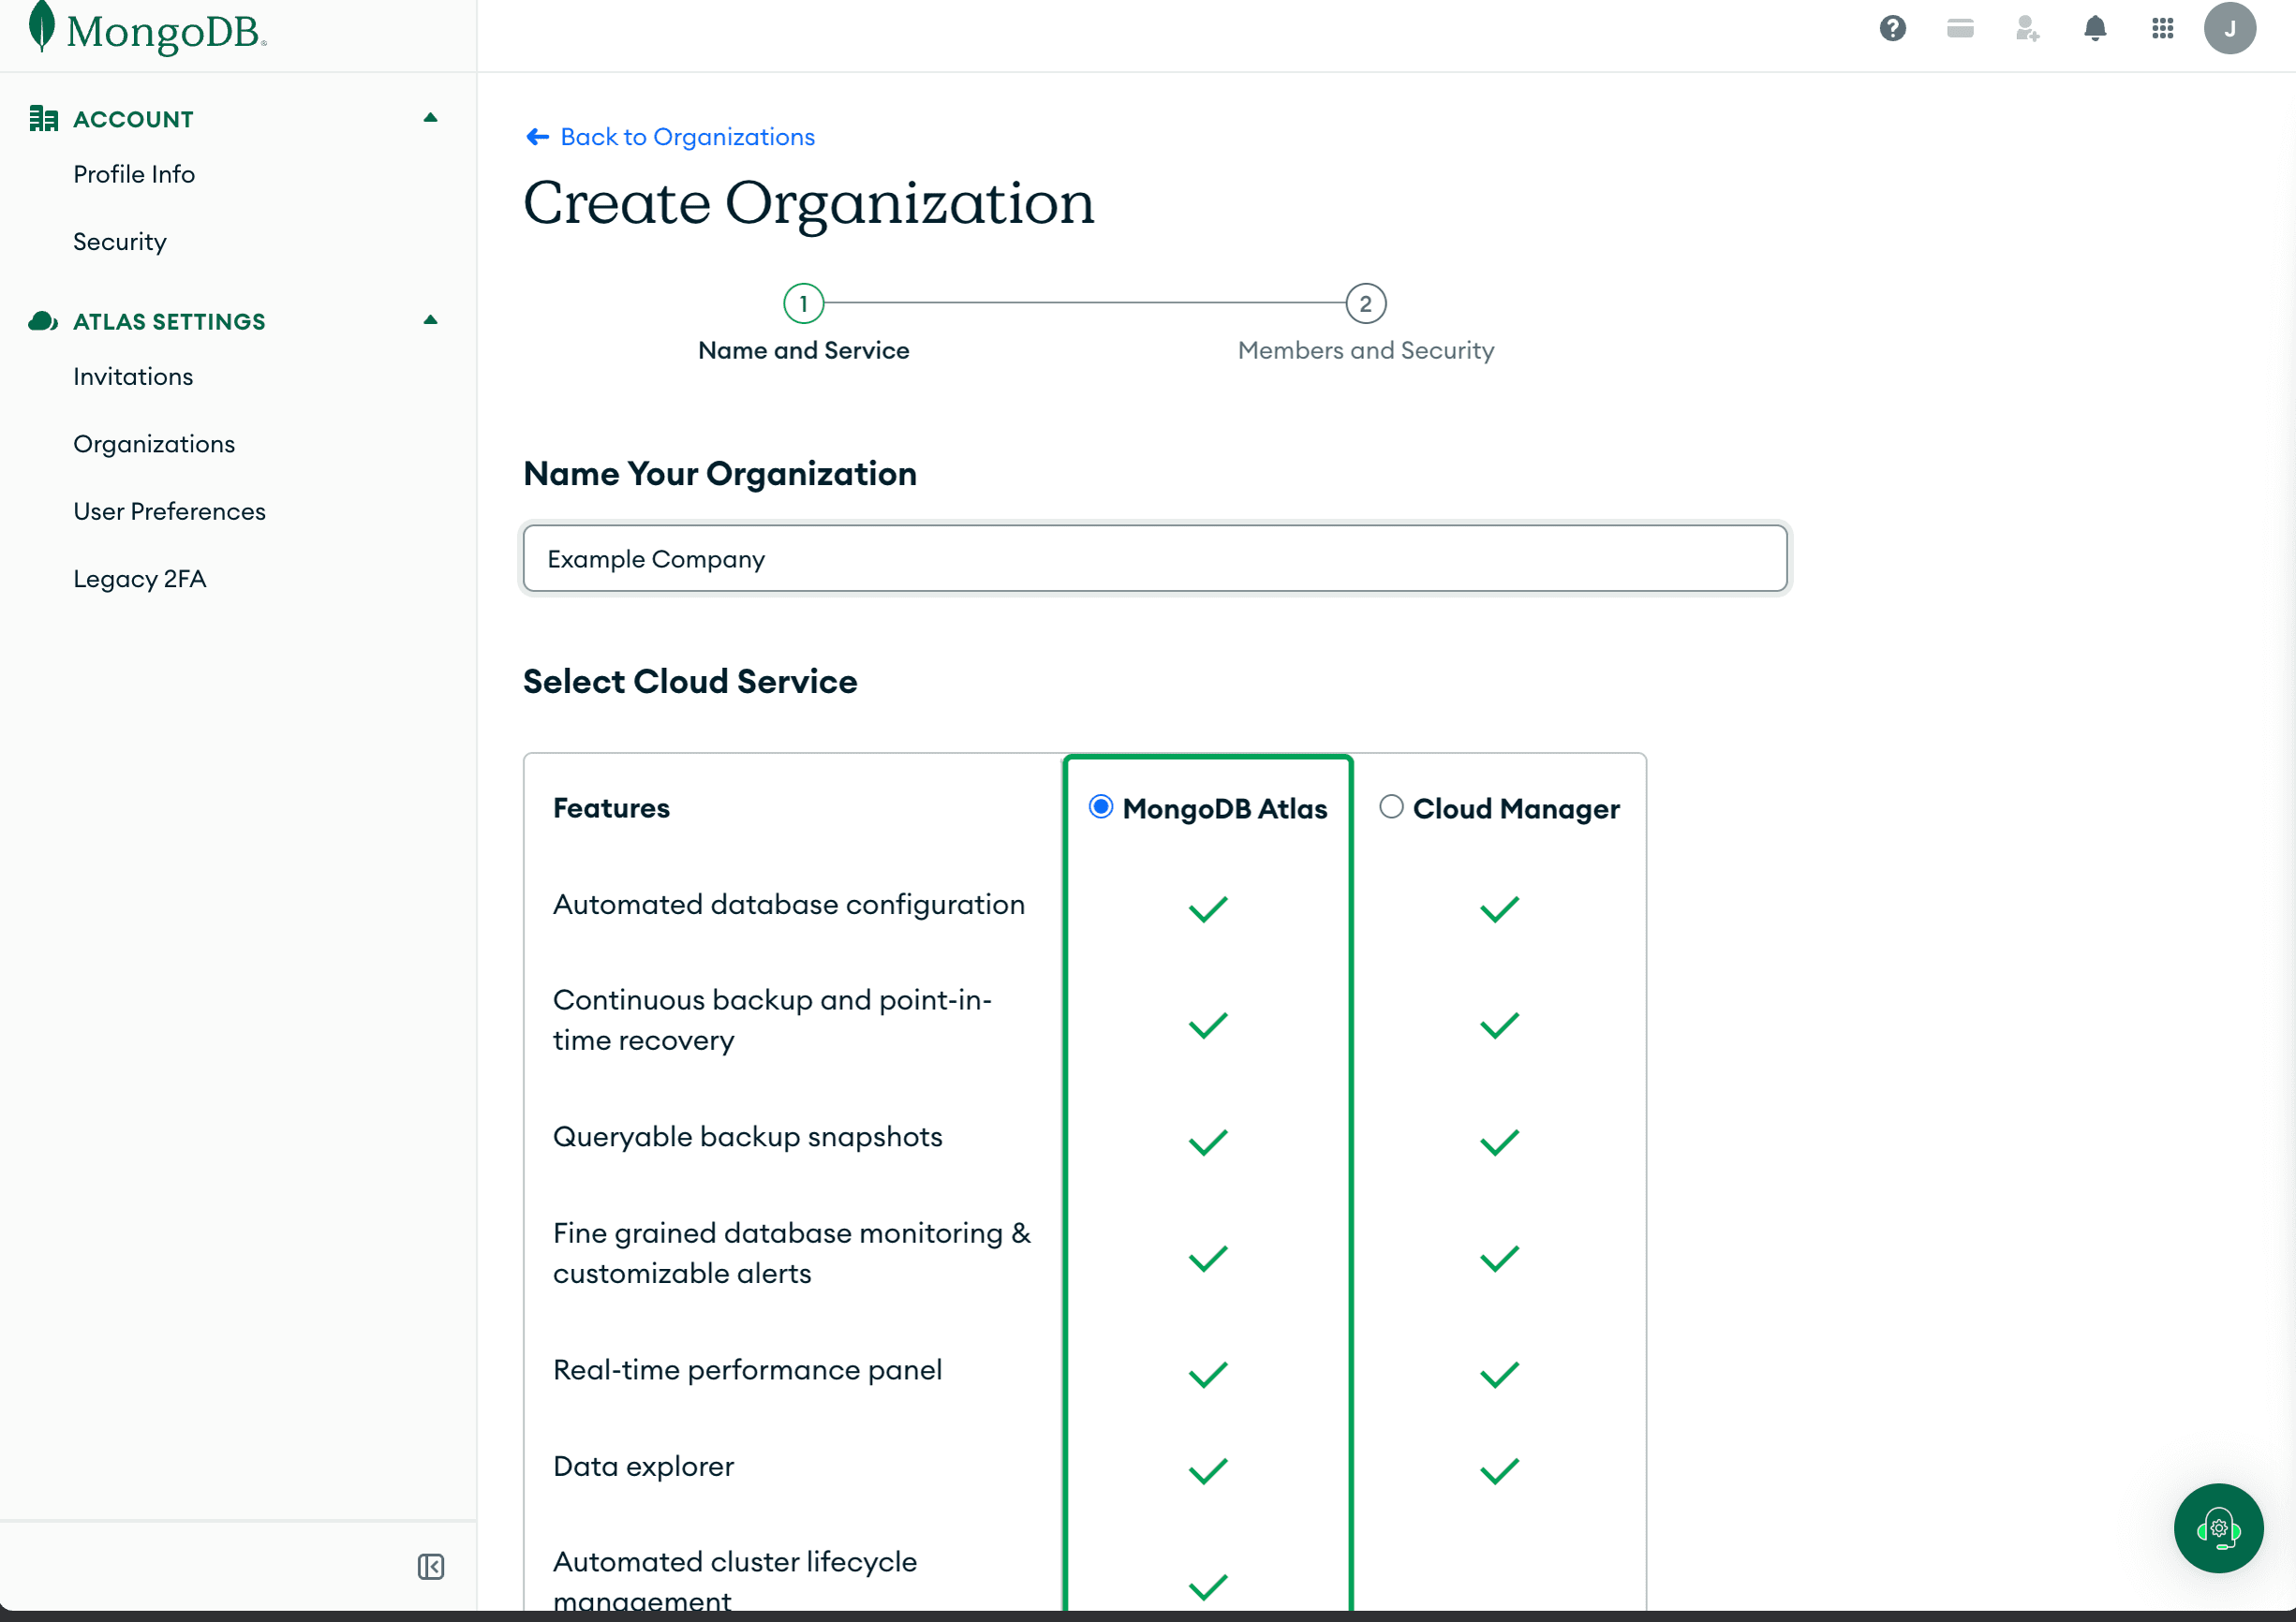
Step 2: Create Your Organisation
Click the organisation menu (usually in the top-left corner), choose New Organization, and enter your company name. You'll automatically be the Organization Owner, which means you have full control over billing, access, and settings.
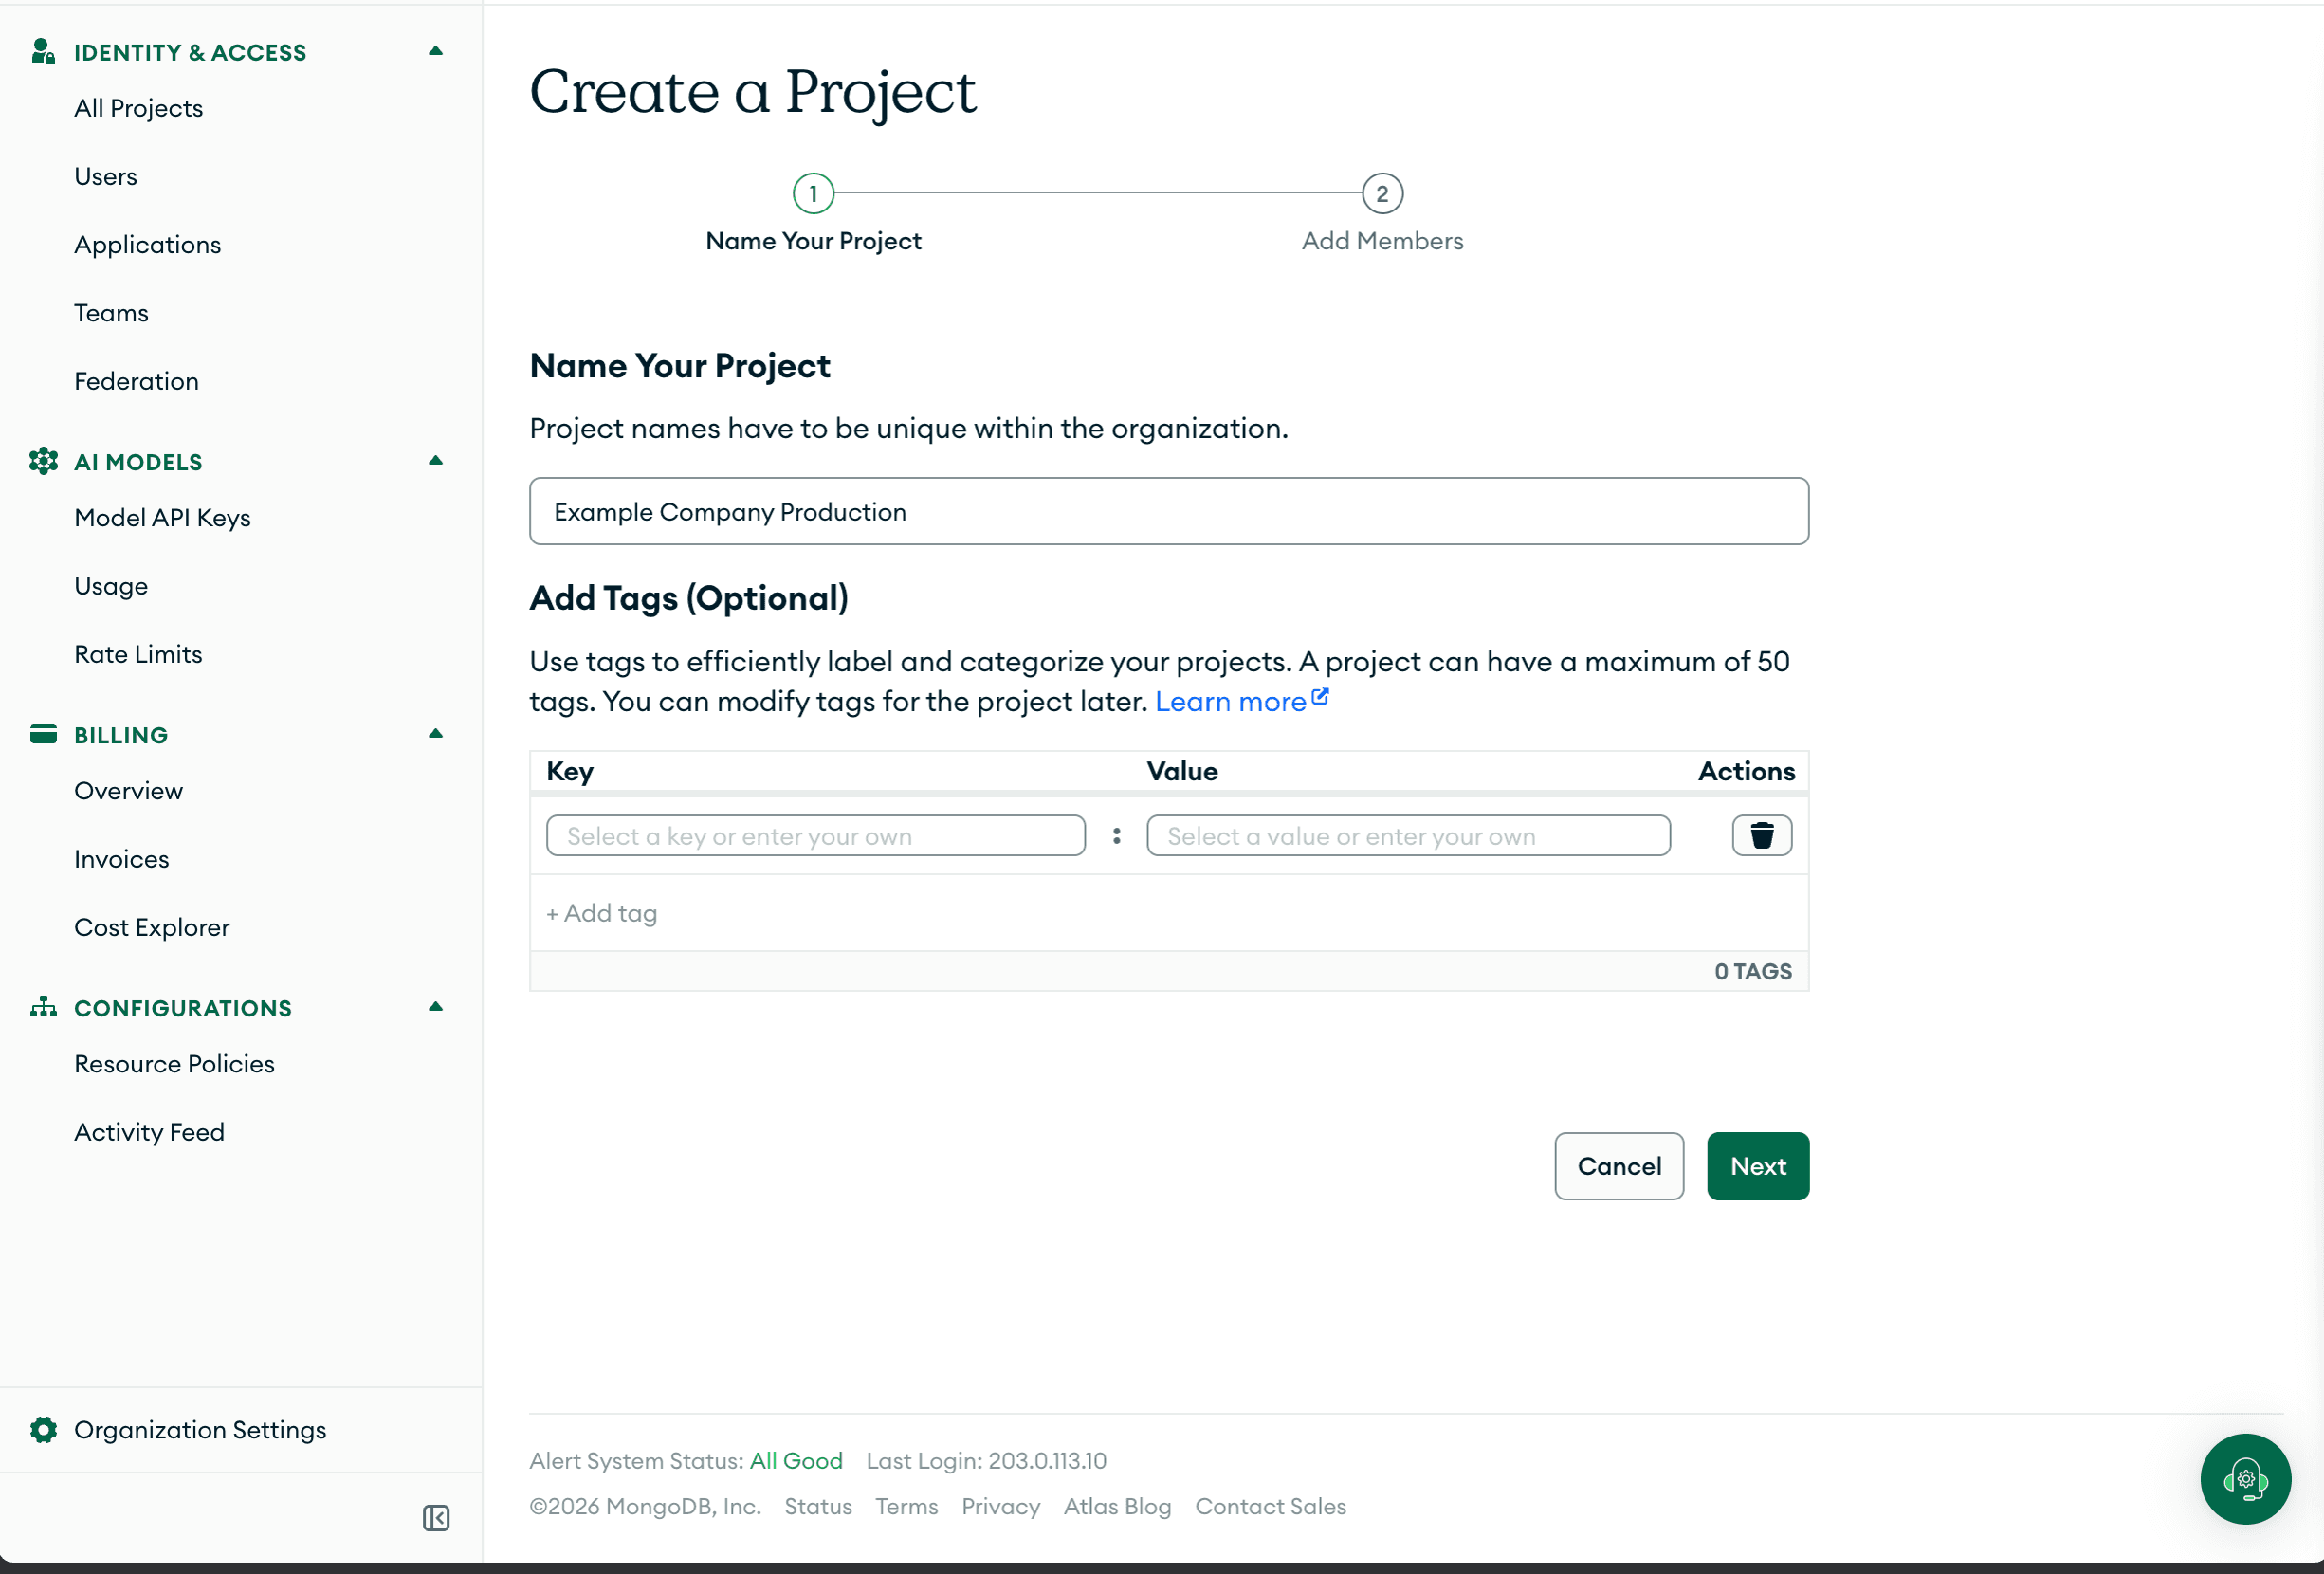
Step 3: Create a Project
Inside your new organisation, create a project and give it a clear name — something like "Example Company Production" works well. This project is where Dev3 Studio will set up your databases, configure access rules, and manage backups.
Step 4: Go to Organisation Users
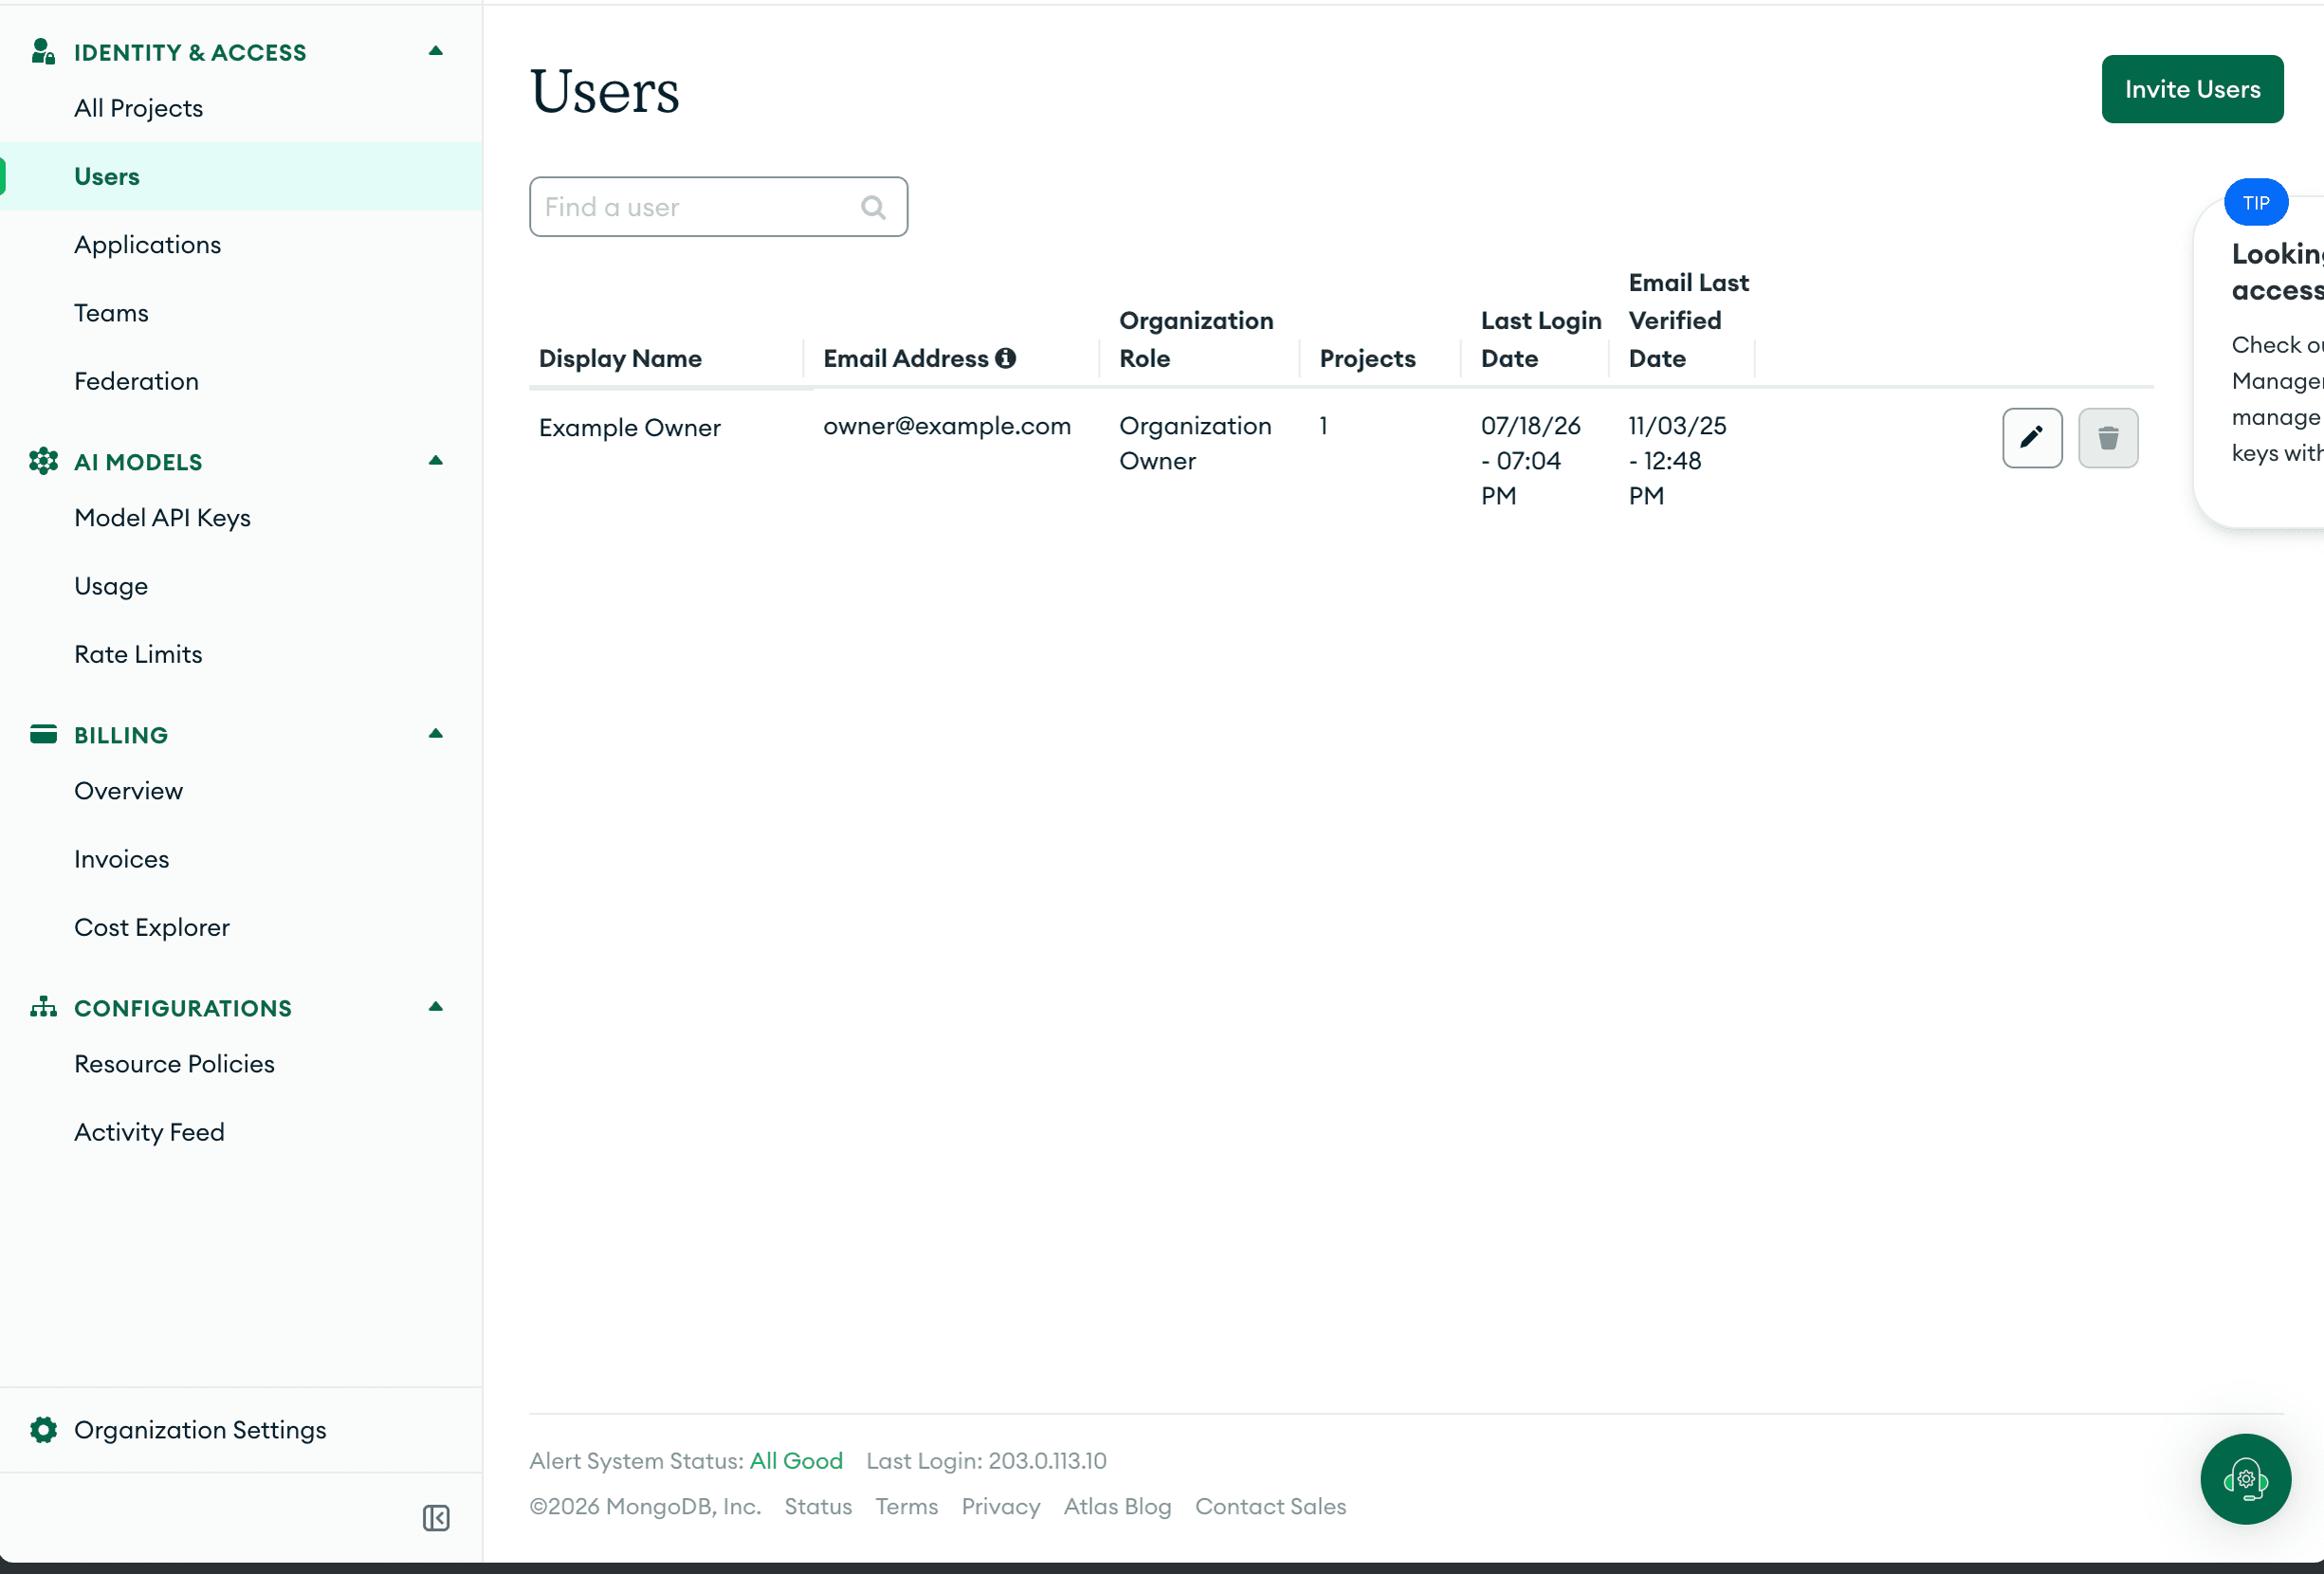
Select your organisation, then open Identity & Access. Open Users and choose Invite Users.
Step 5: Add Both Dev3 Studio Email Addresses
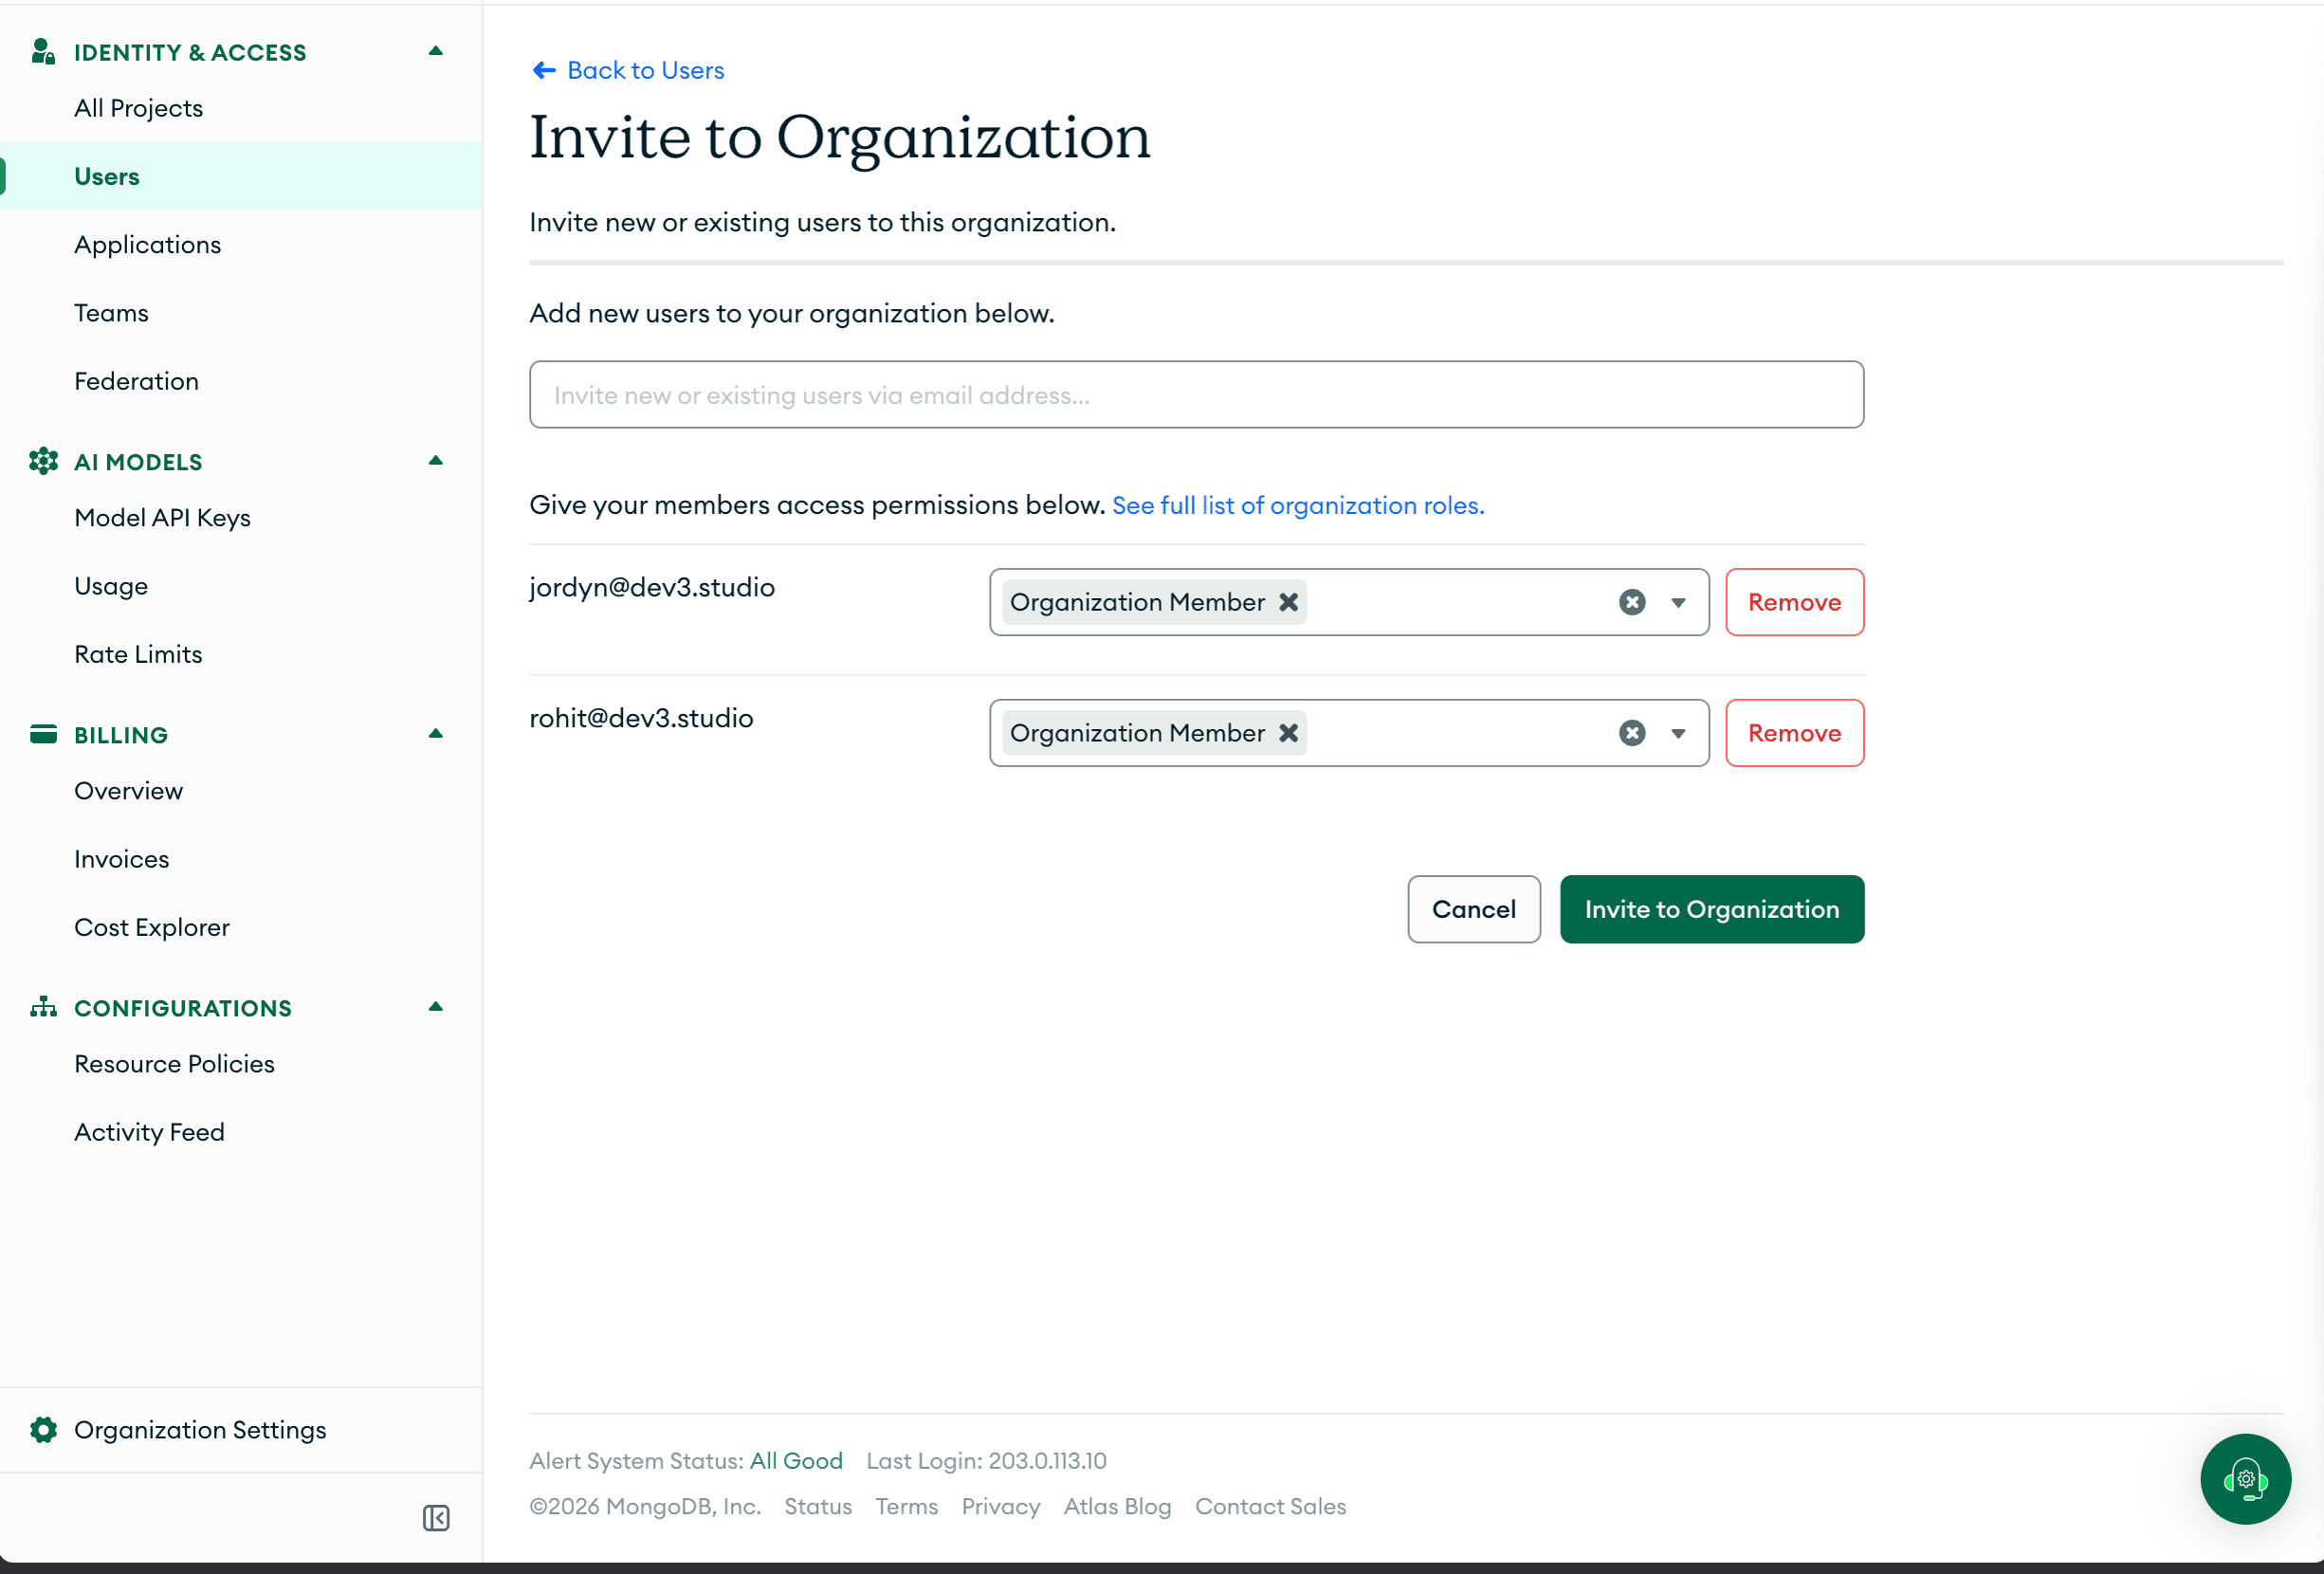
Enter the two Dev3 Studio email addresses we've given you — if you don't have them to hand, just ask and we'll send them through. For the organisation role, choose Organization Member — this gives us access to the organisation without giving us control over billing or the ability to delete the organisation itself.
Step 6: Give Dev3 Studio Project Owner Access
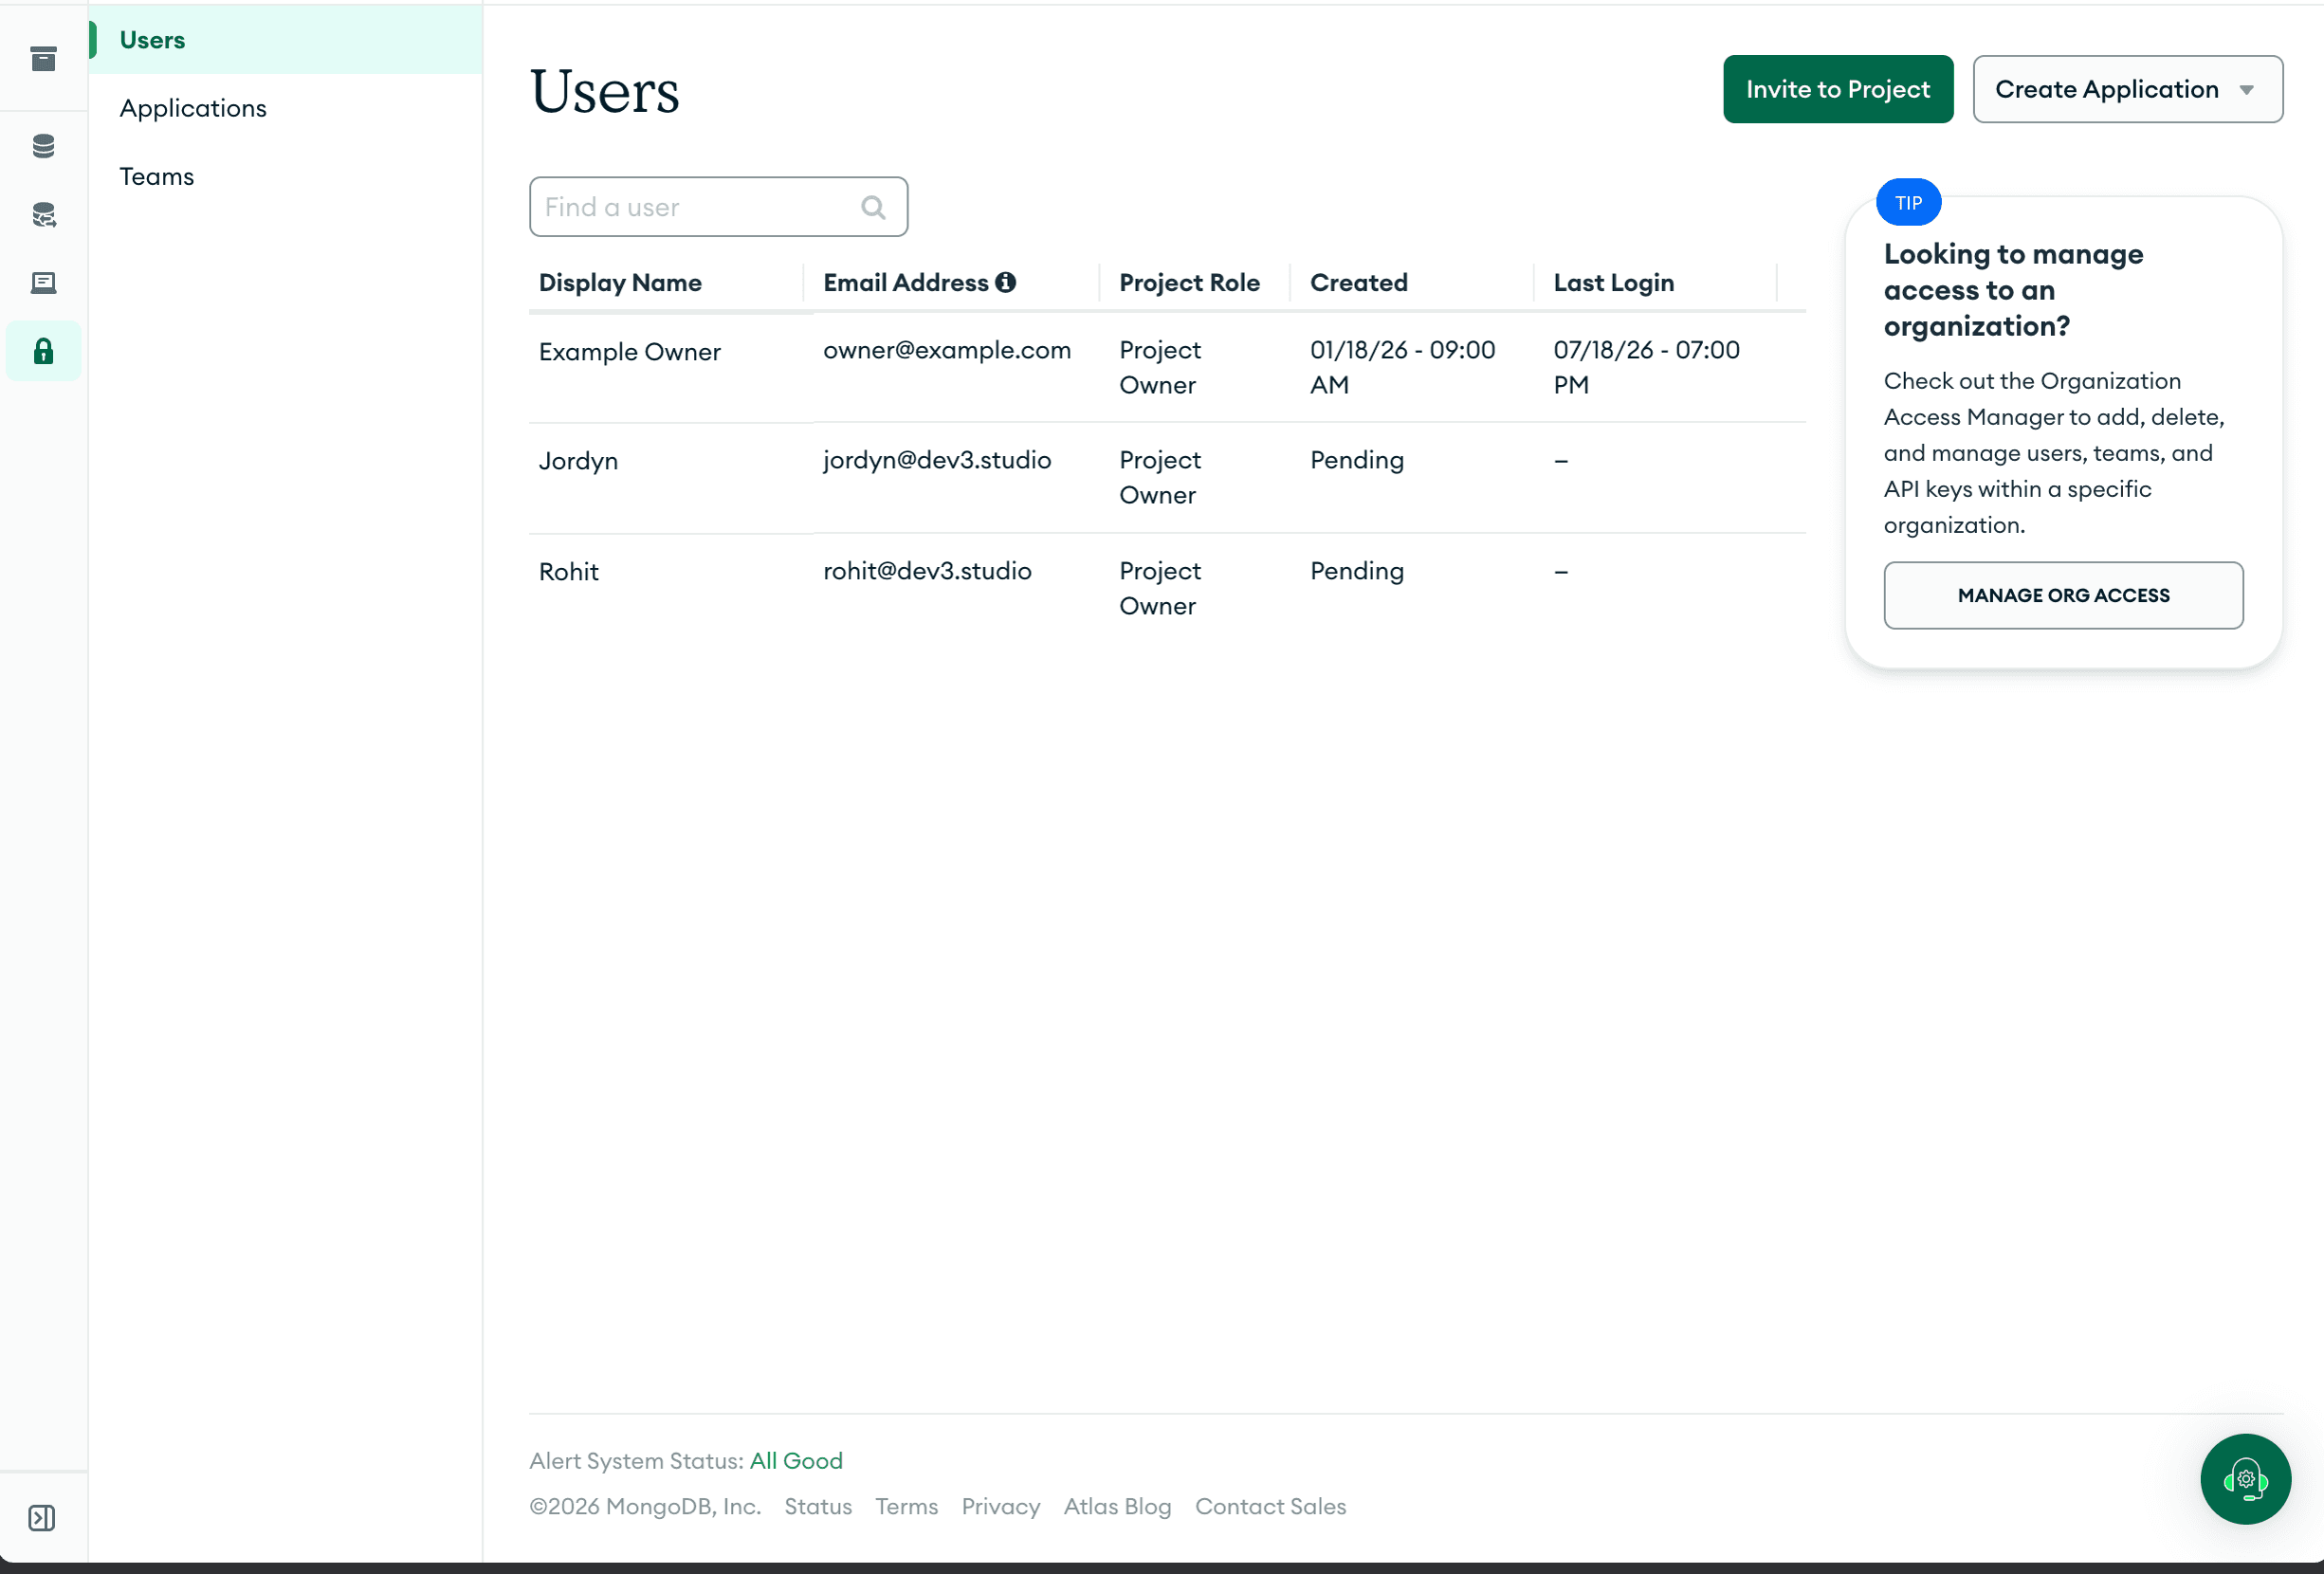
In the invitation flow, assign both users to the project you created earlier and give them the Project Owner role. You can confirm the result from the project's Identity & Access page. This lets us manage everything inside that specific project — databases, users, network settings, and backups — without affecting anything else in your organisation.
Step 7: Confirm the Invitations Were Sent
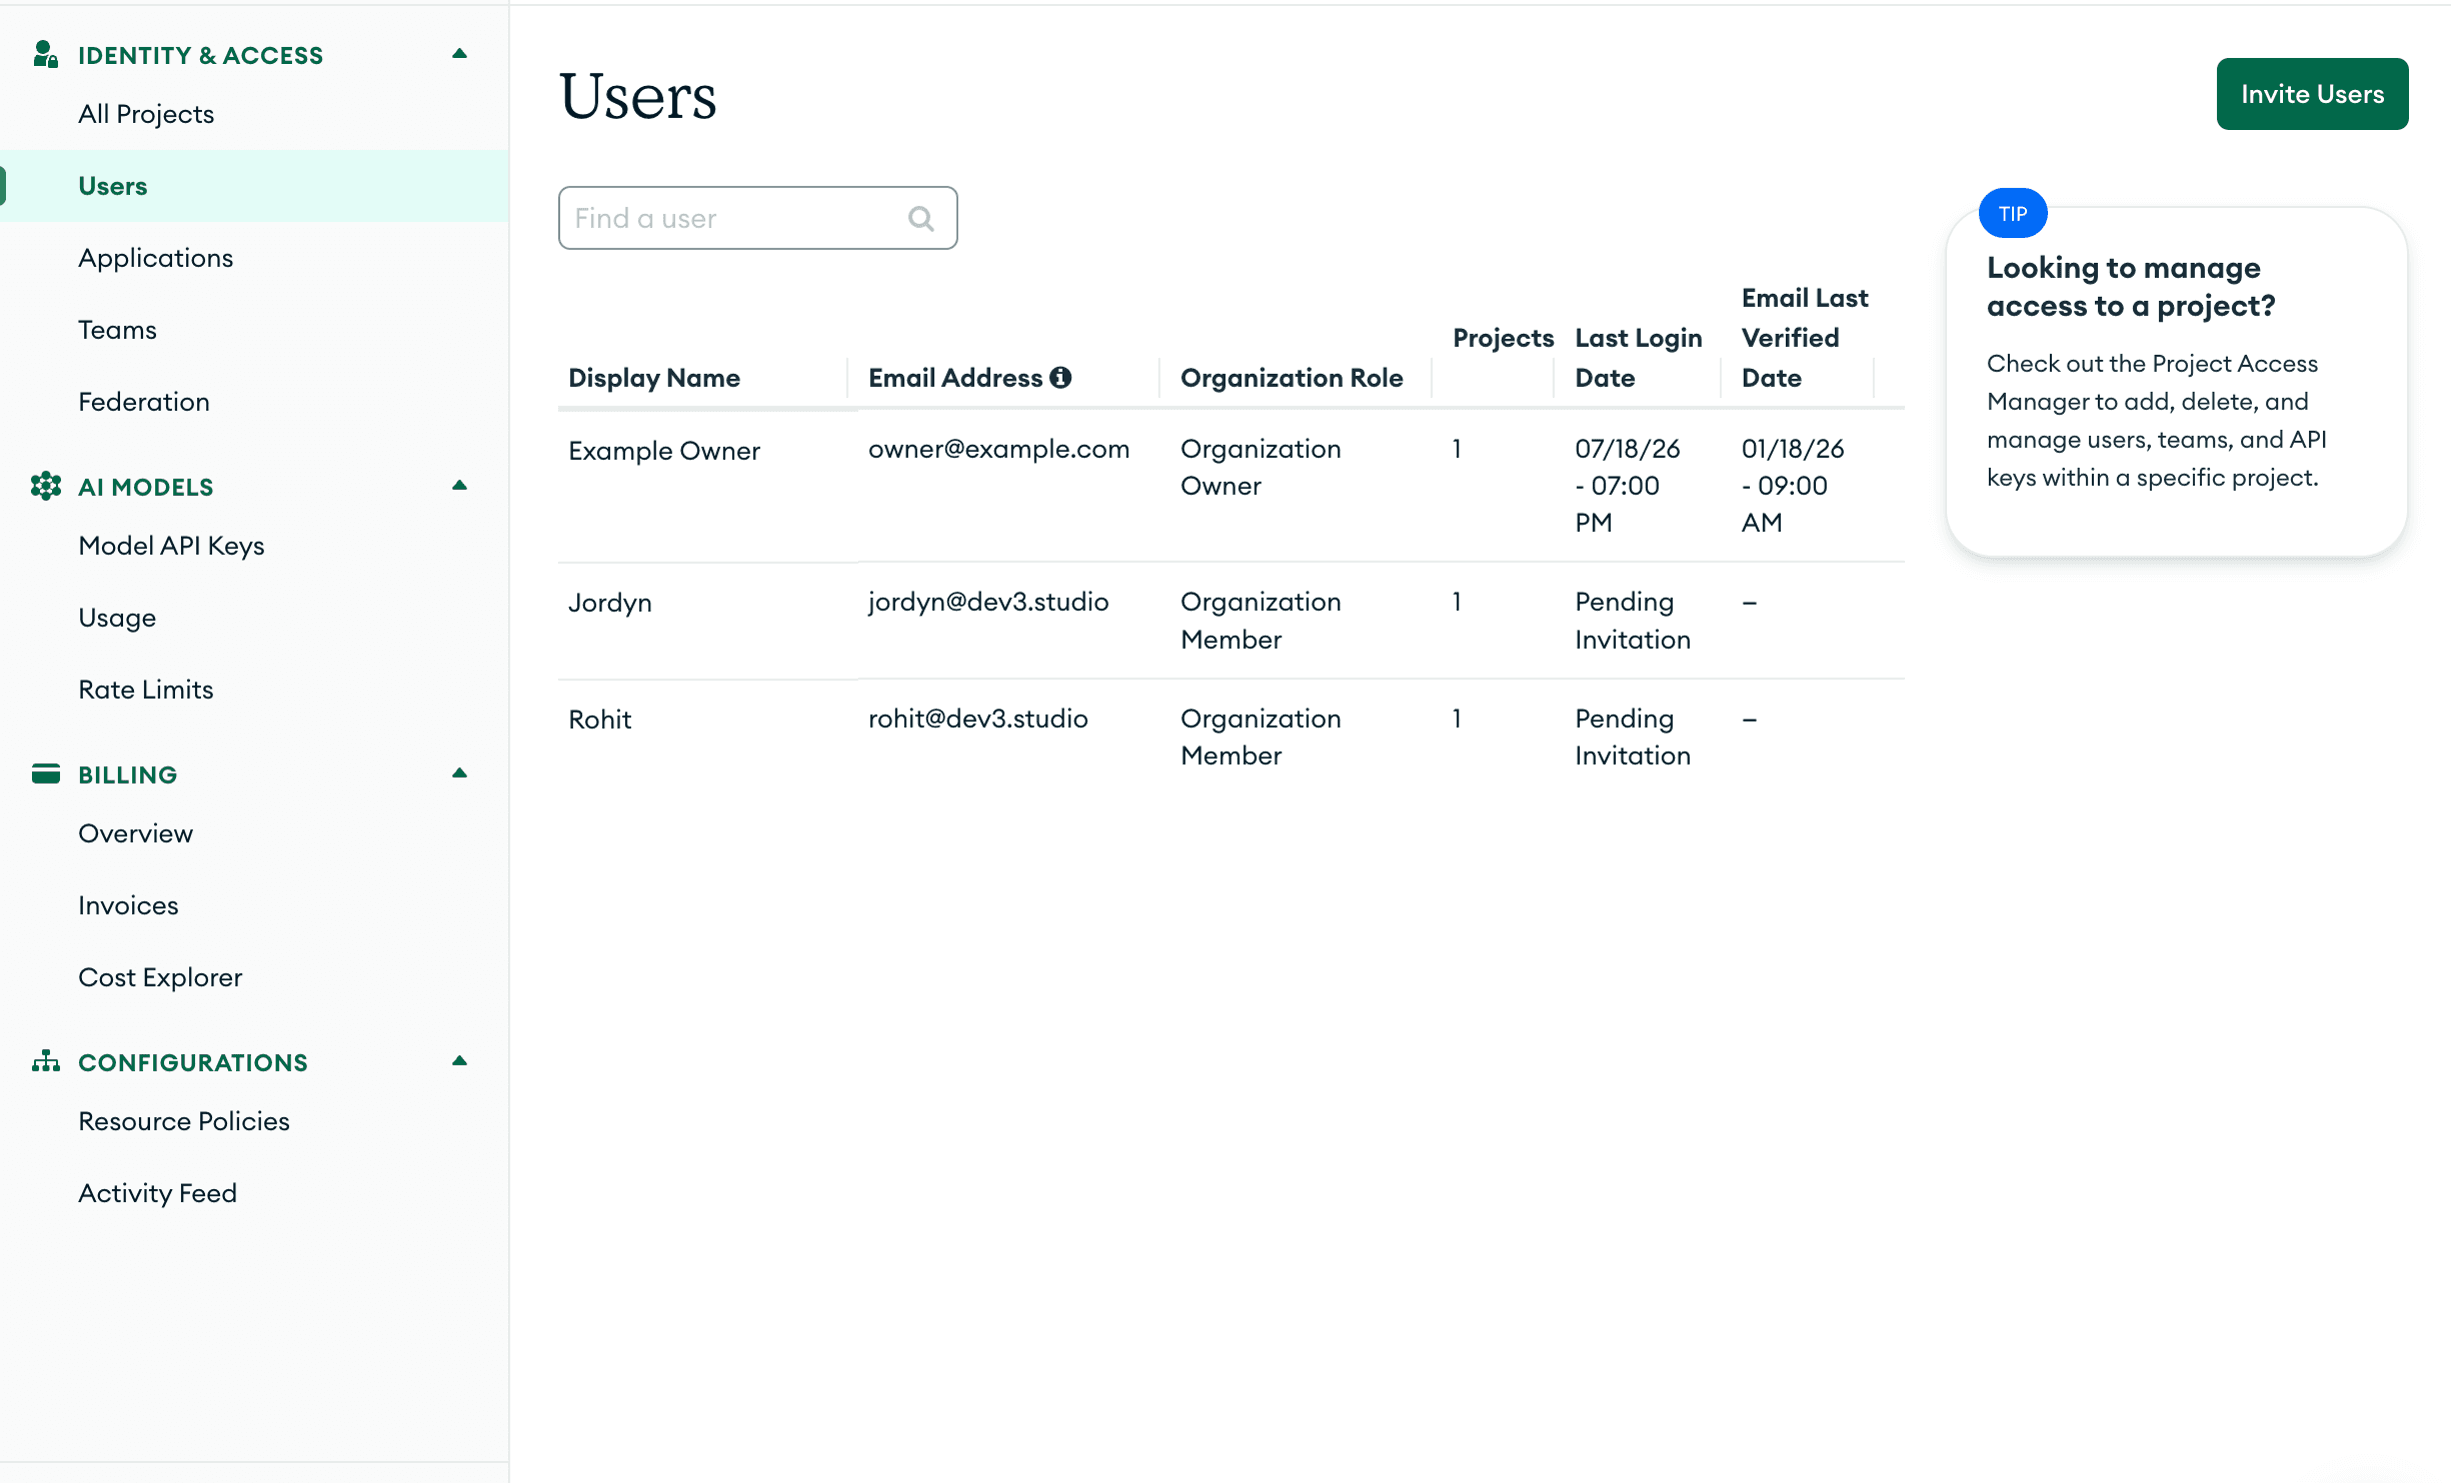
Go back to the Users tab and check that both email addresses show up as Pending with access to the correct project. Atlas invitations are valid for 30 days, so let us know once they're sent and we'll accept them.
Completion Checklist
Troubleshooting
- You accidentally sent duplicate invitations: Atlas now sends one organisation invitation that includes all project access. If there are duplicates, cancel the extras from the Users tab and resend a single invitation.
- An invitation expired: You can resend it from the Users tab. Invitations last 30 days.
- Dev3 Studio can't see the project: Make sure we accepted the organisation invitation first, and that the invitation included Project Owner access for the correct project.
Security Reminder
You're always in control of the big picture. As the Organisation Owner, you manage billing, organisation settings, and who gets access. Dev3 Studio's access is scoped to the specific project you created — we can manage databases and settings inside it, but we can't touch your billing or delete the organisation. Keep multi-factor authentication turned on, and if you ever need to remove someone's access, you can do it from the Users tab at any time.